Introduzione
This guide is for the removal of the daughterboard. The daughterboard contains the Micro USB port.
Cosa ti serve
-
-
Power down your device.
-
Use your plastic opening tool to wedge between the seams around the sides of the device. Pry open each side, one at a time. For some a finger nail may be best. The case comes up quite high to the glass.
-
-
-
Insert the plastic opening tool under the side edge of the battery connector, and gently pry upward to disconnect it.
-
-
-
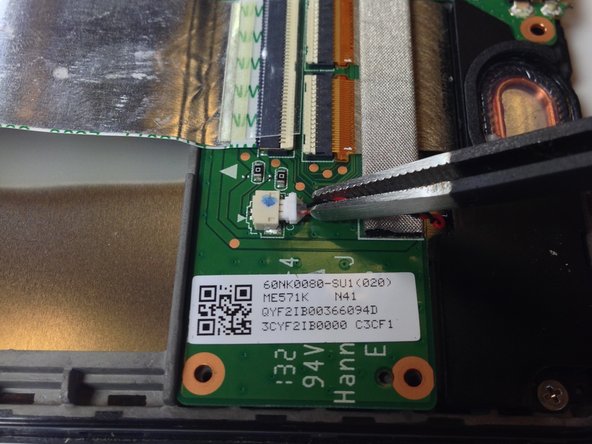
Use the flat end of a spudger or your fingernail to flip up the clear protective flap on the ribbon cable ZIF socket.
-
Using the flat end of a spudger or your fingernail, flip up the thin portion of the connector (the white part, opposite of the side where the cable inserts) to release the cable from its socket.
-
Slide the cable out of the ZIF socket.
-
-
-
-
Remove the gray seal covering the top center screw on the daughterboard.
-


To reassemble your device, follow these instructions in reverse order.
To reassemble your device, follow these instructions in reverse order.
Annulla: non ho completato questa guida.
Altre 46 persone hanno completato questa guida.
Team

Cal Poly, Team 20-16, Maness Winter 2015 Membro di Cal Poly, Team 20-16, Maness Winter 2015
CPSU-MANESS-W15S20G16
4 Membri
24 Guide realizzate
11 Commenti
Hi,
I need to replace USB connector on my Nexus7-2013 wifi, buit I had see on ASUS web site, if I change this spart, i need to recalibrate the unit .http://www.asusparts.eu/fr/Asus-90NK0080...
Is it true ?
Thx for your answer
According to these repair stories, it worked fine without any mentions of a need to calibrate: Nexus 7 (2nd Gen Wi-Fi) LCD Board
Hello i have a problem with a spudger in the daughter board, i crashed one of them will replacing the screen, i need to know how to fix it or the best place to buy a used daughter board