Salta al contenuto principale

Nest x Yale Lock Keypad Replacement

Cosa ti serve

  1. Nest x Yale Lock Keypad Replacement, Keypad: passo 1, immagine 1 di 1
    • Unscrew all available screws that you can see from the back.

    • The screws are 0.25 inches phillips screws.

    • Make sure to not lose any of the screws, and keep track of them.

  2. Nest x Yale Lock Keypad Replacement: passo 2, immagine 1 di 1
    • Once you have unscrewed all the screws carefully remove the metal covering.

    • Make sure that the wire safely goes through the hole.

  3. Nest x Yale Lock Keypad Replacement: passo 3, immagine 1 di 1
    • Then once again unscrew the two screws that you see.

    • The screws have a height of 0.2 inches phillips screws.

    • Make sure to not lose any of the screws, and keep track of them.

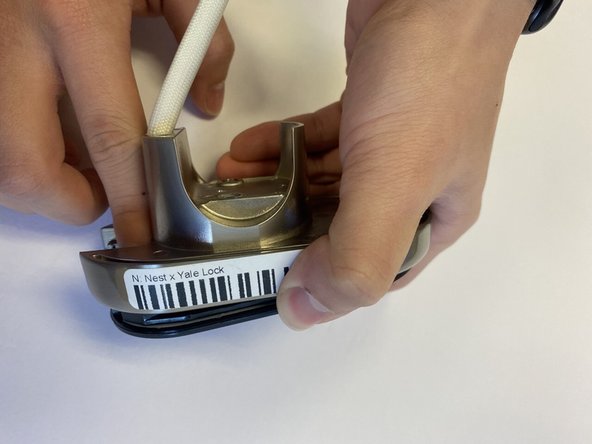
  4. Nest x Yale Lock Keypad Replacement: passo 4, immagine 1 di 2 Nest x Yale Lock Keypad Replacement: passo 4, immagine 2 di 2
    • Once all screws are unscrewed proceed to tap the screen out of the metal casing.

Conclusione

To reassemble your device, follow these instructions in reverse order.

Un commento

Where do you order the touchscreen from?

Mike Turrell - Replica

Aggiungi Commento

Visualizza Statistiche:

Ultime 24 Ore: 1

Ultimi 7 Giorni: 1

Ultimi 30 Giorni: 6

Tutti i Tempi: 261