Introduzione
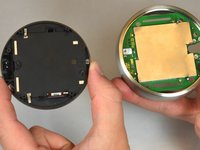
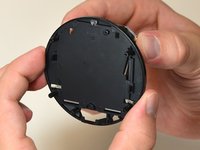
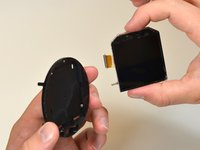
The replacement of the LCD screen is not difficult. The tools need to replace it are the plastic opening tools.
Cosa ti serve
-
-
Grasp the display's metal outer ring with your fingers and pull directly away from the wall.
-
-
-
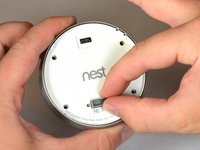
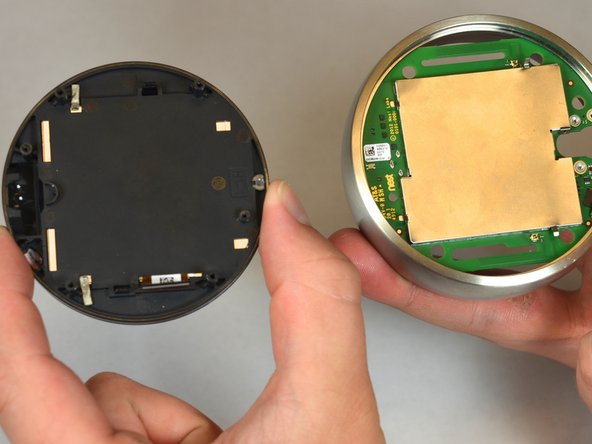
Turn the display over.
-
Remove the four 6 mm screws from the back of the display using a Phillips #0 screwdriver.
-
-
-
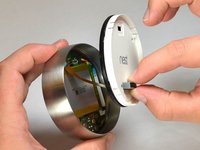
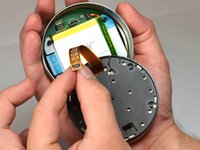
Pinch the gray 20-pin connector with your fingers and pull directly away from the display.
-
-
-
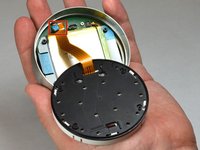
Locate the blue pull tab at the end of the ribbon which says, "1. Pull".
-
Grasp the tab with your fingers and pull directly away from the motherboard.
-
-
Attrezzo utilizzato in questo passaggio:Tweezers$4.99
-
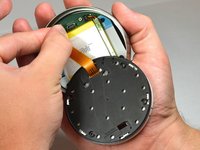
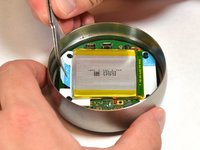
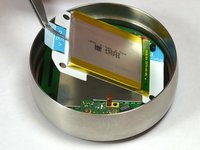
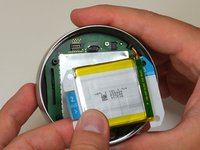
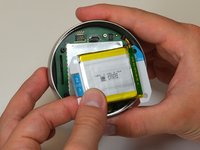
Locate the blue tab which says, "2. Pull".
-
Use tweezers to pull the battery up and away from the display.
-
-
-
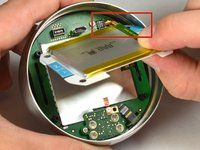
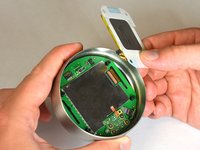
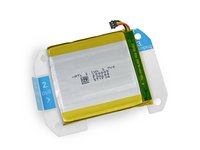
Locate the blue tab which says "3 unplug".
-
Grasp the battery with your fingers. Pull gently directly away from the display to unplug the battery from the motherboard.
-
-
-
Grasp the battery with your fingers and pull directly away from motherboard to separate the battery from the display.
-
-
-
-
Remove the four 3mm screws with a #0 Phillips screwdriver.
-
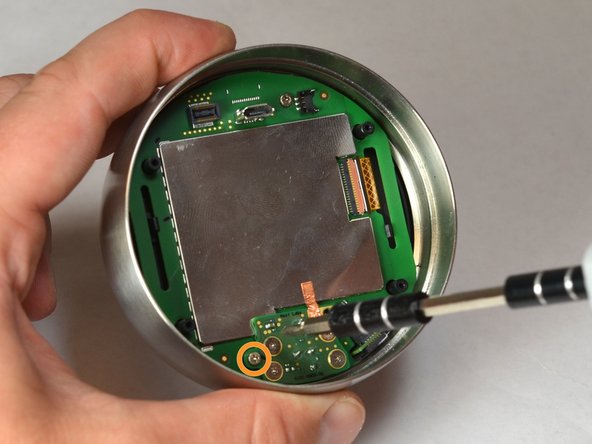
Remove the one 4mm screw located at the edge of the auto-away sensor. Use a #0 Phillips screwdriver.
-
-
Attrezzo utilizzato in questo passaggio:Tweezers$4.99
-
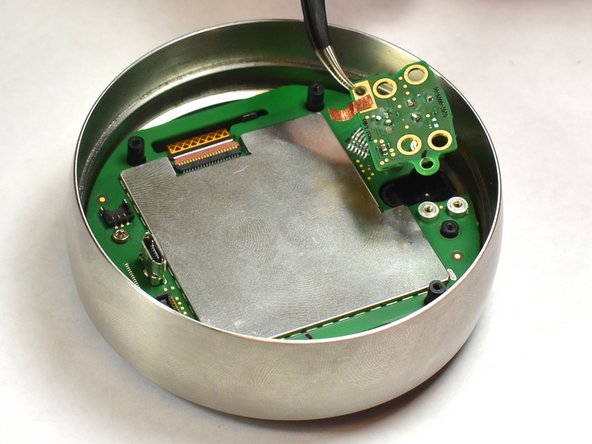
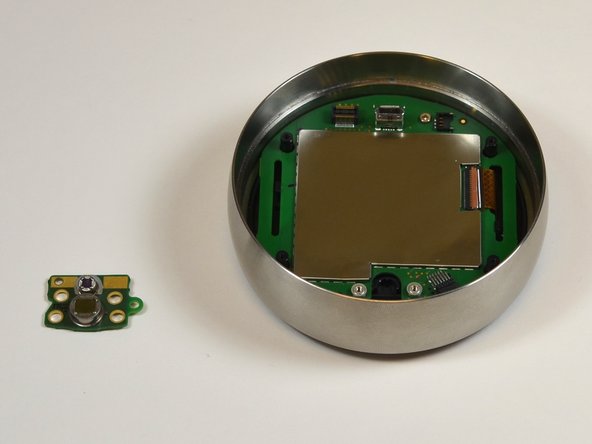
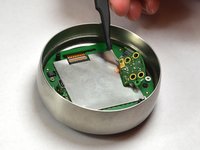
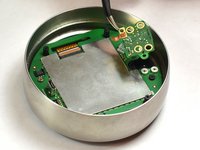
Lift the auto-away sensor from motherboard using tweezers.
-
Peel the copper foil gently from the EMI shield.
-
-
-
Remove one 4 mm screw from the motherboard using a #0 Phillips screwdriver.
-
-
-
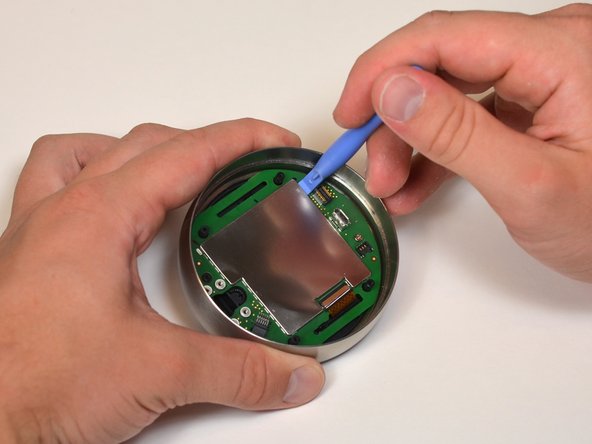
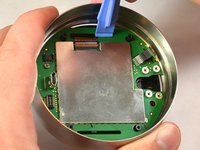
Remove the EMI shield from the motherboard using the plastic opening tools.
-
-
Attrezzo utilizzato in questo passaggio:Tweezers$4.99
-
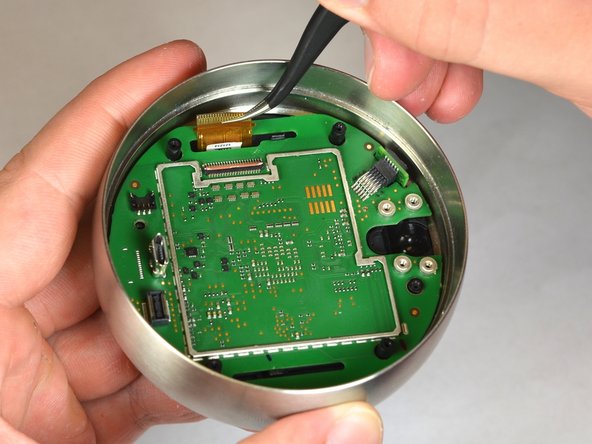
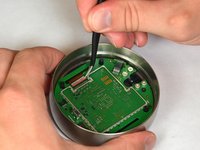
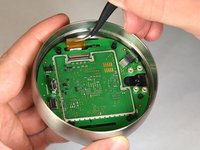
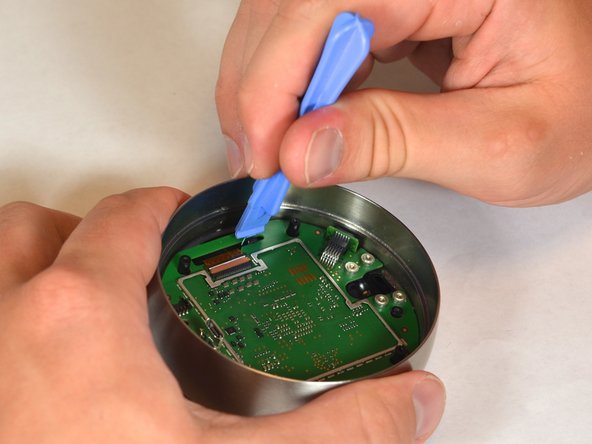
Unsnap the LCD ribbon from the motherboard gently using the tweezers.
-
-
-
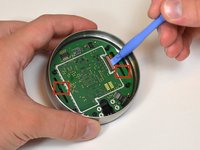
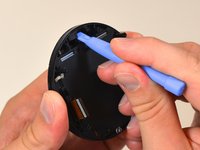
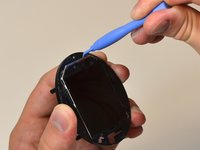
Locate the black tabs that hold the display to the motherboard.
-
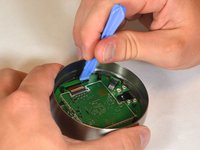
Push the black tabs gently away from the motherboard using the plastic opening tools.
-
-
-
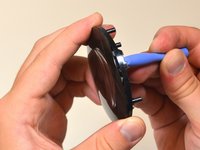
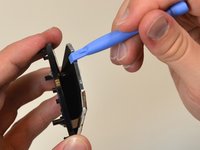
Push the crescent shape bottom of the display away from the plastic frame using the plastic opening tools.
-
-
-
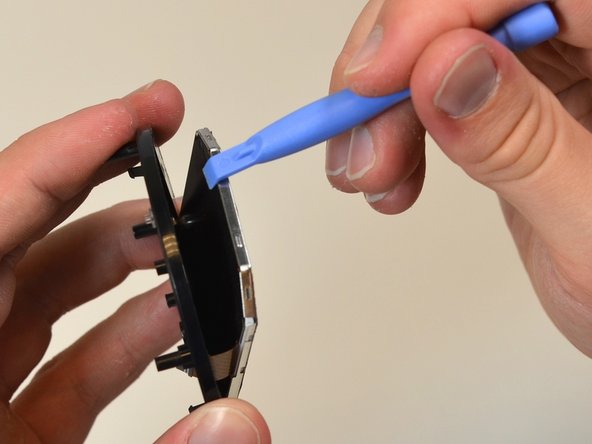
Pry the LCD screen gently from the plastic frame using the plastic opening tools.
-
-
-
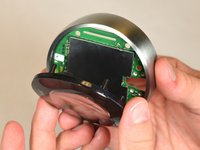
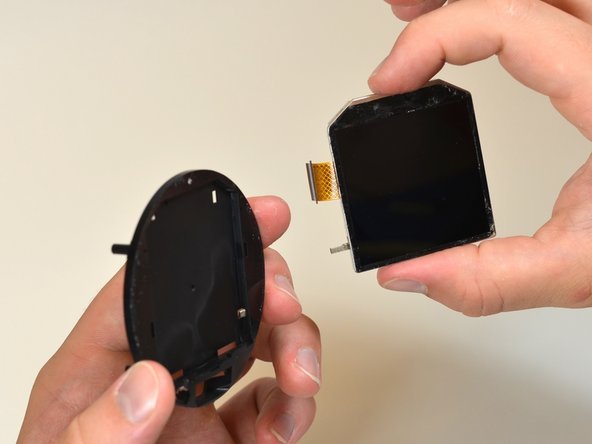
Pull the LCD screen away from the plastic frame gently using your fingers.
-
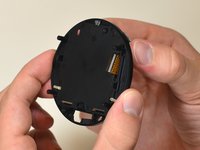
To reassemble your device, follow these instructions in reverse order.
Annulla: non ho completato questa guida.
Altre 8 persone hanno completato questa guida.
5Commenti sulla guida
Thank you for providing this tutorial. My dog, not making this up, knocked my nest off the wall. Where can I purchase the replacement green itself and the plastic opening tools you used throughout the repair? This will be my first time on something like this, but with your guide I should have a decent shot at not screwing it up.
Skip step 12. There is no reason to remove the EMI shield.
Where can you get the replacement lcd screen for gen 2 nest learning thermostat?


