Introduzione
Questa guida ti mostra i passi per rimuovere correttamente la copertura posteriore dal tuo Motorola V60i.
Cosa ti serve
-
-
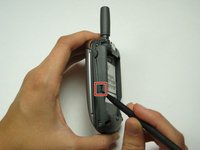
Chiudi il telefono assicurandoti che la copertura posteriore sia davanti a te.
-
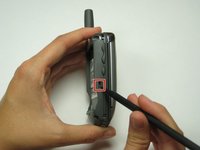
Ora premi il pulsante che trovi in alto sul telefono vicino l'antenna con un dito o uno spudger.
-
-
-
-
Utilizza un cacciavite Torx T6 per rimuovere le quattro viti dal lato posteriore del dispositivo.
-


Per rimontare il dispositivo, segui le istruzioni nell'ordine inverso.
Per rimontare il dispositivo, segui le istruzioni nell'ordine inverso.
Un ringraziamento speciale a questi traduttori:
100%

Questi traduttori ci stanno aiutando ad aggiustare il mondo! Vuoi partecipare?
Inizia a tradurre ›
Team

Cal Poly, Team 30-40, Garner Spring 2010 Membro di Cal Poly, Team 30-40, Garner Spring 2010
CPSU-GARNER-S10S30G40
4 Membri
19 Guide realizzate