Introduzione
Follow these steps to remove your Droid's broken rear-facing camera.
Cosa ti serve
-
-
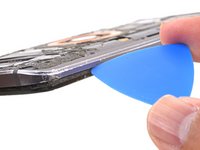
Insert a SIM eject tool, SIM eject bit, or a straightened paperclip into the small hole in the SIM card tray.
-
Press to eject the tray.
-
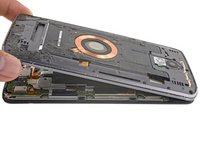
Remove the SIM card tray assembly from the phone.
-
-
-
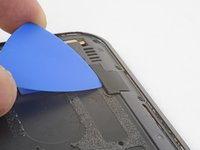
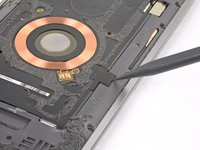
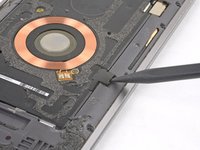
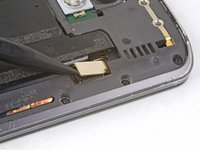
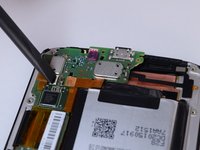
Use the point of a spudger to pry up and remove the coil connector rubber cover.
-
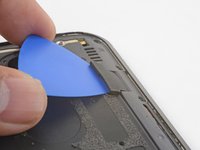
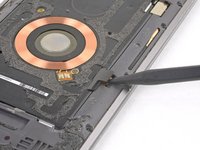
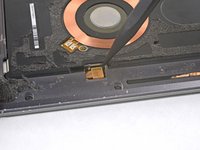
To reinstall the cover, align the cover and use your finger to push it forward into place.
-
-
-
-
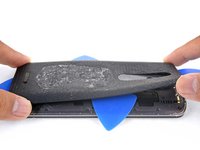
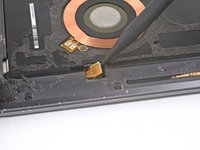
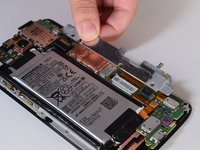
Using your fingers, carefully remove the black tape from the battery.
-
-
Attrezzo utilizzato in questo passaggio:Tweezers$3.99
-
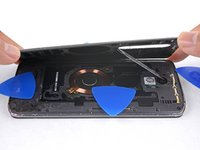
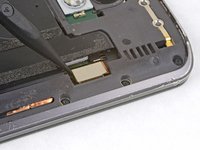
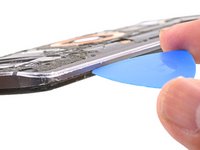
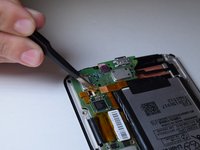
Use the angled tweezers to lift up the small orange plastic piece near the bottom right corner of the battery.
-


To reassemble your device, follow these instructions in reverse order.
Annulla: non ho completato questa guida.
Altre 2 persone hanno completato questa guida.
Team

UW Tacoma, Team 1-6, Rose Fall 2016 Membro di UW Tacoma, Team 1-6, Rose Fall 2016
UWT-ROSE-F16S1G6
4 Membri
6 Guide realizzate