Introduzione
Aggiorna il tuo disco fisso per aumentare la capacità di memorizzazione.
Cosa ti serve
Panoramica Video
-
-
Spegni il tuo Mac mini, scollega tutti i cavi e capovolgilo.
-
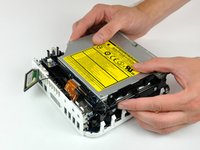
Inserisci il Jimmy nella fessura tra la copertura superiore in alluminio e la copertura inferiore in plastica.
-
Il Jimmy dovrebbe fermarsi a circa 1 cm di profondità.
-
-
-
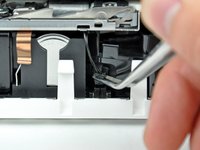
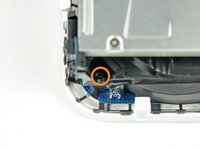
Premere leggermente le due linguette di fissaggio l'una verso l'altra e sollevare l'antenna AirPort dal proprio alloggiamento.
-
-
-
-
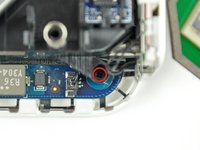
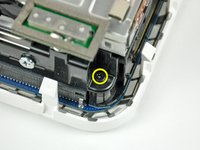
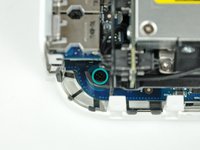
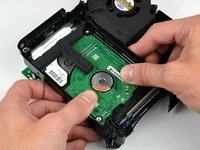
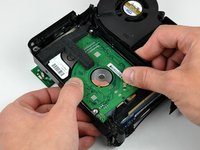
Rimuovere le due viti con testa a croce che la parte laterale del disco rigido al telaio interno.
-
-
-
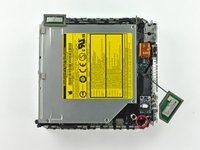
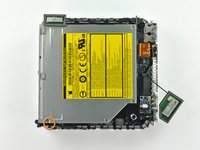
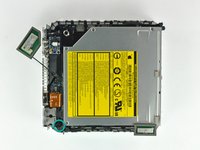
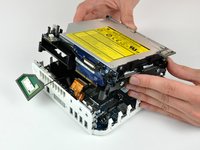
Estrarre l'unità ottica dal telaio interno.
-
Se stai installando un nuovo disco fisso, abbiamo una guida di installazione OS X per aiutarti a tornare rapidamente al lavoro.
-


Per riassemblare il dispositivo, segui queste istruzioni in ordine inverso.
Annulla: non ho completato questa guida.
Altre 548 persone hanno completato questa guida.
Un ringraziamento speciale a questi traduttori:
100%


Questi traduttori ci stanno aiutando ad aggiustare il mondo! Vuoi partecipare?
Inizia a tradurre ›

17Commenti sulla guida
I seemed to succeed - until I discovered my optical drive had broken. Disks do not mount, after some tries they eject. There was a LOT of dust inside my Mini, I think some got in the optical drive. A cleaning DVD and compressed gas didn't fix it. I wonder if it would be wise to seal the opening to the optical drive -- certainly before cleaning.
This was a failure for me, even though the memory and drive change went well.
Can't fault this guide.
* if you don't have a putty knife & you don't mind some scratches, a thin butter knife will do the trick for getting the case off.
*if you plan to replace hdd with an ssd - you may need to rejig some of the internal wires that run around the edges of the hdd/ssd: after I installed the ssd, and returned the wires to the tight track around the side and socket port end of the ssd, and turned the machine back on, there was a high pitch interference noises coming out the internal speaker every time the drive was active.
The solution: make sure the speaker wire isn't where it's *supposed* to be! There are three sets of wires, include the speaker pair. I reversed the positioning of these with respect to the SSD, i.e. I moved the speaker pair to be furthest away from the SSD, and *didn't* tuck them back in under the plastic lip beside the ssd connector port. I turned it back on, and no more high frequency whining whenever the drive is active
I upgraded my 2007 A1176 Mac Mini with a 2 TB M9T drive that I broke out of Seagate Backup Plus Ext. HD and increased my RAM from 2 GB to 3 GB! Success!
Be very careful with the audio cable removal the ZIF cable lock is VERY DELICATE!!!