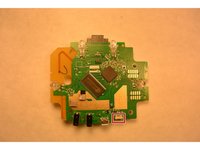
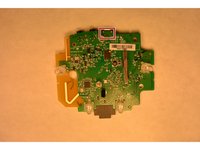
Salta al contenuto principale
Unisciti alla Community delle riparazioni - Crea un account
Logitech Harmony Smart Control Reset Button Replacement

Logitech Harmony Smart Control Reset Button Replacement

Zachary Robinson

Zachary Robinson e 5 altri collaboratori

Ultimo aggiornamento il June 18, 2016

10 - 20 minuti
Difficile
Introduzione Migliore

Introduzione

Vai al passo 1

This guide requires soldering, for soldering guide click below.

Soldering Guide

Cosa ti serve

Ricambi

Strumenti

Mostra di più…

  1. Logitech Harmony Smart Control Reset Button Replacement, Reset Button: passo 1, immagine 1 di 2 Logitech Harmony Smart Control Reset Button Replacement, Reset Button: passo 1, immagine 2 di 2
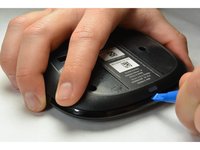
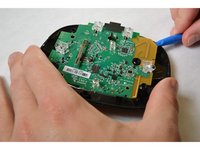
    • Using a plastic opening tool, lift up the rubber pad.

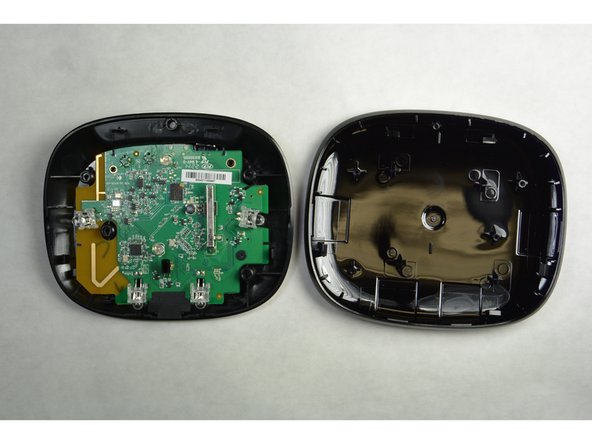
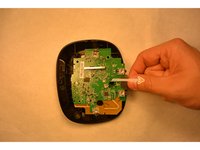
    • From the bottom of the device, with your fingers, pull back the rubber pad. This will expose the screw holes.

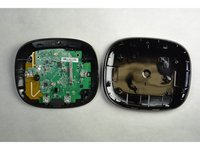
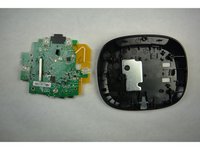
    • On the bottom of the hub, repeat the step above for the second rubber pad.

  2. Logitech Harmony Smart Control Reset Button Replacement: passo 2, immagine 1 di 2 Logitech Harmony Smart Control Reset Button Replacement: passo 2, immagine 2 di 2
    • With the PH00 bit, remove the four 6mm Phillips screws.

  3. Logitech Harmony Smart Control Reset Button Replacement: passo 3, immagine 1 di 2 Logitech Harmony Smart Control Reset Button Replacement: passo 3, immagine 2 di 2
    • With the plastic opening tool, separate the pieces of plastic from each other

  4. Logitech Harmony Smart Control Reset Button Replacement: passo 4, immagine 1 di 2 Logitech Harmony Smart Control Reset Button Replacement: passo 4, immagine 2 di 2
    • With the PH00 bit, remove the three 4mm Phillips screws.

  5. Logitech Harmony Smart Control Reset Button Replacement: passo 5, immagine 1 di 3 Logitech Harmony Smart Control Reset Button Replacement: passo 5, immagine 2 di 3 Logitech Harmony Smart Control Reset Button Replacement: passo 5, immagine 3 di 3
    • From the yellow corner, pry the circuit board from the housing..

  6. Logitech Harmony Smart Control Reset Button Replacement: passo 6, immagine 1 di 3 Logitech Harmony Smart Control Reset Button Replacement: passo 6, immagine 2 di 3 Logitech Harmony Smart Control Reset Button Replacement: passo 6, immagine 3 di 3
    • Locate the defective reset button.

    • Turn the board around to expose the reset solder.

    • Using soldering iron, remove solder and reset button. Replace reset button and solder.

Conclusione

To reassemble your device, follow these instructions in reverse order.

Team

IUPUI, Team 3-2, Harley Fall 2015 Membro di IUPUI, Team 3-2, Harley Fall 2015

IUPUI-HARLEY-F15S3G2

4 Membri

5 Guide realizzate

0Commenti sulla guida

Aggiungi Commento

Visualizza Statistiche:

Ultime 24 Ore: 0

Ultimi 7 Giorni: 2

Ultimi 30 Giorni: 4

Tutti i Tempi: 1,002