Introduzione
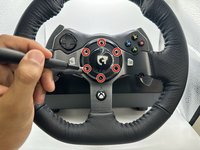
This guide will be used to aid you in replacing the Logitech G920 Driving Force XYAB buttons. The steering wheel buttons control the inputs when pressing down on them. If your device is having problems related to the buttons not responding, take a look at the troubleshooting guide before continuing with this guide. The problems related to buttons could also be a result of a faulty motherboard. However, if you know it's a problem with the buttons themselves, continue with this replacement guide. Unplug all parts of the device from any outlets before you start.
Cosa ti serve
-
-
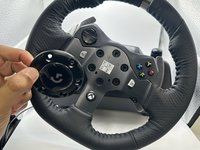
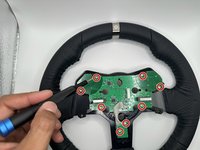
Use the Phillips #0 screwdriver to remove the five 9.5 mm external screws.
-
-


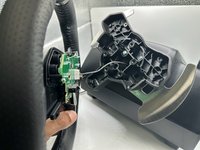
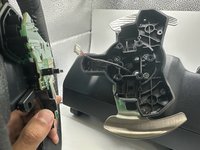


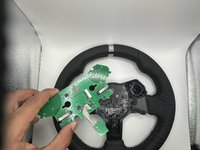

To reassemble your device, follow these instructions in reverse order.
Annulla: non ho completato questa guida.
Un'altra persona ha completato questa guida.

Team

University of North Texas, Team 2-1, Harold Fall 2023 Membro di University of North Texas, Team 2-1, Harold Fall 2023
UNT-HAROLD-F23S2G1
4 Membri
7 Guide realizzate