Introduzione
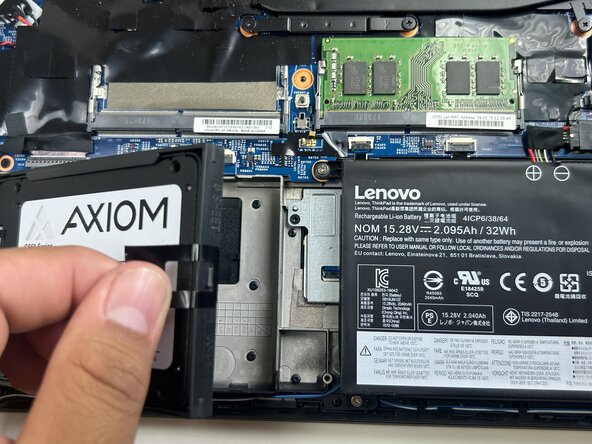
The ThinkPad P51s can be configured with a 2.5-inch SATA solid-state drive. This guide covers the replacement of the 2.5-inch SATA SSD, which is installed inside a removable caddy. Over time, an aging or failing SATA drive can cause slow boot times, operating system crashes, corrupted data, or the laptop failing to detect the storage device. Many users also upgrade the SSD to increase capacity or improve speed after years of business use.
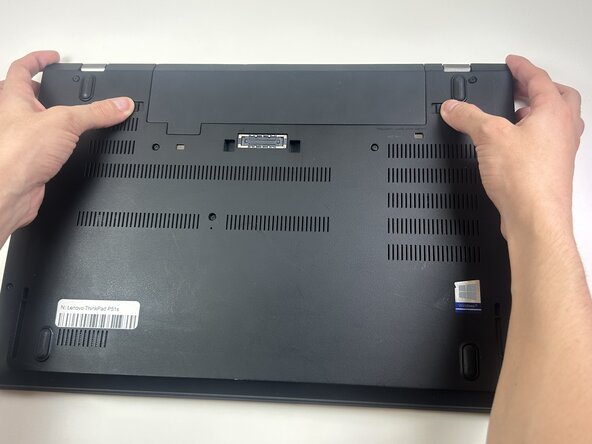
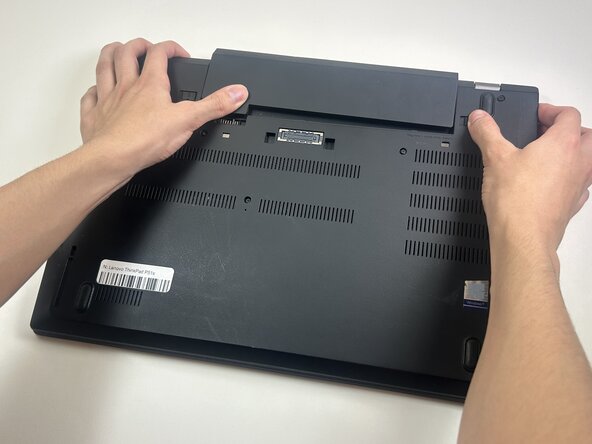
Before beginning this repair, completely power off the laptop, disconnect the AC adapter, and remove the external battery to prevent power from reaching the motherboard. The SATA drive slides out from the side of the bay once the locking latch is released, so be sure to pull the caddy straight outward to avoid damaging the connector. Handle the new SSD carefully and avoid touching the SATA pins.
This guide will walk you step-by-step through removing the SATA caddy, swapping in the replacement drive, and reinstalling it into the laptop.
Cosa ti serve


To reassemble your device, follow these instructions in reverse order.
Take your e-waste to an R2 or e-Stewards certified recycler.

Team

Austin Community College, Team 10-1, Watkins Fall 2025 Membro di Austin Community College, Team 10-1, Watkins Fall 2025
AUSTINCC-WATKINS-F25S10G1
4 Membri
5 Guide realizzate