Questa versione può contenere modifiche errate. Passa all'ultima istantanea verificata.
Cosa ti serve
-
Questo passaggio è privo di traduzione. Aiuta a tradurlo
-
Turn the closed phone so that the back panel is facing you.
-
Press down and forward firmly on the gray tab in the middle of the phone.
-
-
Questo passaggio è privo di traduzione. Aiuta a tradurlo
-
Now just lift up on the battery and remove it from the phone.
-
-
Questo passaggio è privo di traduzione. Aiuta a tradurlo
-
Remove the five screws using a Phillips #00 Screwdriver.
-
-
-
Questo passaggio è privo di traduzione. Aiuta a tradurlo
-
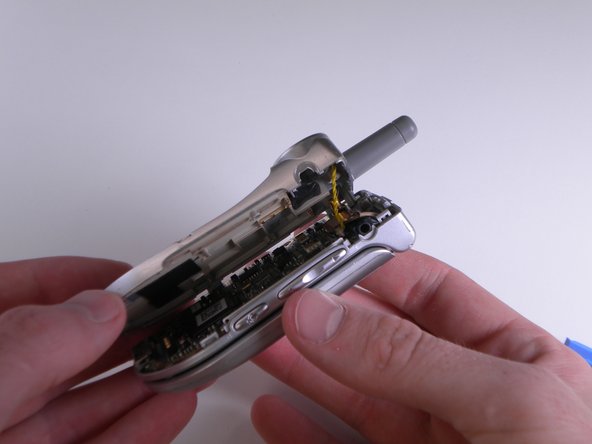
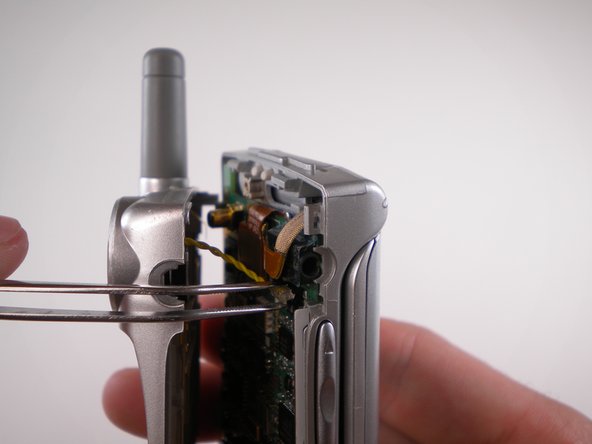
Using an Opening Tool, carefully pry off the back cover.
-
Using tweezers, gently pull the speaker wires out.
-
-
Questo passaggio è privo di traduzione. Aiuta a tradurlo
-
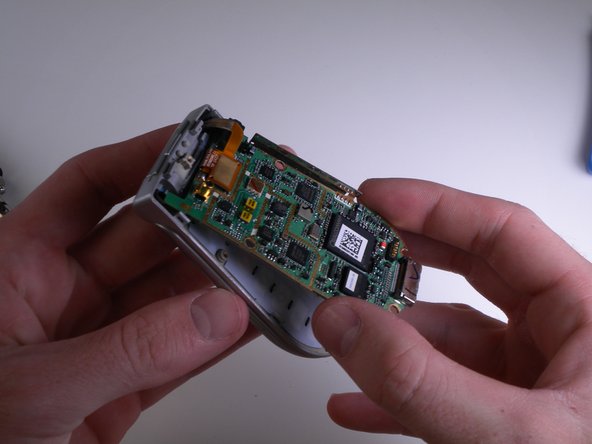
Carefully pry and lift up on the logic board using an iPod Opening Tool.
-
-
Questo passaggio è privo di traduzione. Aiuta a tradurlo
-
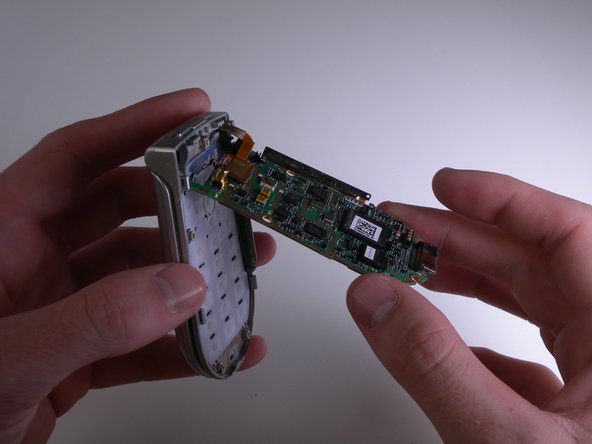
Carefully flip the logic board up and out of the way.
-
-
Questo passaggio è privo di traduzione. Aiuta a tradurlo
-
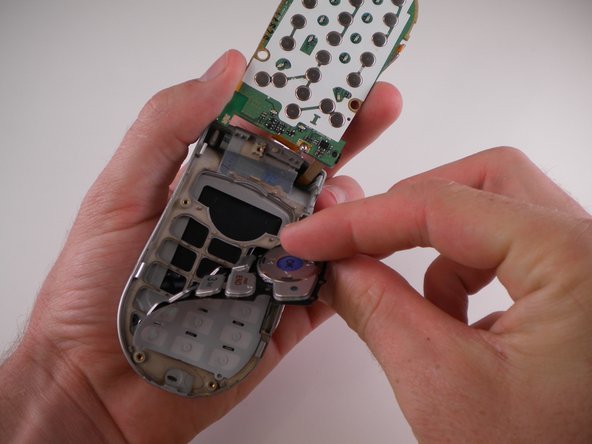
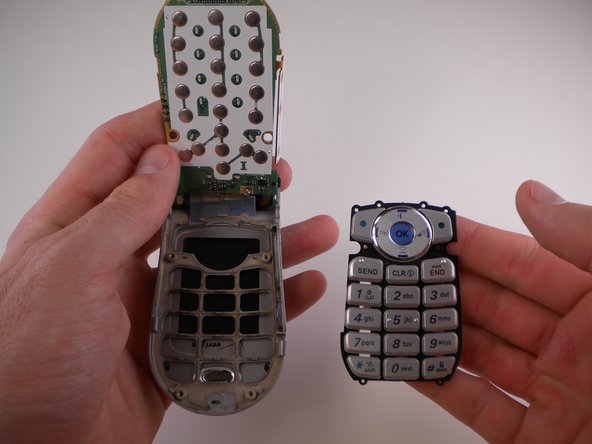
Use an iPod Opening Tool to lift up on the keypad and pull it out.
-
-
Questo passaggio è privo di traduzione. Aiuta a tradurlo
-
Use a soldering iron to desolder the solder joint on the front of the motherboard.
-
-
Questo passaggio è privo di traduzione. Aiuta a tradurlo
-
Desolder the joint on the back using a soldering iron.
-
-
Questo passaggio è privo di traduzione. Aiuta a tradurlo
-
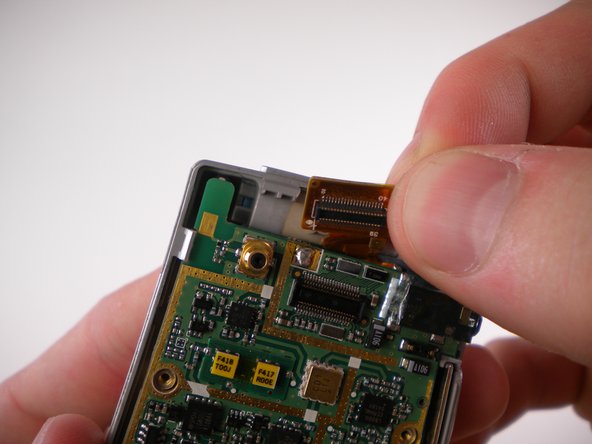
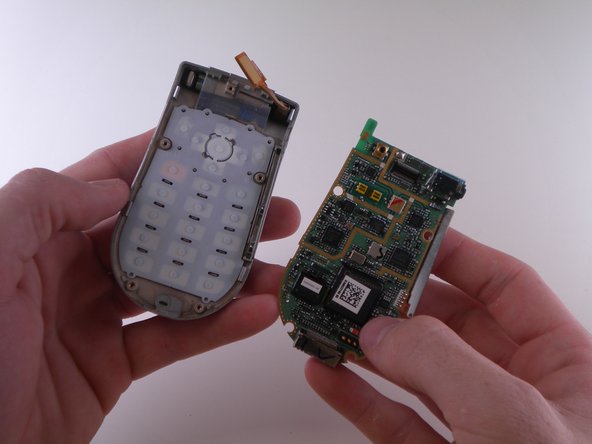
Carefully detach the ribbon cable and remove the motherboard.
-


Team

Cal Poly, Team 25-88, Amido Spring 2010 Membro di Cal Poly, Team 25-88, Amido Spring 2010
CPSU-AMIDO-S10S25G88
4 Membri
18 Guide realizzate