Introduzione
This guide will show how to replace a faulty or broken charging port on a LG Optimus F60. This process is involves soldering and can take 25-35 minutes to complete.
Cosa ti serve
-
-
Hold the phone in your hand and position the small plastic opening tool or your finger under the lip of the phone by the USB port.
-
Pry or lift up on the indent with the opening tool.
-
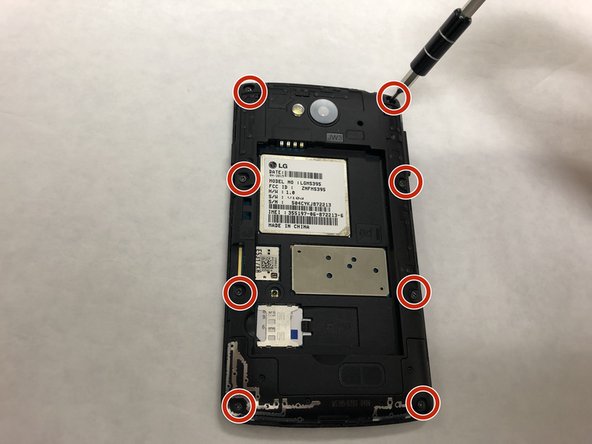
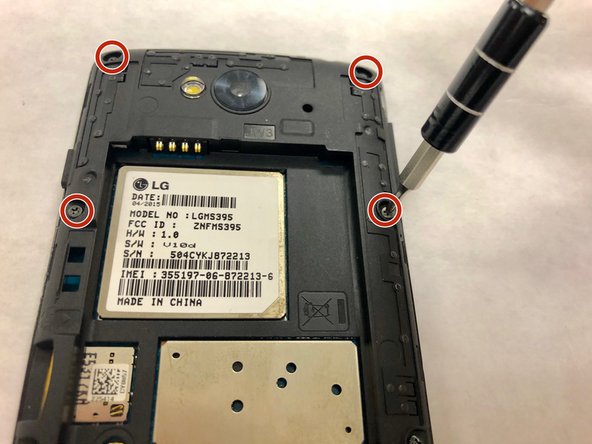
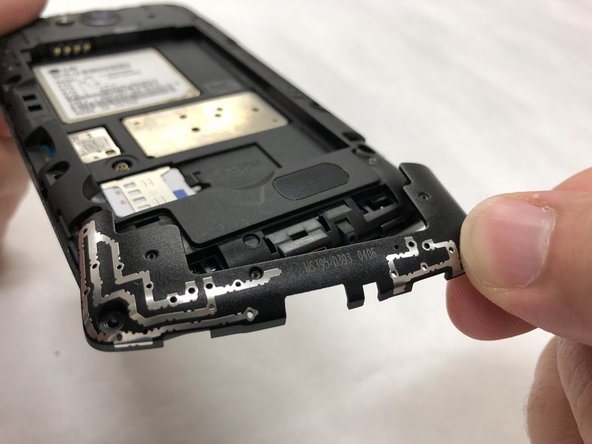
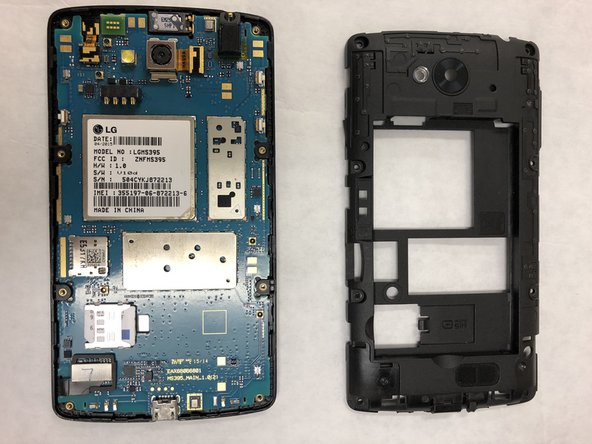
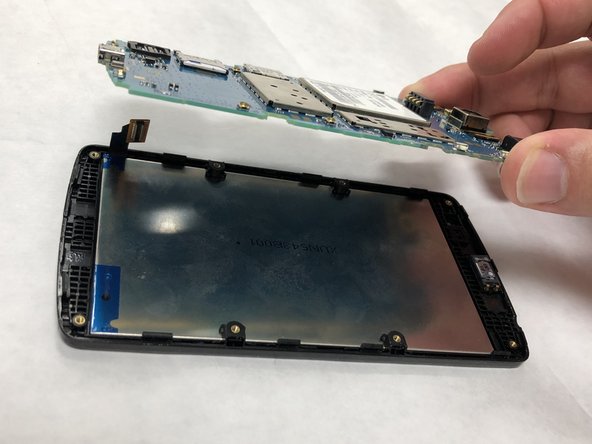
Remove the back panel.
-
-
-
-
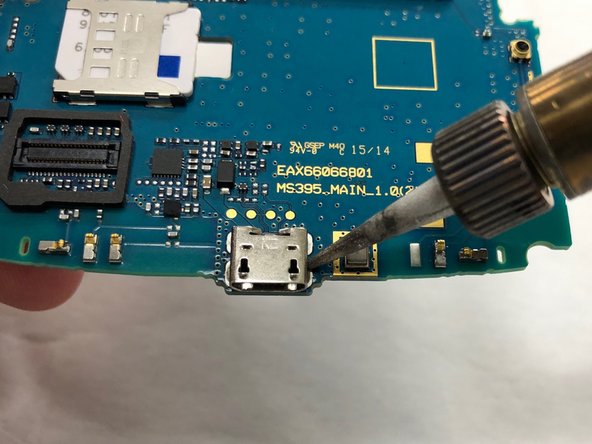
Remove the charging port with the soldering iron.
-
To desolder, refer to this guide: Come saldare e dissaldare componenti elettrici
-
Remove and replace the charging port.
-


To reassemble your device, follow these instructions in reverse order.
To reassemble your device, follow these instructions in reverse order.
Annulla: non ho completato questa guida.
Altre 3 persone hanno completato questa guida.
Team

IUPUI, Team S2-G5, Henning Spring 2019 Membro di IUPUI, Team S2-G5, Henning Spring 2019
IUPUI-HENNING-S19S2G5
3 Membri
3 Guide realizzate