Salta al contenuto principale

LG Front Load Washing Machine Rotor Replacement

Cosa ti serve

  1. LG Front Load Washing Machine Rotor Replacement, Safety Precautions: passo 1, immagine 1 di 2 LG Front Load Washing Machine Rotor Replacement, Safety Precautions: passo 1, immagine 2 di 2
    • Before you begin your repair, perform the following:

    • Turn off the main water supply

    • Unplug your washer

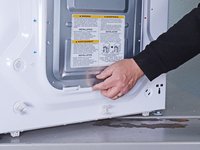
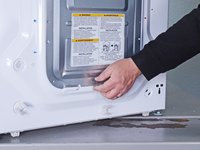
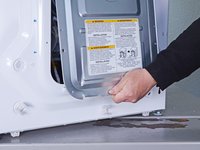
    • Disconnect all water connections at the rear of your washer

  2. LG Front Load Washing Machine Rotor Replacement, Unfasten the rear panel: passo 2, immagine 1 di 3 LG Front Load Washing Machine Rotor Replacement, Unfasten the rear panel: passo 2, immagine 2 di 3 LG Front Load Washing Machine Rotor Replacement, Unfasten the rear panel: passo 2, immagine 3 di 3
    • Remove the screw(s) securing the rear panel.

  3. LG Front Load Washing Machine Rotor Replacement, Remove the rear panel: passo 3, immagine 1 di 3 LG Front Load Washing Machine Rotor Replacement, Remove the rear panel: passo 3, immagine 2 di 3 LG Front Load Washing Machine Rotor Replacement, Remove the rear panel: passo 3, immagine 3 di 3
    • Unclip the rear panel from the chassis.

  4. LG Front Load Washing Machine Rotor Replacement: passo 4, immagine 1 di 1
    • Remove the rear panel.

  5. LG Front Load Washing Machine Rotor Replacement, Unfasten the rotor: passo 5, immagine 1 di 2 LG Front Load Washing Machine Rotor Replacement, Unfasten the rotor: passo 5, immagine 2 di 2
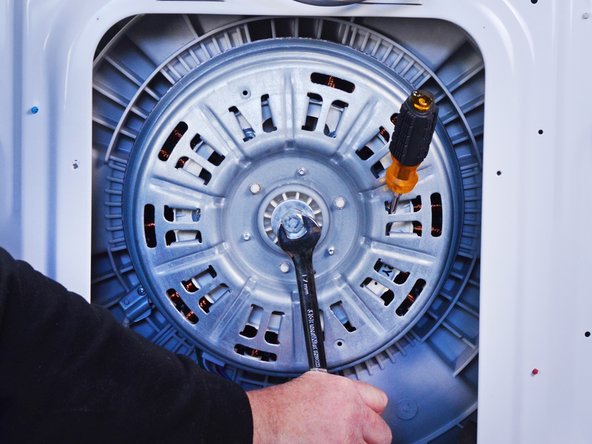
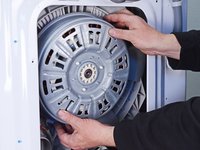
    • Use an impact driver to remove the 17 mm nut securing the rotor.

    • Alternatively, you can use a wrench and a hammer to loosen the nut.

    • To secure the rotor, you can insert a screwdriver, or a similar tool, between the rotor and the stator. Make sure to brace the tool against one of the screw bosses on the stator.

  6. LG Front Load Washing Machine Rotor Replacement, Remove the rotor: passo 6, immagine 1 di 2 LG Front Load Washing Machine Rotor Replacement, Remove the rotor: passo 6, immagine 2 di 2
    • The rotor is magnetically attracted to the stator.

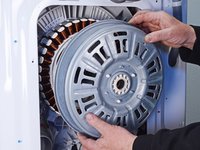
    • Pull the rotor straight off the stator and drive shaft splines to remove it.

    • Wiggle the rotor as you pull to help disconnect it.

    • This may require significant force.

    • During reassembly, watch your fingers when aligning the rotor over the stator, as the rotor gets sucked in easily.

Conclusione

To reassemble your device, follow these instructions in reverse order.

Take your e-waste to an R2 or e-Stewards certified recycler.

Repair didn’t go as planned? Ask our Answers community for help.

Bill Gilbert

Membro da: 06/30/22

29.938 Reputazione

213 Guide realizzate

Team

iFixit Membro di iFixit

Staff

136 Membri

17.303 Guide realizzate

0 Commenti

Aggiungi Commento

Visualizza Statistiche:

Ultime 24 Ore: 3

Ultimi 7 Giorni: 8

Ultimi 30 Giorni: 49

Tutti i Tempi: 721