Salta al contenuto principale
Unisciti alla Community delle riparazioni - Crea un account
LG Front Load Washing Machine Control Panel Replacement

LG Front Load Washing Machine Control Panel Replacement

Bill Gilbert

Bill Gilbert e un altro collaboratore

Ultimo aggiornamento il 11 apr 2023

15 - 30 minuti
Moderato
Guida In Evidenza

Introduzione

Vai al passo 1

Use this guide to replace the control panel in your LG front load washing machine.

The control panel contains the buttons, dials, and control knob to adjust the wash settings. If you have a broken control knob or button, you can access it by following this guide.

This guide will work for most LG front load washing machines. This guide is written with a model WM3050CW washer. If you have a different model, you may encounter some minor disassembly differences, but the overall repair process will be the same.

Cosa ti serve

Strumenti

Mostra di più…

  1. LG Front Load Washing Machine Control Panel Replacement, Safety Precautions: passo 1, immagine 1 di 2 LG Front Load Washing Machine Control Panel Replacement, Safety Precautions: passo 1, immagine 2 di 2
    • Before you begin your repair, perform the following:

    • Turn off the main water supply

    • Unplug your washer

    • Disconnect all water connections at the rear of your washer

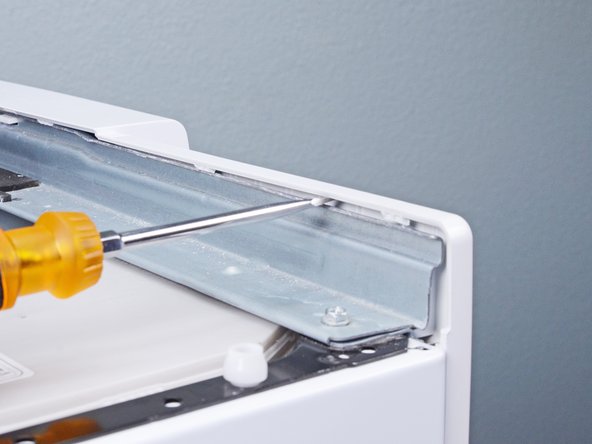
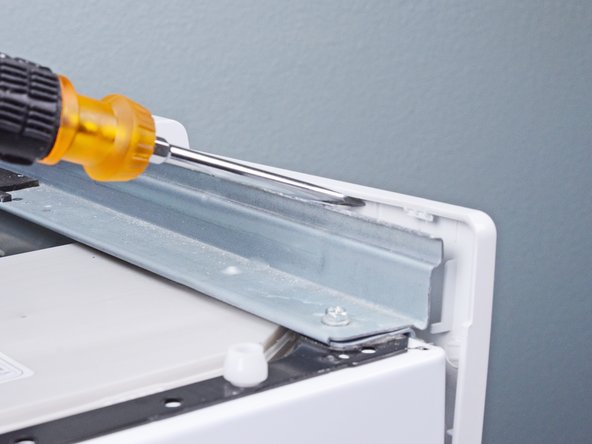
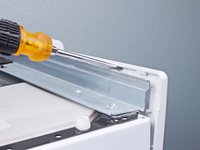
  2. LG Front Load Washing Machine Control Panel Replacement, Unfasten the top panel: passo 2, immagine 1 di 3 LG Front Load Washing Machine Control Panel Replacement, Unfasten the top panel: passo 2, immagine 2 di 3 LG Front Load Washing Machine Control Panel Replacement, Unfasten the top panel: passo 2, immagine 3 di 3
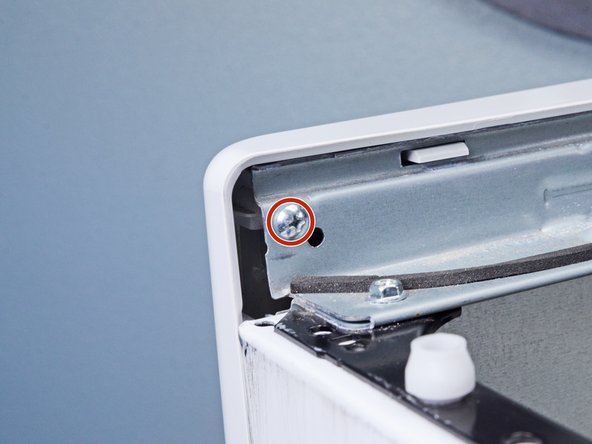
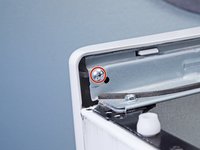
    • Remove the screw(s) securing the top panel brackets to the back panel.

    • You don't need to remove the screws securing the brackets to the top panel.

  3. LG Front Load Washing Machine Control Panel Replacement, Remove the top panel: passo 3, immagine 1 di 2 LG Front Load Washing Machine Control Panel Replacement, Remove the top panel: passo 3, immagine 2 di 2
    • Slide the top panel towards the rear of the device to disconnect its clips.

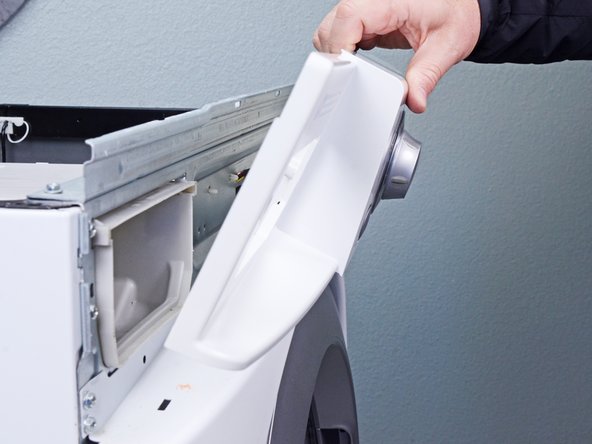
  4. LG Front Load Washing Machine Control Panel Replacement: passo 4, immagine 1 di 2 LG Front Load Washing Machine Control Panel Replacement: passo 4, immagine 2 di 2
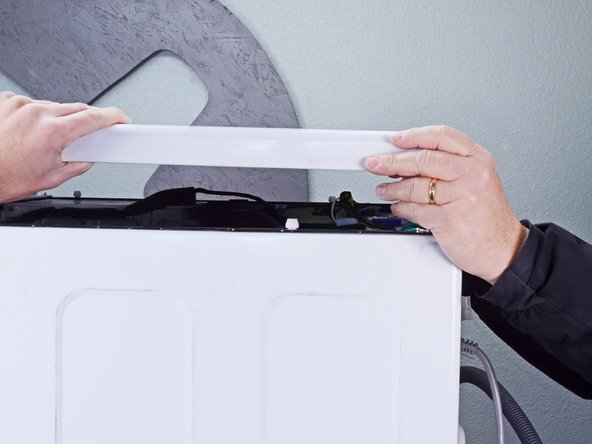
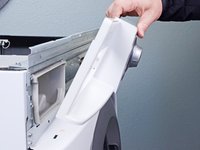
    • Tilt the top panel upward to completely disconnect it from the chassis.

    • Remove the top panel.

  5. LG Front Load Washing Machine Control Panel Replacement, Remove the detergent drawer: passo 5, immagine 1 di 2 LG Front Load Washing Machine Control Panel Replacement, Remove the detergent drawer: passo 5, immagine 2 di 2
    • Pull the detergent drawer away from the chassis as far as it will go.

  6. LG Front Load Washing Machine Control Panel Replacement: passo 6, immagine 1 di 3 LG Front Load Washing Machine Control Panel Replacement: passo 6, immagine 2 di 3 LG Front Load Washing Machine Control Panel Replacement: passo 6, immagine 3 di 3
    • Press down on the "Push" button to disengage the clips securing the detergent drawer.

    • Pull the drawer out of its slot on the chassis and remove it.

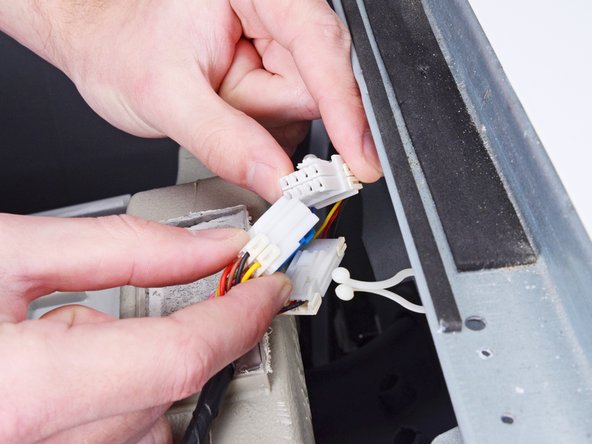
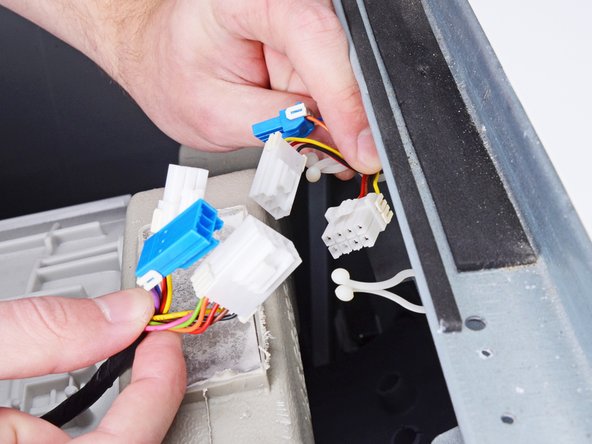
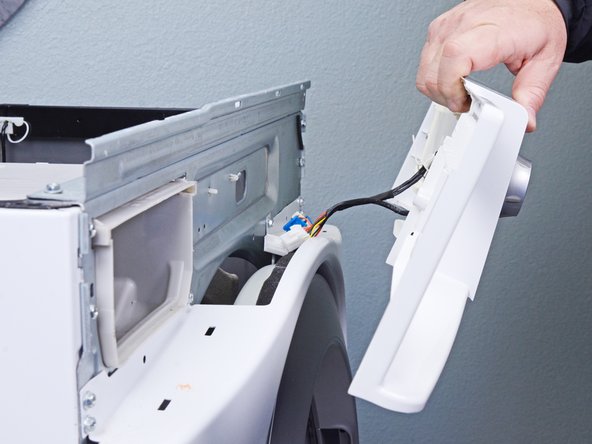
  7. LG Front Load Washing Machine Control Panel Replacement, Disconnect the control panel: passo 7, immagine 1 di 3 LG Front Load Washing Machine Control Panel Replacement, Disconnect the control panel: passo 7, immagine 2 di 3 LG Front Load Washing Machine Control Panel Replacement, Disconnect the control panel: passo 7, immagine 3 di 3
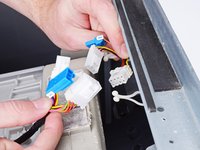
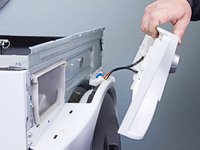
    • Disconnect the connectors attached to the control panel.

    • Always grip cables by their connectors and not the wires themselves.

  8. LG Front Load Washing Machine Control Panel Replacement, Unfasten the control panel: passo 8, immagine 1 di 2 LG Front Load Washing Machine Control Panel Replacement, Unfasten the control panel: passo 8, immagine 2 di 2
    • Remove the screw(s) securing the control panel.

  9. LG Front Load Washing Machine Control Panel Replacement, Unfasten the detergent dispenser: passo 9, immagine 1 di 1
    • Remove the screw(s) securing the detergent dispenser.

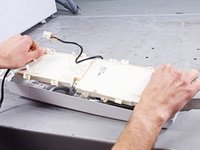
  10. LG Front Load Washing Machine Control Panel Replacement, Unclip the control panel: passo 10, immagine 1 di 3 LG Front Load Washing Machine Control Panel Replacement, Unclip the control panel: passo 10, immagine 2 di 3 LG Front Load Washing Machine Control Panel Replacement, Unclip the control panel: passo 10, immagine 3 di 3
    • Use a flathead screwdriver, or a pry tool, to unclip the control panel from the chassis.

  11. LG Front Load Washing Machine Control Panel Replacement, Remove the control panel: passo 11, immagine 1 di 3 LG Front Load Washing Machine Control Panel Replacement, Remove the control panel: passo 11, immagine 2 di 3 LG Front Load Washing Machine Control Panel Replacement, Remove the control panel: passo 11, immagine 3 di 3
    • Remove the control panel, making sure to thread any cables through the chassis.

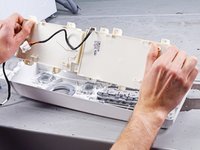
  12. LG Front Load Washing Machine Control Panel Replacement, Unfasten the control panel board: passo 12, immagine 1 di 1
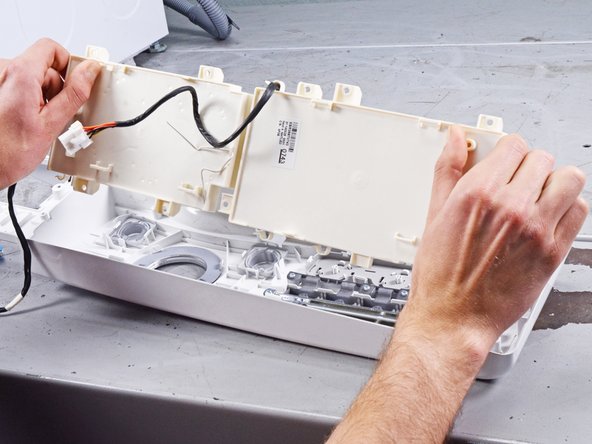
    • Flip the control panel over.

    • Remove the screw(s) securing the control panel board.

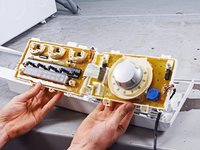
  13. LG Front Load Washing Machine Control Panel Replacement, Remove the control panel board: passo 13, immagine 1 di 3 LG Front Load Washing Machine Control Panel Replacement, Remove the control panel board: passo 13, immagine 2 di 3 LG Front Load Washing Machine Control Panel Replacement, Remove the control panel board: passo 13, immagine 3 di 3
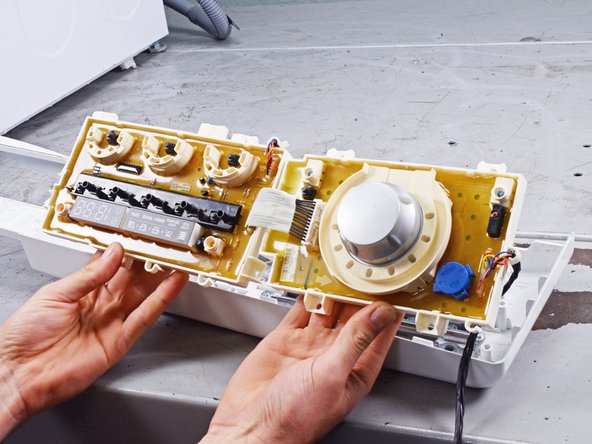
    • Pull the control panel board out of its slot and remove it.

Conclusione

To reassemble your device, follow these instructions in reverse order.

Take your e-waste to an R2 or e-Stewards certified recycler.

Repair didn’t go as planned? Ask our Answers community for help.

Altre 2 persone hanno completato questa guida.

Bill Gilbert

Membro da: 06/30/22

37.667 Reputazione

261 Guide realizzate

Team

iFixit Membro di iFixit

Staff

120 Membri

20.785 Guide realizzate

0Commenti sulla guida

Aggiungi Commento

Visualizza Statistiche:

Ultime 24 Ore: 6

Ultimi 7 Giorni: 15

Ultimi 30 Giorni: 96

Tutti i Tempi: 2,427