Introduzione
Please follow our first few steps to identify your device and ensure that it is applicable to this guide. Once this is completed you may begin the process of replacing your screen.
Cosa ti serve
-
-
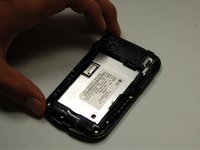
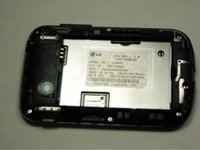
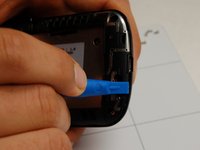
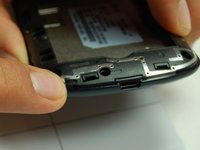
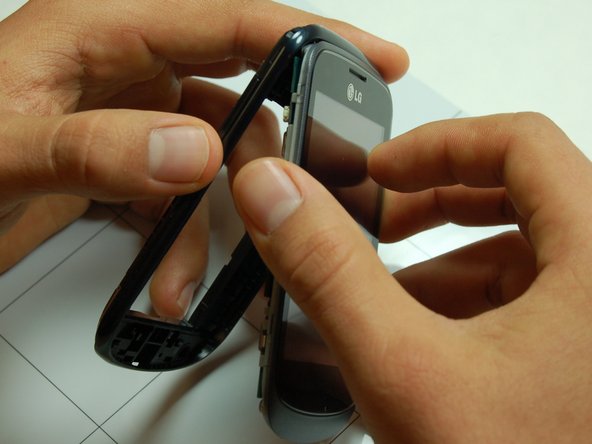
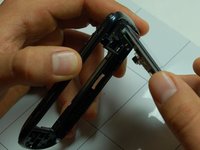
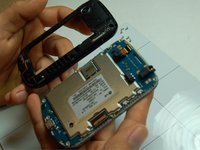
Pry open the back case on the device with a plastic opening tool going around the edges of the device to ensure it is taken off with no damage then finally remove it and place it on the side.
-
-
-
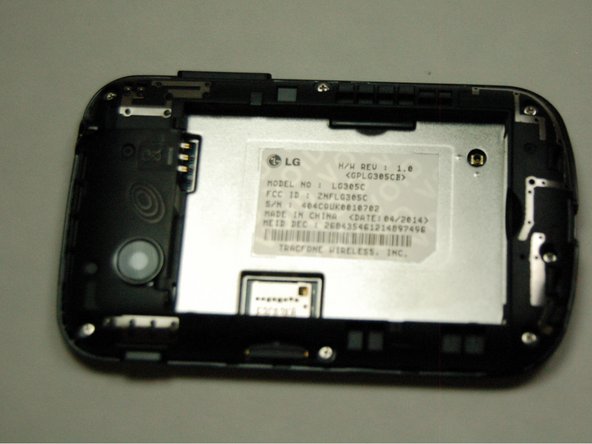
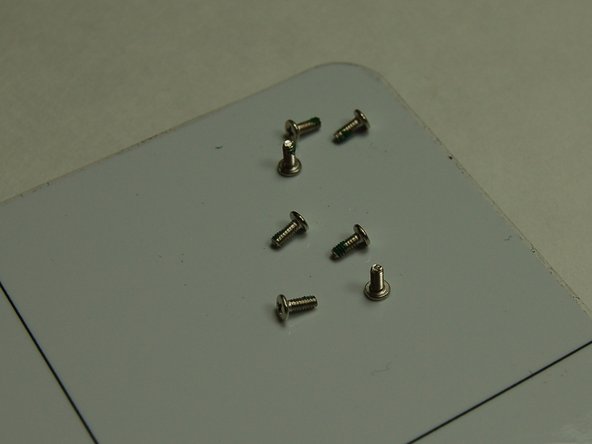
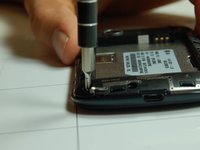
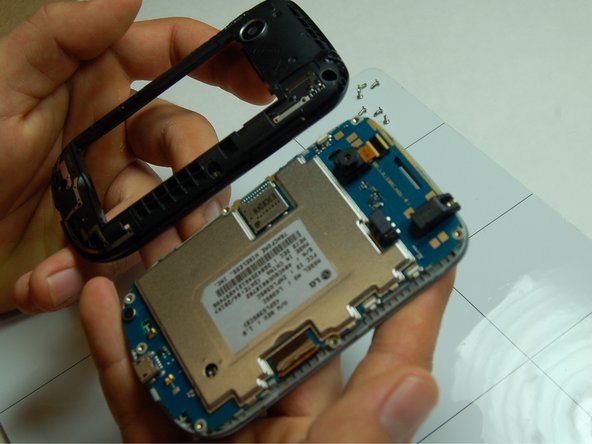
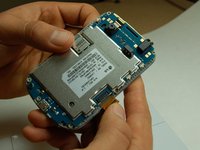
Unscrew the back of your device and on the white strip underneath, it should read LG 305C.
-
Note: If it does not read LG305C as the model number, please refer to another guide in order to replace your screen.
-
-


To reassemble your device, follow the steps in reverse. Take your e-waste to an R2 or e-Stewards certified recycler.
Annulla: non ho completato questa guida.
Un'altra persona ha completato questa guida.