Questa versione può contenere modifiche errate. Passa all'ultima istantanea verificata.
Cosa ti serve
-
Questo passaggio è privo di traduzione. Aiuta a tradurlo
-
Consult documentation (Use & Care Guide, Installation Instructions) for proper instruction. Follow this step only if you lack official documentation.
-
Insert door removal pins into each door hinge. If you lack paper documentation, then probably you lack door removal pins, so you can use nails.
-
Nails can scratch porcelain finish.
-
Close door, hinges will jam, continue closing until hinges tilt upward. Lift and remove door.
-
-
Questo passaggio è privo di traduzione. Aiuta a tradurlo
-
Consult documentation (Installation Instructions) for proper instruction. Follow this step only if you lack official documentation.
-
Each side trim is fastened with one screw. Remove screws, pull bottom end of trim away from oven, slide trim downward, pull it off.
-
optional: Remove bottom trim, two screws, pull it off.
-
-
-
Questo passaggio è privo di traduzione. Aiuta a tradurlo
-
Consult documentation (Installation Instructions) for proper instruction. Follow this step only if you lack official documentation.
-
Each oven is secured to wall by two screws, one through each side mounting flange. Remove.
-
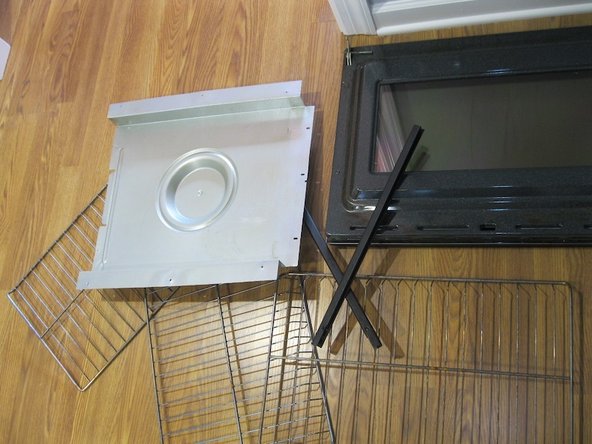
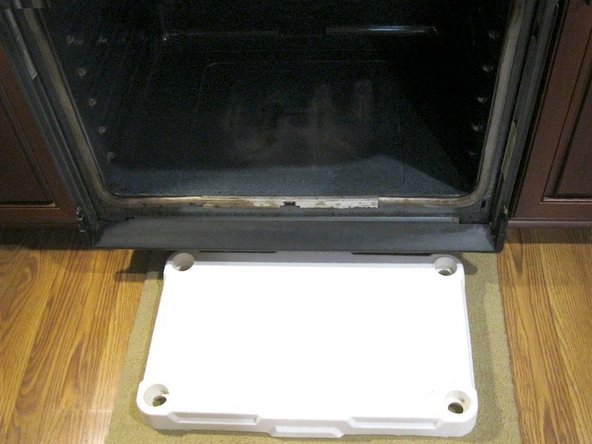
Set aside racks and pans and other weight.
-
Find something to use as a stand/pedestal/base for your oven. Use original shipping base and shipping feet if you have them. If you lack original documentation, then probably you lack shipping material, so you can use dimensional lumber or a shelf plank.
-
Pull out oven, set it on a temporary stand, orient it so you have full access to its rear.
-
-
Questo passaggio è privo di traduzione. Aiuta a tradurlo
-
Rear cover is fastened on with eleven screws through sheet metal, cruciform drive recess. PHILLIPS #2 seems to fit. High torque is not involved, so fit is not important. Remove screws, rear cover.
-
Thermal fuse / thermal overload device (TOD) is located outside of insulation envelope, fastened on with two screws (cruciform drive recess (PHILLIPS #2 seems to fit), moderate torque).
-
Disconnect fuse/TOD. when replacing: Orientation does not matter, as it carries mains AC.
-


Annulla: non ho completato questa guida.
Altre 2 persone hanno completato questa guida.
2 Commenti
For my subject oven (KitchenAid KEBS107), I need part number 4452223, description 'Thermostat (TOD) (Temp.) SPST'. Alone, I spent approximately one hour, snapping pictures and replacing subject part. Although my pictures are mediocre, the photography took more effort than the repair. So required time (for my single oven) is less than half of one hour. For a double oven, or for small- or weak-bodied owners, this might be a longer job for a two-person team.
I have an older KitchenAid range. Everything works perfectly, then the oven element and convection element stopped working. I was baking at 400 deg. All I did was open the oven, turned the chicken over, and close the oven and it hasn't worked since. I can't find a thermal fuse anywhere and I've had the whole stove apart. Everything tests good. I have a dilemma. Model: KERC507HWHE, Ser: IMP0156570