Introduzione
If your Keurig is unable to turn on, you may need to replace your power cable with this guide.
Cosa ti serve


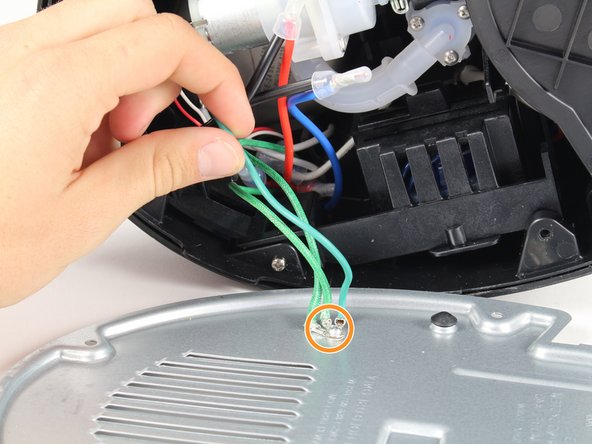
Quasi finito!
To reassemble your device, follow these instructions in reverse order.
Conclusione
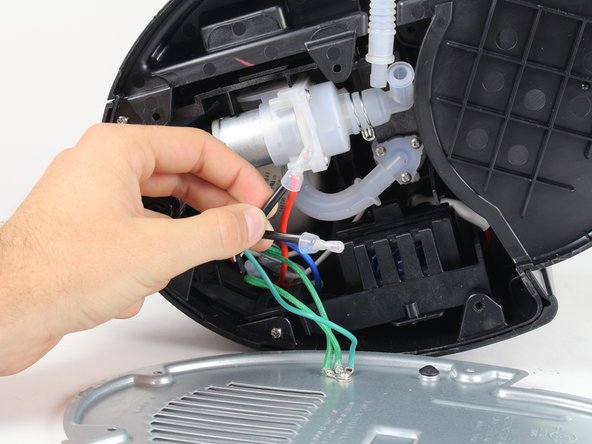
To reassemble your device, follow these instructions in reverse order.
Team

Cal Poly, Team S1-G3, Livingston Winter 2018 Membro di Cal Poly, Team S1-G3, Livingston Winter 2018
CPSU-LIVINGSTON-W18S1G3
4 Membri
5 Guide realizzate