Salta al contenuto principale

Karcher Carpet Cleaner 10066730 2014 Heater Replacement

Cosa ti serve

  1. Karcher Carpet Cleaner 10066730 2014 Heater Replacement, Lower the device down: passo 1, immagine 1 di 3 Karcher Carpet Cleaner 10066730 2014 Heater Replacement, Lower the device down: passo 1, immagine 2 di 3 Karcher Carpet Cleaner 10066730 2014 Heater Replacement, Lower the device down: passo 1, immagine 3 di 3
    • Before beginning repairs, disconnect the device from power, disconnect all hoses, drain and depressurize the system, and let the device cool if the heater was recently used.

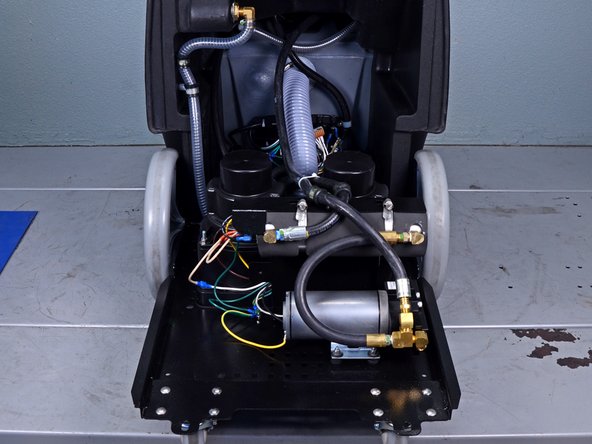
    • Lower the device down so it is laying on its backside, bottom facing out.

  2. Karcher Carpet Cleaner 10066730 2014 Heater Replacement, Remove the wing nuts: passo 2, immagine 1 di 1
    • Remove the two wing nuts securing the base to the device.

    • The base is heavy, so be prepared to lower it down slowly once the wing nuts are removed.

  3. Karcher Carpet Cleaner 10066730 2014 Heater Replacement, Lower the base down: passo 3, immagine 1 di 3 Karcher Carpet Cleaner 10066730 2014 Heater Replacement, Lower the base down: passo 3, immagine 2 di 3 Karcher Carpet Cleaner 10066730 2014 Heater Replacement, Lower the base down: passo 3, immagine 3 di 3
    • Lower the base down until the swivel wheels touch the ground.

  4. Karcher Carpet Cleaner 10066730 2014 Heater Replacement, Free the hoses: passo 4, immagine 1 di 1
    • Use an 11 mm socket to remove the nut and washer securing the hose retainer clamps.

  5. Karcher Carpet Cleaner 10066730 2014 Heater Replacement: passo 5, immagine 1 di 2 Karcher Carpet Cleaner 10066730 2014 Heater Replacement: passo 5, immagine 2 di 2
    • Use a pair of flush cutters or sharp scissors to cut the zip tie securing the two hoses together.

    • Pull the hose retaining clamps off of the bolt they were secured by.

    • During reassembly, install a new zip tie.

  6. Karcher Carpet Cleaner 10066730 2014 Heater Replacement, Remove the output hose: passo 6, immagine 1 di 2 Karcher Carpet Cleaner 10066730 2014 Heater Replacement, Remove the output hose: passo 6, immagine 2 di 2
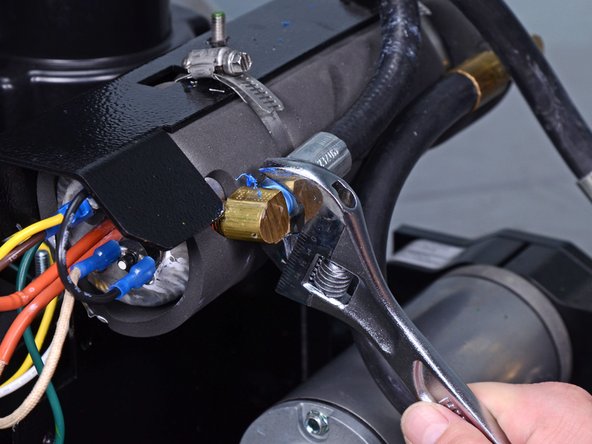
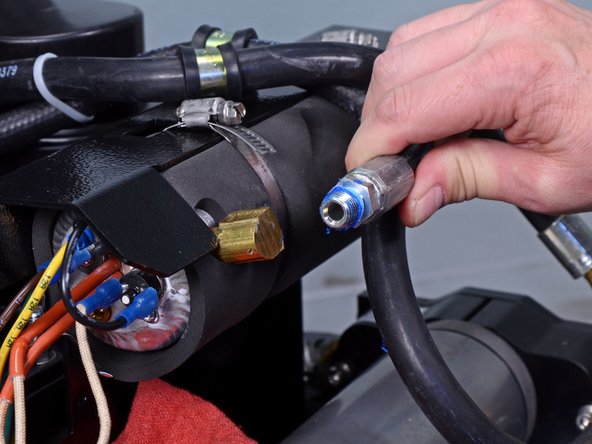
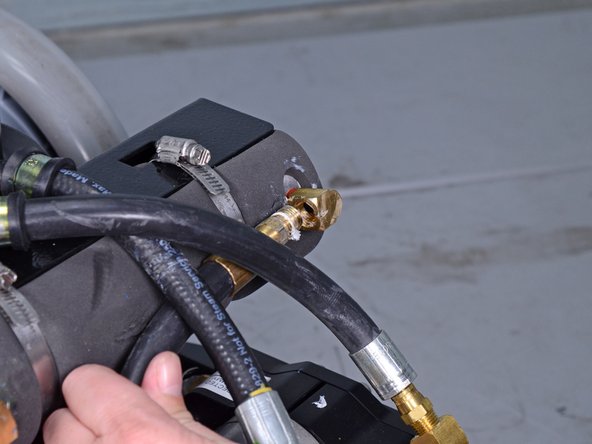
    • Use a crescent wrench to loosen the 11/16 inch water output hose fitting on the heater.

  7. Karcher Carpet Cleaner 10066730 2014 Heater Replacement: passo 7, immagine 1 di 2 Karcher Carpet Cleaner 10066730 2014 Heater Replacement: passo 7, immagine 2 di 2
    • Remove the water output hose from its fitting on the heater.

    • Place a shop rag underneath the fitting to catch any drips.

    • Add fresh plumber's tape to the fitting when reinstalling.

  8. Karcher Carpet Cleaner 10066730 2014 Heater Replacement, Remove the input hose: passo 8, immagine 1 di 2 Karcher Carpet Cleaner 10066730 2014 Heater Replacement, Remove the input hose: passo 8, immagine 2 di 2
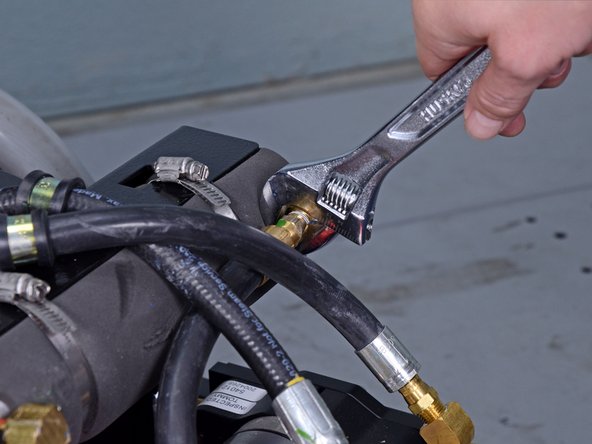
    • Use a crescent wrench to loosen the 9/16 inch water input hose fitting on the heater.

  9. Karcher Carpet Cleaner 10066730 2014 Heater Replacement: passo 9, immagine 1 di 2 Karcher Carpet Cleaner 10066730 2014 Heater Replacement: passo 9, immagine 2 di 2
    • Remove the water input hose from its fitting on the heater.

    • Add fresh plumber's tape to the fitting when reinstalling.

  10. Karcher Carpet Cleaner 10066730 2014 Heater Replacement, Unmount the heater: passo 10, immagine 1 di 1
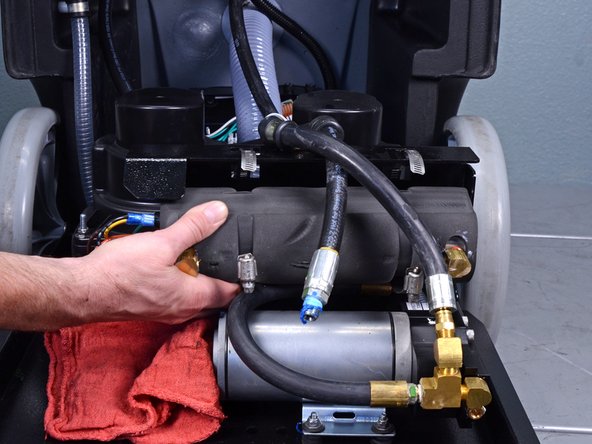
    • Use a large flathead screwdriver to loosen the pie clamps securing the heater.

  11. Karcher Carpet Cleaner 10066730 2014 Heater Replacement: passo 11, immagine 1 di 2 Karcher Carpet Cleaner 10066730 2014 Heater Replacement: passo 11, immagine 2 di 2
    • Pull both pie clamps apart, freeing the heater.

  12. Karcher Carpet Cleaner 10066730 2014 Heater Replacement: passo 12, immagine 1 di 3 Karcher Carpet Cleaner 10066730 2014 Heater Replacement: passo 12, immagine 2 di 3 Karcher Carpet Cleaner 10066730 2014 Heater Replacement: passo 12, immagine 3 di 3
    • Roll the heater down and pull it left, away from the device to remove it.

    • Be careful to not snag any hoses when removing the heater.

    • Do not attempt to fully remove the heater yet, as it is still connected to power.

  13. Karcher Carpet Cleaner 10066730 2014 Heater Replacement, Remove the wires from the heater: passo 13, immagine 1 di 3 Karcher Carpet Cleaner 10066730 2014 Heater Replacement, Remove the wires from the heater: passo 13, immagine 2 di 3 Karcher Carpet Cleaner 10066730 2014 Heater Replacement, Remove the wires from the heater: passo 13, immagine 3 di 3
    • Keep track of which wire goes where, marking wires with tape if you need to.

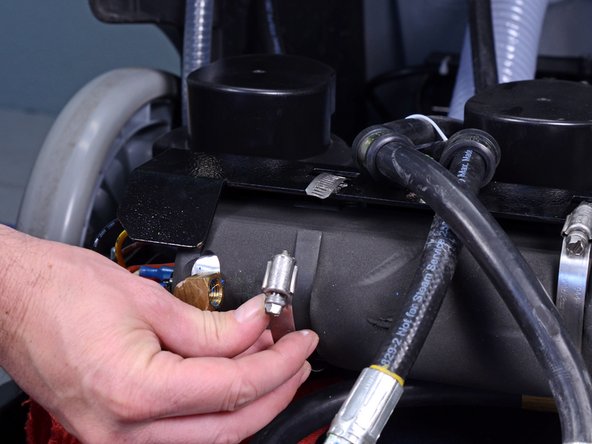
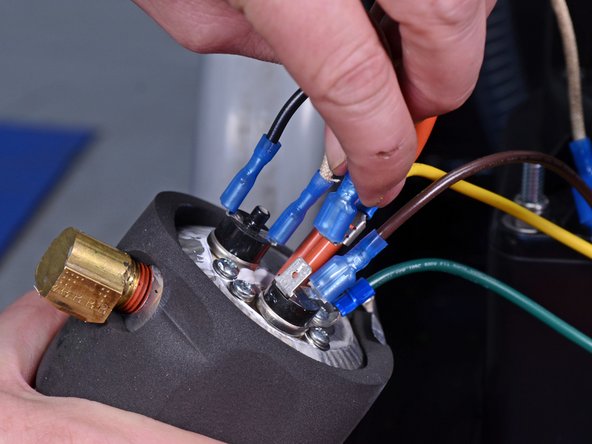
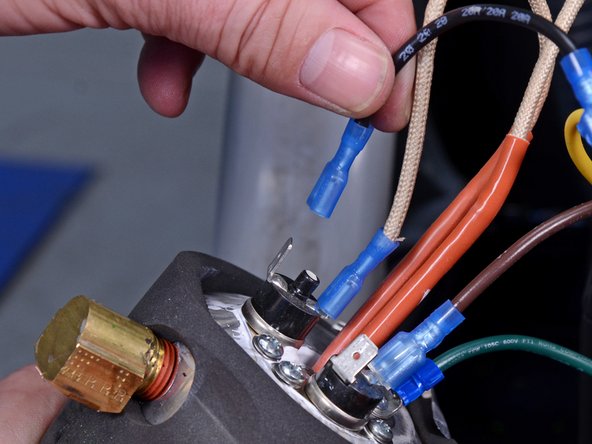
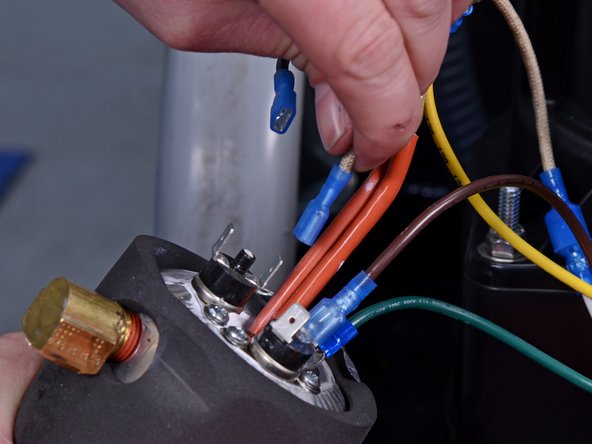
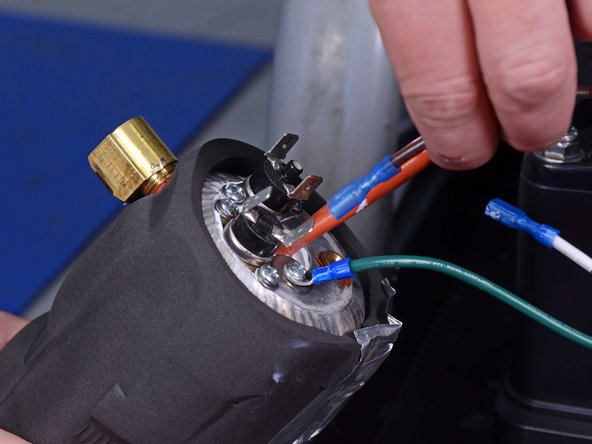
    • Grip the black ground jumper wire by its blue connector and pull directly away from the heater to remove it.

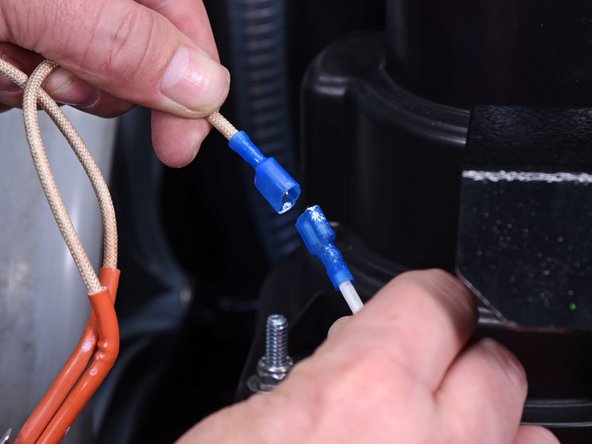
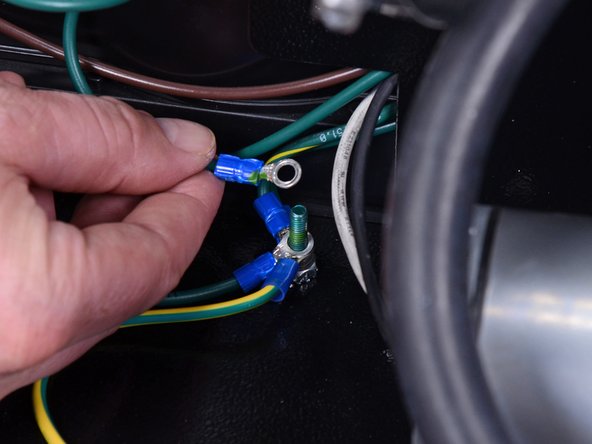
    • Remove the other side of the black ground jumper wire.

  14. Karcher Carpet Cleaner 10066730 2014 Heater Replacement: passo 14, immagine 1 di 2 Karcher Carpet Cleaner 10066730 2014 Heater Replacement: passo 14, immagine 2 di 2
    • Grip the tan power wire by its blue connector and pull directly away from the heater to remove it.

  15. Karcher Carpet Cleaner 10066730 2014 Heater Replacement: passo 15, immagine 1 di 2 Karcher Carpet Cleaner 10066730 2014 Heater Replacement: passo 15, immagine 2 di 2
    • Separate the tan and white wires.

  16. Karcher Carpet Cleaner 10066730 2014 Heater Replacement: passo 16, immagine 1 di 2 Karcher Carpet Cleaner 10066730 2014 Heater Replacement: passo 16, immagine 2 di 2
    • Grip the brown intermittent power wire by its blue connector and pull directly away from the heater to remove it.

  17. Karcher Carpet Cleaner 10066730 2014 Heater Replacement: passo 17, immagine 1 di 1
    • Use a 3/8 inch socket to remove the nut securing the ground wires.

  18. Karcher Carpet Cleaner 10066730 2014 Heater Replacement: passo 18, immagine 1 di 2 Karcher Carpet Cleaner 10066730 2014 Heater Replacement: passo 18, immagine 2 di 2
    • Remove the heater's green ground wire from the stack.

    • The heater's wire should be the upmost wire in the stack after removing the nut.

  19. Karcher Carpet Cleaner 10066730 2014 Heater Replacement, Remove the heater: passo 19, immagine 1 di 1
    • Remove the heater.

Conclusione

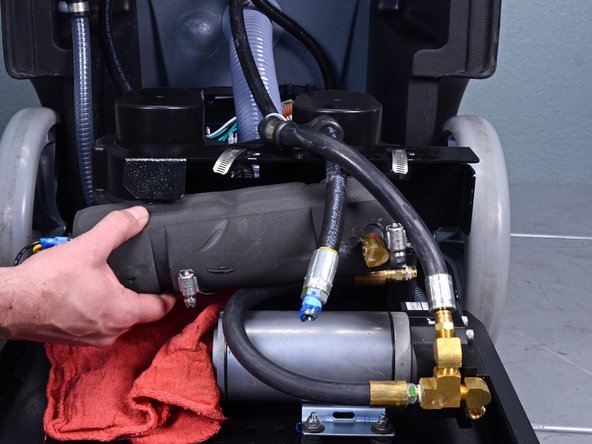
To reassemble your device, follow these instructions in reverse order.

Altre 2 persone hanno completato questa guida.

Carsten Frauenheim

Membro da: 03/10/20

113.699 Reputazione

338 Guide realizzate

Team

iFixit Membro di iFixit

Staff

135 Membri

16.817 Guide realizzate

0 Commenti

Aggiungi Commento

Visualizza Statistiche:

Ultime 24 Ore: 0

Ultimi 7 Giorni: 8

Ultimi 30 Giorni: 35

Tutti i Tempi: 835