Introduzione
Questa guida illustra come sostituire il disco rigido.
Cosa ti serve
-
-
Allentare la vite con testa a croce al centro dello sportello di accesso.
-
Rimuovere lo sportello di accesso dall'iMac.
-
-
-
Far aderire due ventose agli angoli opposti del pannello di vetro.
-
-
-
Rimuovere le 12 viti seguenti, che fissano la mascherina anteriore al case posteriore:
-
Otto viti Torx T8 da 13 mm.
-
Quattro viti Torx T8 da 25 mm.
-
-
-
Sollevare delicatamente la mascherina dal bordo superiore, lontano dal case posteriore. Può essere utile premere delicatamente gli angoli del display con i pollici.
-
Dopo aver rimosso il bordo superiore della mascherina anteriore dal case posteriore, ruotare la mascherina verso la staffa ed estrarla dal case posteriore.
-
-
-
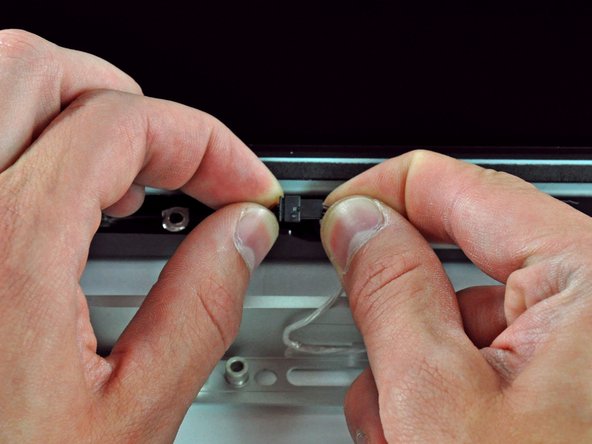
Scollegare il sensore temperatura dell'LCD estraendone il connettore direttamente dal connettore femmina sulla scheda logica.
-
-
-
-
Rimuovere la porzione di nastro in schiuma che copre il sensore termico del disco rigido.
-


Per riassemblare il dispositivo, segui queste istruzioni in ordine inverso.
Per riassemblare il dispositivo, segui queste istruzioni in ordine inverso.
Annulla: non ho completato questa guida.
Altre 435 persone hanno completato questa guida.
Un ringraziamento speciale a questi traduttori:
100%


Questi traduttori ci stanno aiutando ad aggiustare il mondo! Vuoi partecipare?
Inizia a tradurre ›


49 Commenti
Thank you Brittany for putting together an awesome guide! I was able to swap in a leftover MBA SSD into my 2007 iMac before gifting it to my father-in-law. This iMac was showing its age with Lion installed, mostly due to 2 GB of RAM and a so-so magnetic drive. I was hesitant to gift a hand-me-down with little usable life. Not anymore! I have no doubt that the 5GB of RAM and a super fast SSD breathed another 5+ years of enjoyment into this iMac. Reuse beats recycling! Thank you!
But without any OSX updates .... Your path is Linux
FYI - The iFixit store links for the Torx screwdriver incorrectly displays the security Torx drivers. I had my own set of regular Torx drivers and competed this successfully. I did not find the security (center post) variant of the Torx screwhead anywhere in my iMac.
Security Torx drivers work on both regular Torx and security Torx bits, so we sell the security drivers to keep people from having to buy two tools.
Excellent guide. The entire process took less than 90 minutes and I was not in a hurry. Everybody told me that the iMacs were designed to be "user-proof" and had to be worked on by qualified technicians. What do they know? Now my computer is back up and running with a 1TB drive and it cost less than $150 - even with shipping costs factored in. Great job guys!!!