Cosa ti serve
-
-
Using the plastic opening tool, remove screen protector from front of monitor.
-
-
-
Disconnect speaker from monitor for ease of access by unplugging wire.
Thank you so much for this - and thank you to the commenter who walked through the additional screen replacement steps! I’ve never done anything like this and I managed to replace the screen myself.
-
-
-
-
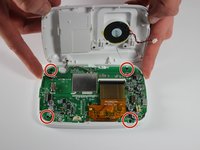
Unscrew the four 3 mm screws holding the motherboard to the unit using a Phillips #00 screwdriver.
-
-
-
Flip the unit over to ensure a correct fitment.
Where do you buy a new charging port? Also, you didn't include new charging port as an item that is needed for this tutorial. Might be self-explanatory but why say "no parts required" when clearly a part is required?
In any event, thanks for this tutorial. Much appreciated!
The part you are looking for is a female Micro USB B-Type solder socket. I no longer have the unit available to confirm, but I'll bet you could contact Infant Optics and confirm with them. Sorry I can't be of more help!
-
To reassemble your device, follow these instructions in reverse order.
To reassemble your device, follow these instructions in reverse order.
Annulla: non ho completato questa guida.
Un'altra persona ha completato questa guida.
3Commenti sulla guida
I appreciate you posting this. What kind of new charging port did you use (USB type, size, etc) and does IFIXIT sell them?
The part you are looking for is a female Micro USB B-Type solder socket. I no longer have the unit available to confirm, but I'll bet you could contact Infant Optics and confirm with them. Sorry I can't be of more help!
Worth pointing out that this guide shows an older version of the DXR-8 (2014 printed on the PCB) where the microUSB port uses through-hole leads to connect to the board. Mine is a few years newer and the port was surface-mounted, which requires more skill and care to replace. I ended up ordering the part myself and taking it to a repair shop for them to do the soldering.


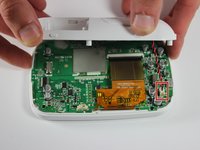
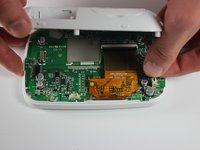
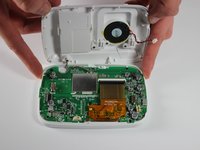


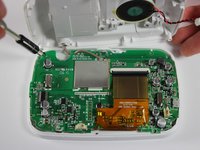

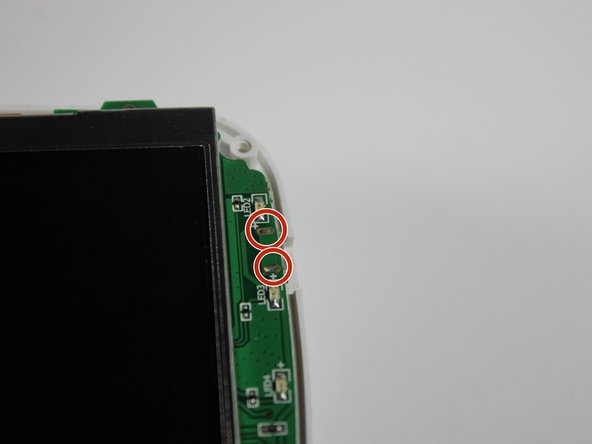
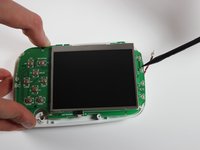


There's a layer of adhesive between the screen protector and the white plastic behind it.
Jared Astillero - Replica
The cover is glued on. So you’ll nee d quite a bit of force to bend it up. But then it’ll come lose glue point by glue point. At first I was afraid that I’ll break it.
Marco Smolla - Replica