Introduzione
This guide will show how to remove the keyboard from the computer. By removing the keyboard, users will be able to access the inner workings of the computer. This guide is an important prerequisite for a few of the other guides. Remember to always power down the computer before attempting any installation/removal of any hardware components. Be sure to remove the AC adapter and all cables from the computer. If the computer has been on, wait several minutes before beginning the procedure to ensure all parts have cooled down.
Cosa ti serve
-
-
Turn the computer over to see the small tab on the battery located near the top of the Thinkpad.
-
Use your finger to slide the tab to the right to unlock the battery.
-
-
-
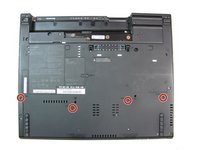
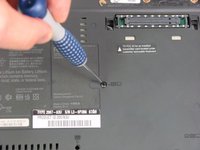
Using a #0 Phillips screwdriver, remove the four 17.0 mm screws.
-
-
-
-
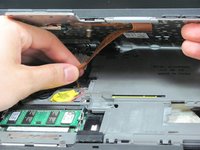
Slightly lift the palm rest away from the computer.
-
Detach the connector by pulling upwards on the white tab.
-
-
-
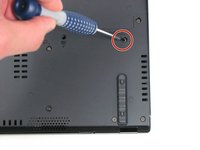
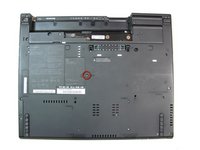
Turn the Thinkpad over so you can see the bottom.
-
Using a #0 Phillips screwdriver, remove the 17.0 mm screw.
-
-
-
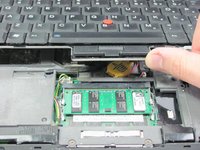
First, flip the laptop back over. Next, use your fingers to pry the keyboard upwards slightly.
-
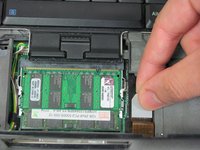
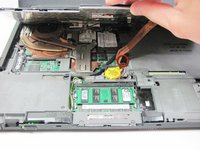
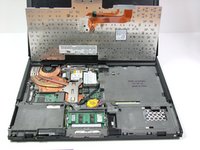
Lift the keyboard until you are able to see the wire connection
The cable from the WLAN module could interfere with the installation of the new keyboard.
-


To reassemble your device, follow these instructions in reverse order.
To reassemble your device, follow these instructions in reverse order.
Annulla: non ho completato questa guida.
Altre 8 persone hanno completato questa guida.
Team

Cal Poly, Team 7-9, Maness Winter 2013 Membro di Cal Poly, Team 7-9, Maness Winter 2013
CPSU-MANESS-W13S7G9
4 Membri
16 Guide realizzate