Introduzione
Use this guide to replace the screen adhesive on your Nintendo Switch Lite.
Follow this guide to remove the screen if you haven't already.
Cosa ti serve
-
-
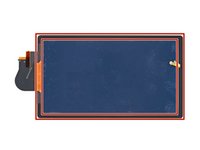
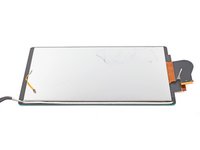
Apply high concentration (90% or greater) isopropyl alcohol to the old screen adhesive on the frame.
-
Wait one minute to allow the alcohol to penetrate the adhesive.
-
-
Attrezzo utilizzato in questo passaggio:Microfiber Cleaning Cloths$3.99
-
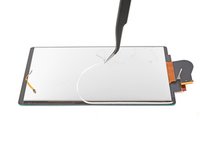
Use the flat end of a spudger to scrape all the old adhesive from the frame.
-
Use a microfiber cloth to clean the frame.
-
-
Attrezzo utilizzato in questo passaggio:Tesa 61395 Tape$5.99
-
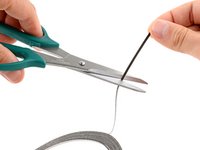
Measure and cut four strips of 2 mm‑wide Tesa tape for the back of the screen:
-
Two strips for the long edges
-
Two strips for the short edges
-
-
-
-
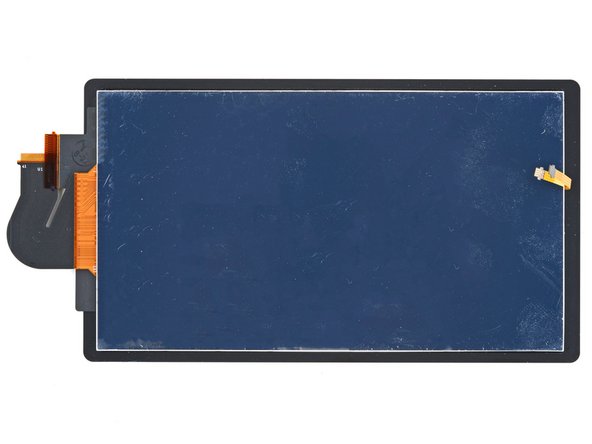
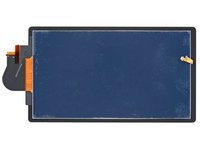
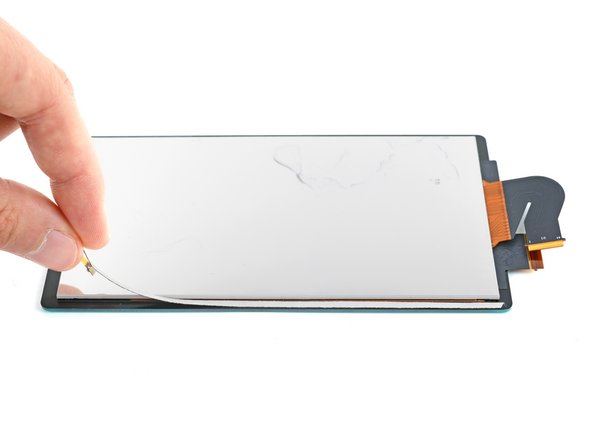
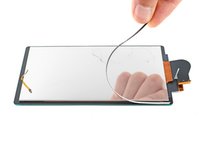
Apply the adhesive strips sticky side down to the back of the screen, making sure the tape goes under the screen and digitizer cables.
-
-
-
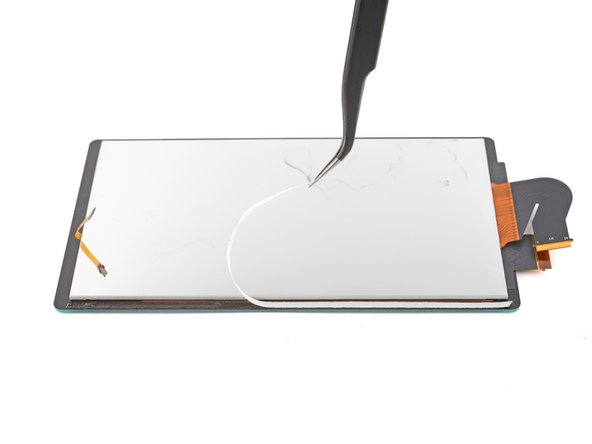
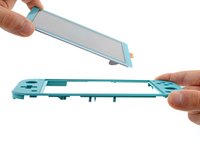
Orient the screen before adhering it to the frame:
-
The right edge of the screen has two wide cables that line up with the action buttons.
-
The left edge of the screen has one small cable that lines up with the directional pad.
-
-
-
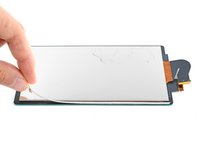
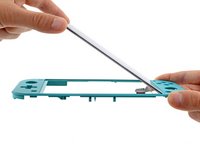
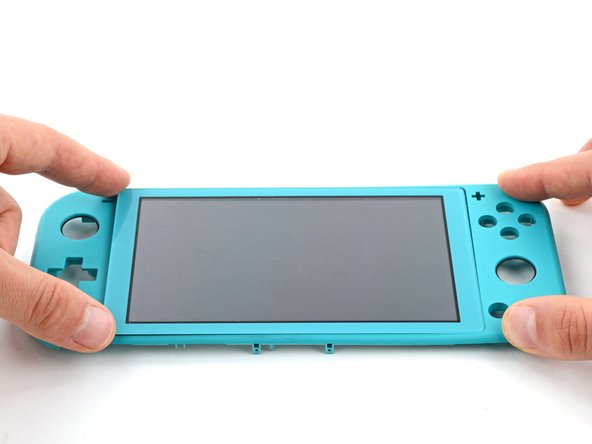
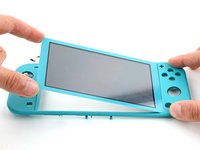
Lay the right edge of the screen on the frame at a downward angle, making sure its cables go under the frame.
-
-
-
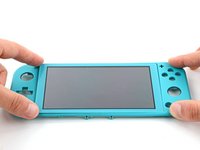
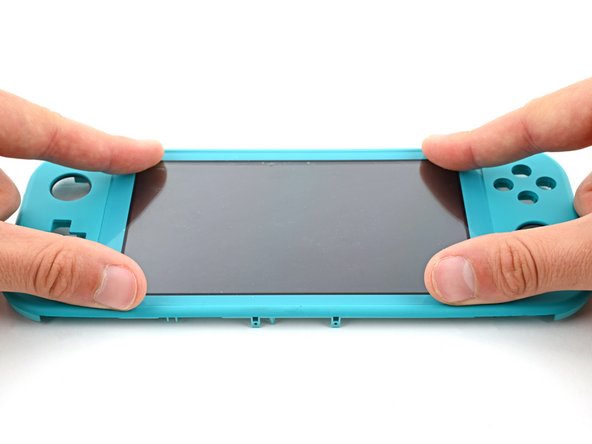
Press down firmly around the perimeter of the screen to adhere it to the frame.
-


Annulla: non ho completato questa guida.
Altre 8 persone hanno completato questa guida.


1Commento della guida
When reassessing the ifixit screen there’s a blue “film.” On the back of the screen inside the device on the new screen, should I take that off?