Salta al contenuto principale
Unisciti alla Community delle riparazioni - Crea un account
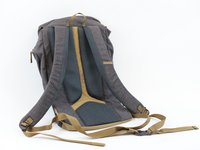
How to Repair a Loose Webbing Strap in a Backpack

How to Repair a Loose Webbing Strap in a Backpack

Ben Blischke

Ben Blischke e un altro collaboratore

Ultimo aggiornamento il 12 apr 2025

35 minuti
Moderato
Guida fornita dalla comunità

Introduzione

Vai al passo 1

Your backpack strap is one of the most important parts of your bag, so it's important to take care of it! After many journeys and adventures, your strap can start to weather down. Don't worry, we've got you covered with these simple steps to ensure your backpack is as sturdy and like new again!

➡️Before you get started, please check the safety disclaimer at the bottom of the page.

Cosa ti serve

Strumenti

Mostra di più…

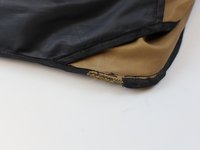
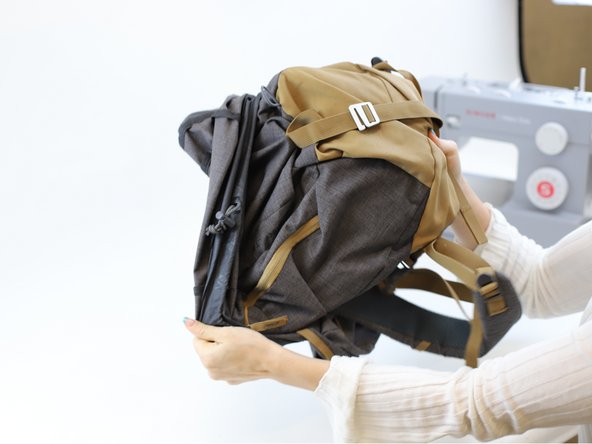
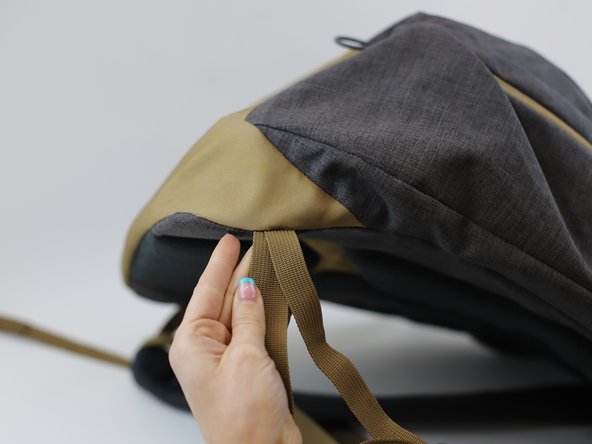
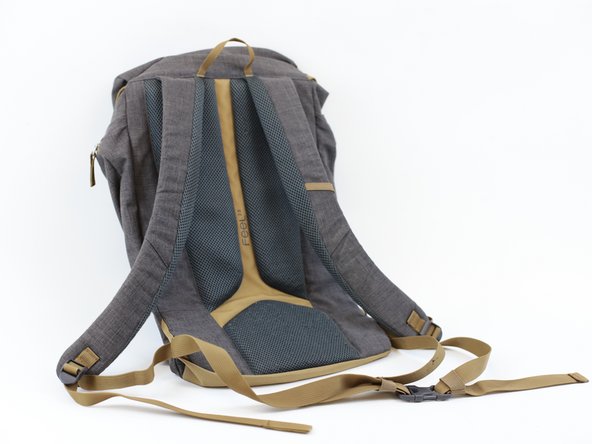
  1. How to Repair a Loose Webbing Strap in a Backpack, Identify the repair area: passo 1, immagine 1 di 3 How to Repair a Loose Webbing Strap in a Backpack, Identify the repair area: passo 1, immagine 2 di 3 How to Repair a Loose Webbing Strap in a Backpack, Identify the repair area: passo 1, immagine 3 di 3
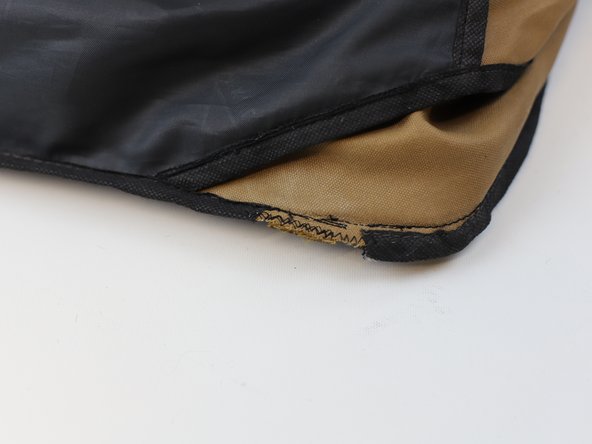
    • Identify the defective area and assess how large the damage is.

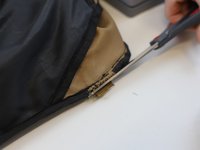
  2. How to Repair a Loose Webbing Strap in a Backpack, Prepare the straps: passo 2, immagine 1 di 3 How to Repair a Loose Webbing Strap in a Backpack, Prepare the straps: passo 2, immagine 2 di 3 How to Repair a Loose Webbing Strap in a Backpack, Prepare the straps: passo 2, immagine 3 di 3
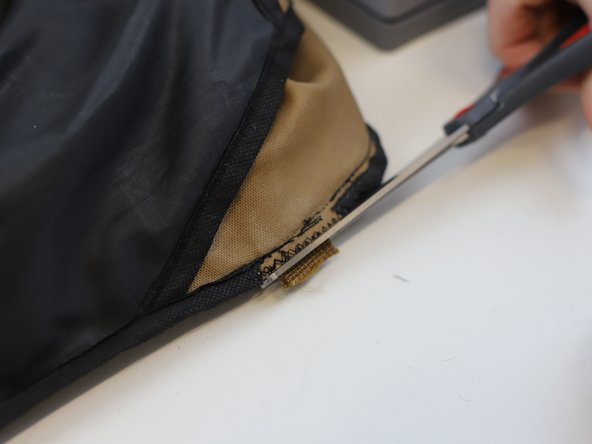
    • Cut away the tips of the straps to create a clean surface to repair.

    • Note: In this example, we cut 2 cm away from the tip.

    • Pin the two straps together and set aside.

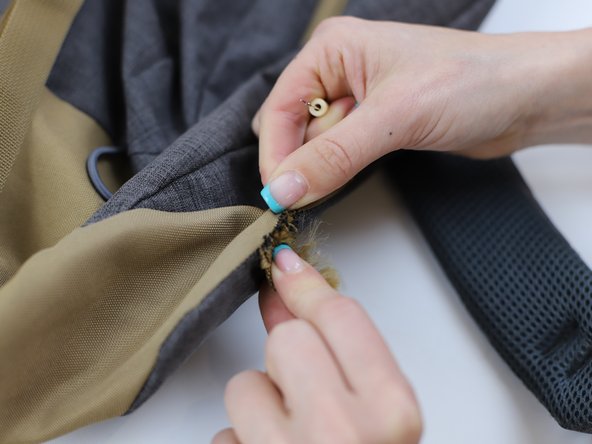
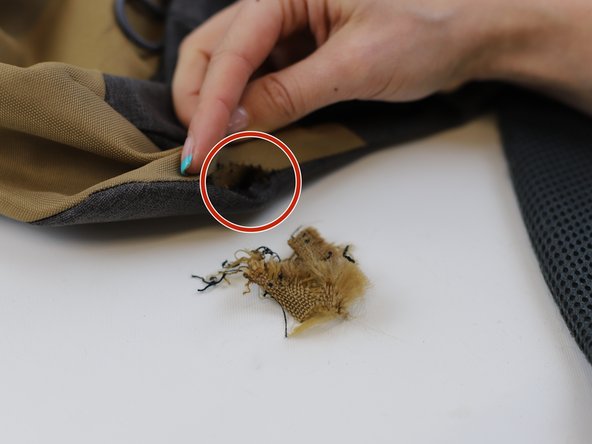
  3. How to Repair a Loose Webbing Strap in a Backpack, Clean the area: passo 3, immagine 1 di 3 How to Repair a Loose Webbing Strap in a Backpack, Clean the area: passo 3, immagine 2 di 3 How to Repair a Loose Webbing Strap in a Backpack, Clean the area: passo 3, immagine 3 di 3
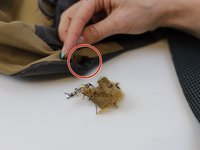
    • Use a "seam ripper" tool to unstitch the remaining piece of strap.

    • Note: This will leave a hole in the border of the backpack (red circle), that will be useful in the next step.

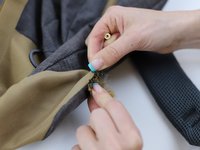
  4. How to Repair a Loose Webbing Strap in a Backpack, Hold the straps: passo 4, immagine 1 di 3 How to Repair a Loose Webbing Strap in a Backpack, Hold the straps: passo 4, immagine 2 di 3 How to Repair a Loose Webbing Strap in a Backpack, Hold the straps: passo 4, immagine 3 di 3
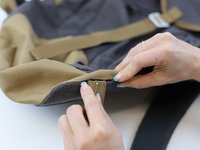
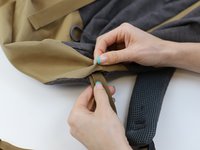
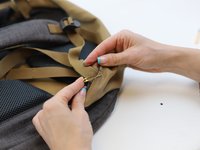
    • Insert the pinned straps inside the hole and use a safety pin to hold the pieces together.

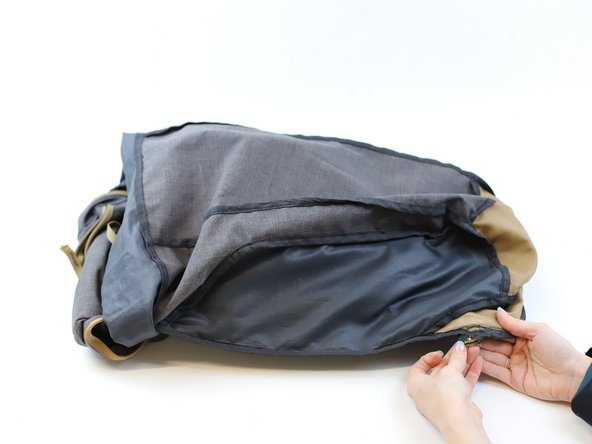
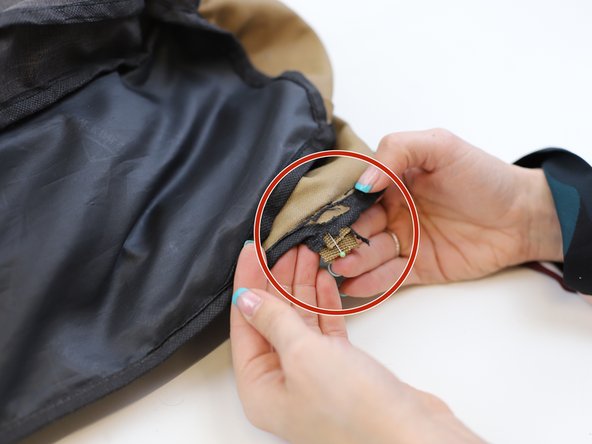
  5. How to Repair a Loose Webbing Strap in a Backpack, Turn the backpack inside-out: passo 5, immagine 1 di 3 How to Repair a Loose Webbing Strap in a Backpack, Turn the backpack inside-out: passo 5, immagine 2 di 3 How to Repair a Loose Webbing Strap in a Backpack, Turn the backpack inside-out: passo 5, immagine 3 di 3
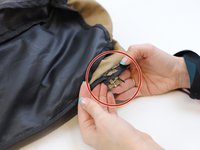
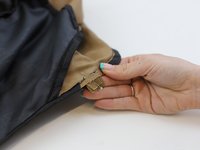
    • Locate the straps that were inserted in the previous step (red circle).

  6. How to Repair a Loose Webbing Strap in a Backpack, Clean the area before stitching: passo 6, immagine 1 di 3 How to Repair a Loose Webbing Strap in a Backpack, Clean the area before stitching: passo 6, immagine 2 di 3 How to Repair a Loose Webbing Strap in a Backpack, Clean the area before stitching: passo 6, immagine 3 di 3
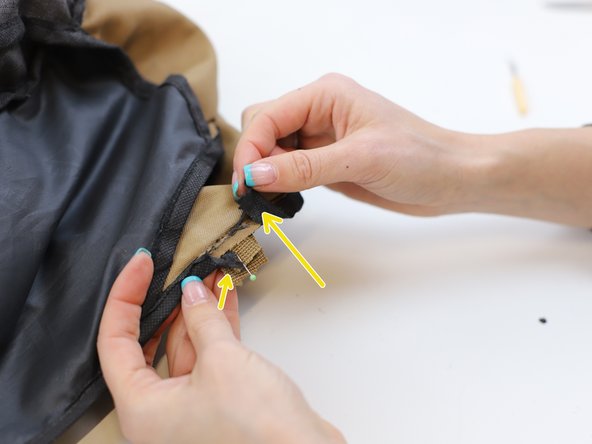
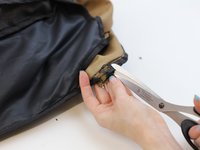
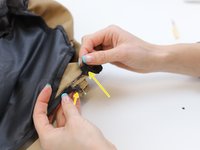
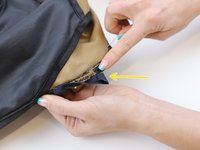
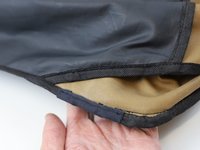
    • Cut away the remaining pieces of the binding material that were present before (yellow arrows).

  7. How to Repair a Loose Webbing Strap in a Backpack, Stitch the strap: passo 7, immagine 1 di 2 How to Repair a Loose Webbing Strap in a Backpack, Stitch the strap: passo 7, immagine 2 di 2
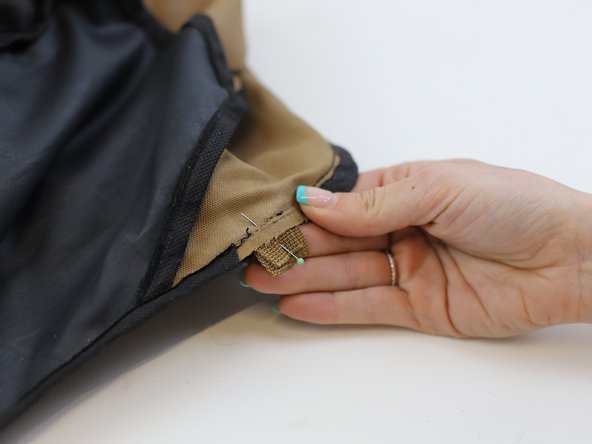
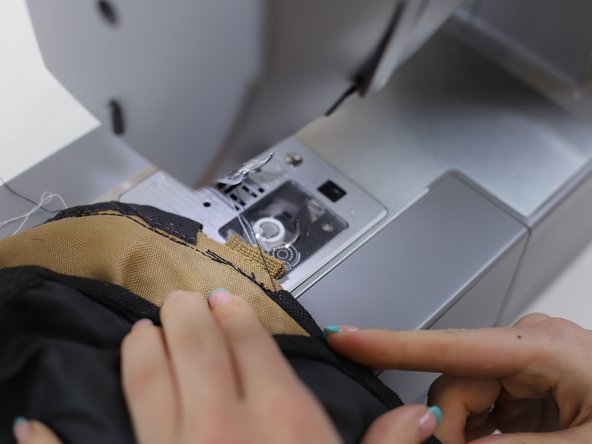
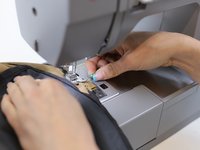
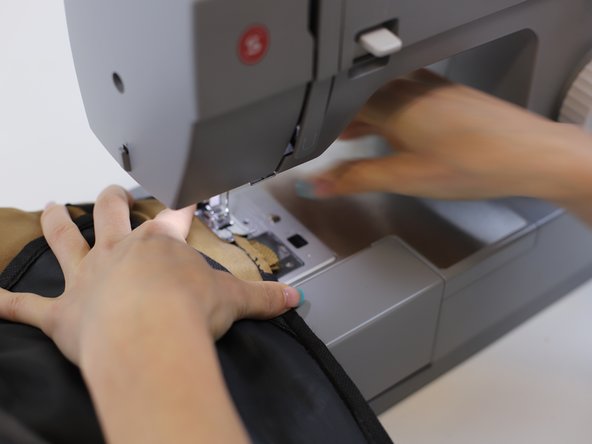
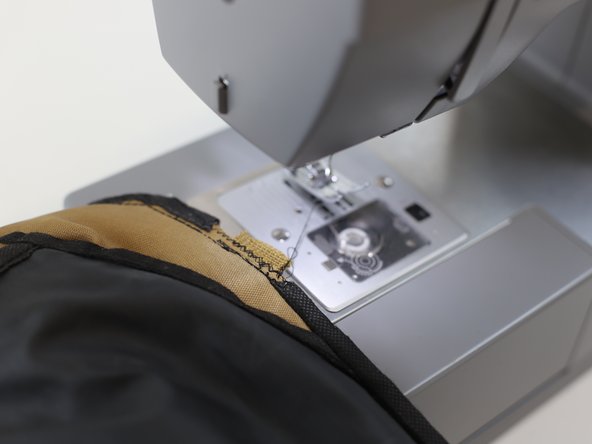
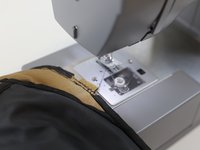
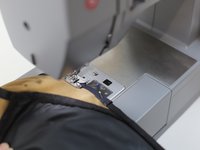
    • Use a straight stitch to fix the strap in the right position.

    • Tip: For tips on setting up the machine take a look at this iFixit guide.

  8. How to Repair a Loose Webbing Strap in a Backpack, Reenforce the seam: passo 8, immagine 1 di 3 How to Repair a Loose Webbing Strap in a Backpack, Reenforce the seam: passo 8, immagine 2 di 3 How to Repair a Loose Webbing Strap in a Backpack, Reenforce the seam: passo 8, immagine 3 di 3
    • Change the settings in the sewing machine and switch from a "straight" to a "zigzag" stich.

    • Sew along the same line of the previous step.

  9. How to Repair a Loose Webbing Strap in a Backpack, Clean the area: passo 9, immagine 1 di 3 How to Repair a Loose Webbing Strap in a Backpack, Clean the area: passo 9, immagine 2 di 3 How to Repair a Loose Webbing Strap in a Backpack, Clean the area: passo 9, immagine 3 di 3
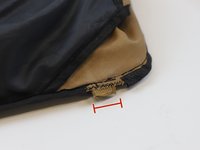
    • Locate the remaining piece of strap (red line) and cut it out.

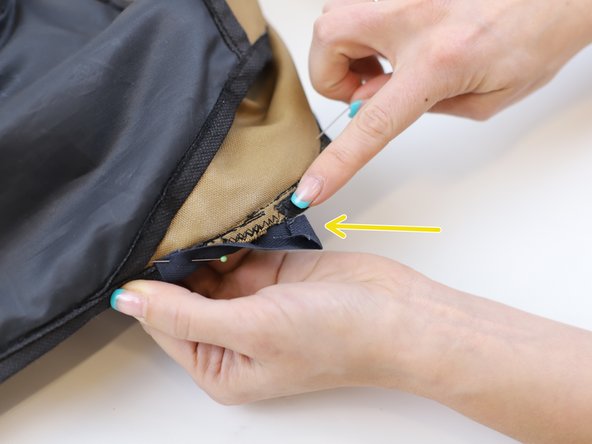
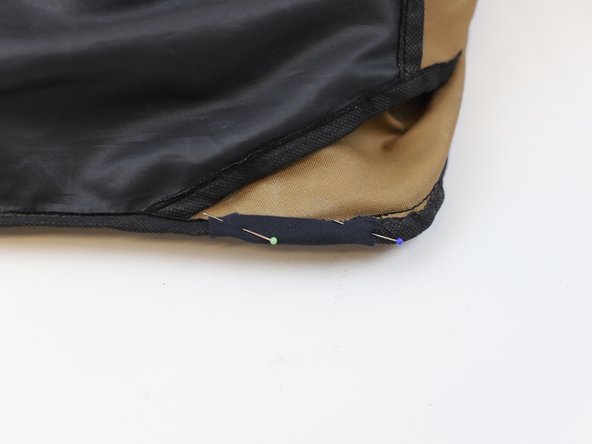
  10. How to Repair a Loose Webbing Strap in a Backpack, Pin the "binding" strap: passo 10, immagine 1 di 3 How to Repair a Loose Webbing Strap in a Backpack, Pin the "binding" strap: passo 10, immagine 2 di 3 How to Repair a Loose Webbing Strap in a Backpack, Pin the "binding" strap: passo 10, immagine 3 di 3
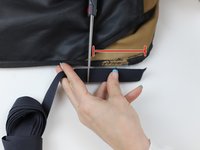
    • Select a "binding" material, it can be a strap or any spare textile you have at home.

    • Make sure it is the same length as the area you are trying to repair (red line).

    • Fold the side of binding strap inwards (yellow arrow) and fix the position using with pins.

  11. How to Repair a Loose Webbing Strap in a Backpack, Sew the "binding" strap to the inner part: passo 11, immagine 1 di 3 How to Repair a Loose Webbing Strap in a Backpack, Sew the "binding" strap to the inner part: passo 11, immagine 2 di 3 How to Repair a Loose Webbing Strap in a Backpack, Sew the "binding" strap to the inner part: passo 11, immagine 3 di 3
    • Change the settings in the sewing machine and switch back to a "straight" stich.

    • Start sewing and remove any pins in the way of the sewing route.

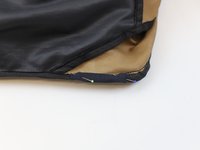
    • Turn the backpack inside-out to return to the original position.

  12. How to Repair a Loose Webbing Strap in a Backpack, Finished and ready!: passo 12, immagine 1 di 3 How to Repair a Loose Webbing Strap in a Backpack, Finished and ready!: passo 12, immagine 2 di 3 How to Repair a Loose Webbing Strap in a Backpack, Finished and ready!: passo 12, immagine 3 di 3
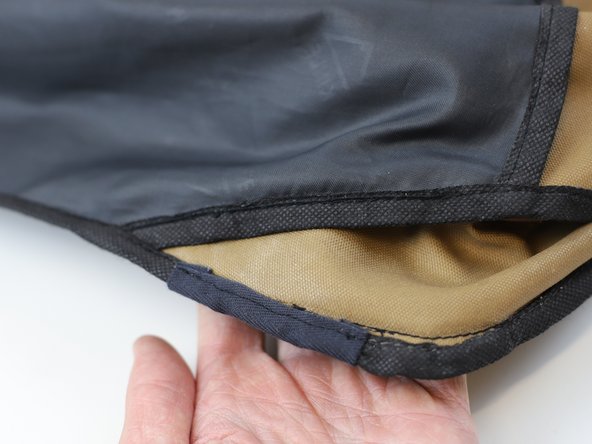
    • 🛠️🏆👏 Congratulations! The repair is complete, and you're ready to go!

Conclusione

In need of another repair? Don't worry! Check out our other guides to find quick solutions for your favourite clothing, footwear and equipment!

----------------------------------------

🚨🛠️🩹 IMPORTANT SAFETY NOTICE:

The repair guides provided on this site are intended to help you repair products on your own. While we have put a lot of care into them, all repair work carries some risk:

  1. Safety Precautions: When repairing your product, take all necessary precautions to ensure your safety. Use appropriate tools and follow the instructions carefully.
  2. Product Condition: Once your product has been repaired, it may not meet original compliance guidelines anymore and could potentially have issues.
  3. Liability: We are not responsible for any damage or injury that may occur during the repair process or as a result of using a repaired product. You, as the repairer, assume all risks and responsibilities associated with the repair.

By using these repair guides, you fully acknowledge and accept the potential risks and responsibilities involved.

Un'altra persona ha completato questa guida.

Ben Blischke

Membro da: 07/19/23

9.900 Reputazione

64 Guide realizzate

0Commenti sulla guida

Aggiungi Commento

Visualizza Statistiche:

Ultime 24 Ore: 1

Ultimi 7 Giorni: 8

Ultimi 30 Giorni: 44

Tutti i Tempi: 523