Salta al contenuto principale
How to Install a Plastic Snap With a Handheld Tool

How to Install a Plastic Snap With a Handheld Tool

Arthur Shi

Arthur Shi e 2 altri collaboratori

Ultimo aggiornamento il April 9, 2025

5 - 10 minuti
Facile
Patagonia

Introduzione

Vai al passo 1

This guide shows how to install a plastic snap (aka snap fastener, snap button, or press button) using a handheld fastener tool.

Plastic snaps are versatile fasteners that are great for clothing, bags, device covers, bedding, etc. Compared to metal snaps, plastic snap tools are reasonably affordable, and the snap components are very cheap. You can also get plastic snaps in a variety of colors and sizes.

If you're replacing a broken snap, check out this guide.

If you're installing metal snaps, follow this guide instead.

Cosa ti serve

iFixit guadagna commissioni quando acquisti tramite questi link.
  1. How to Install a Plastic Snap With a Handheld Tool, Snap information: passo 1, immagine 1 di 2 How to Install a Plastic Snap With a Handheld Tool, Snap information: passo 1, immagine 2 di 2
    • A full set of plastic snaps consists of four parts:

    • Two caps

    • One stud

    • One socket

    • When the snap is installed, the socket and stud will lock together, while a cap holds each of them in place from the other side of the fabric.

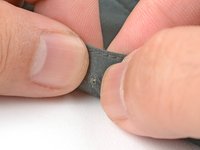
  2. How to Install a Plastic Snap With a Handheld Tool, Pierce the fabric: passo 2, immagine 1 di 2 How to Install a Plastic Snap With a Handheld Tool, Pierce the fabric: passo 2, immagine 2 di 2
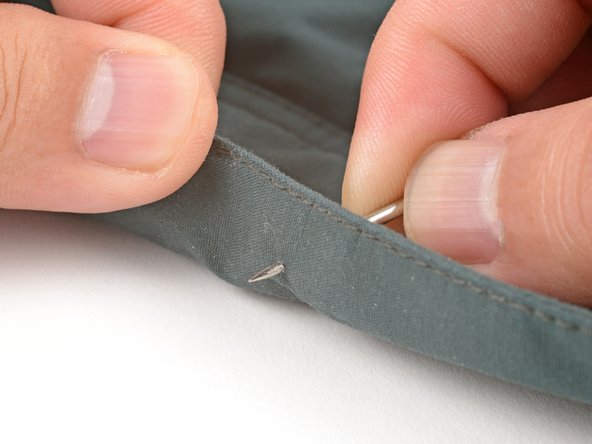
    • Push the point of an awl through the fabric to pierce a hole for the snap.

    • It's better to measure twice, pierce once! Piercing the fabric multiple times within a small area will weaken the fabric.

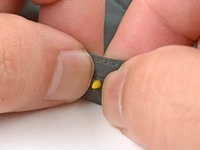
  3. How to Install a Plastic Snap With a Handheld Tool, Install the snap: passo 3, immagine 1 di 3 How to Install a Plastic Snap With a Handheld Tool, Install the snap: passo 3, immagine 2 di 3 How to Install a Plastic Snap With a Handheld Tool, Install the snap: passo 3, immagine 3 di 3
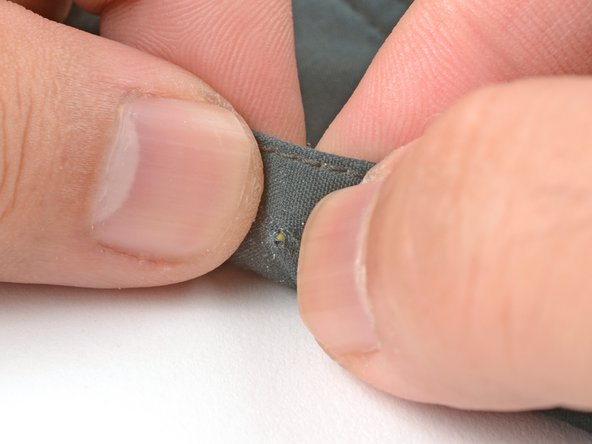
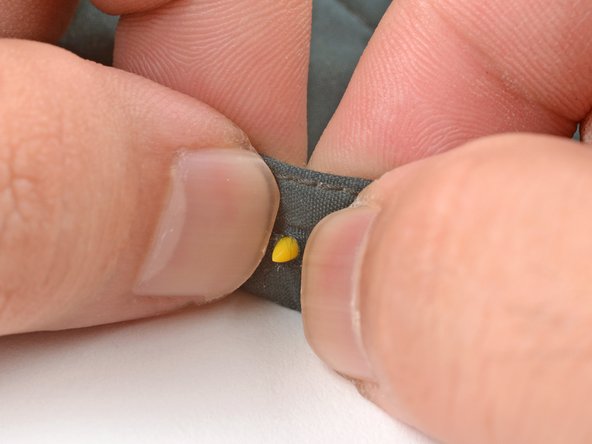
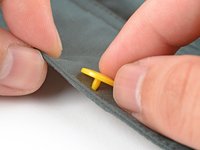
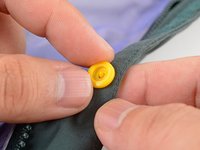
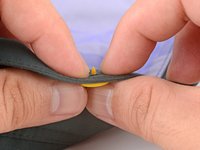
    • Use your fingers to squeeze a cap pin through the fabric hole.

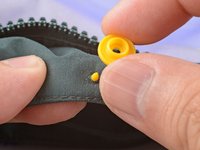
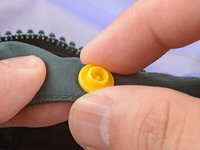
  4. How to Install a Plastic Snap With a Handheld Tool: passo 4, immagine 1 di 3 How to Install a Plastic Snap With a Handheld Tool: passo 4, immagine 2 di 3 How to Install a Plastic Snap With a Handheld Tool: passo 4, immagine 3 di 3
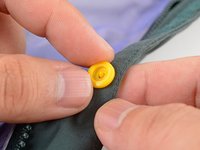
    • Place either a stud or a socket on top of the pin.

    • If you can't see the pin after placing the stud or socket, the fabric is too thick for the snap. You'll need a cap with a longer pin.

  5. How to Install a Plastic Snap With a Handheld Tool: passo 5, immagine 1 di 2 How to Install a Plastic Snap With a Handheld Tool: passo 5, immagine 2 di 2
    • Make sure the snap is facing the correct side for the clothing item.

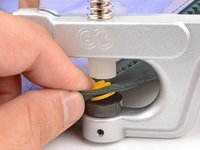
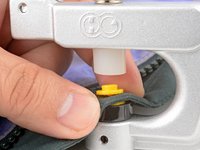
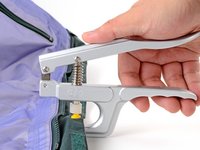
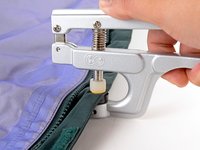
    • Center the snap components in the fastener tool. The cap should sit fully in the black die cup.

  6. How to Install a Plastic Snap With a Handheld Tool: passo 6, immagine 1 di 3 How to Install a Plastic Snap With a Handheld Tool: passo 6, immagine 2 di 3 How to Install a Plastic Snap With a Handheld Tool: passo 6, immagine 3 di 3
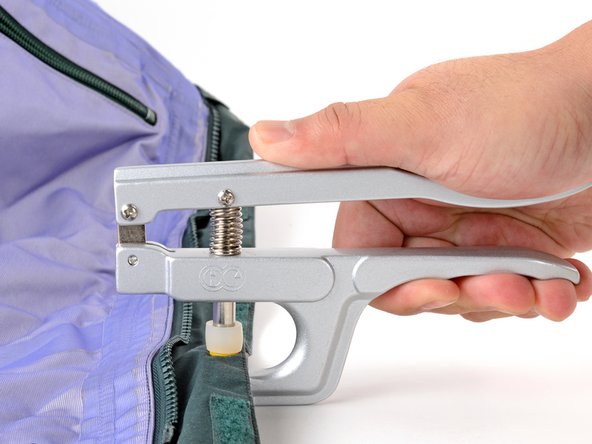
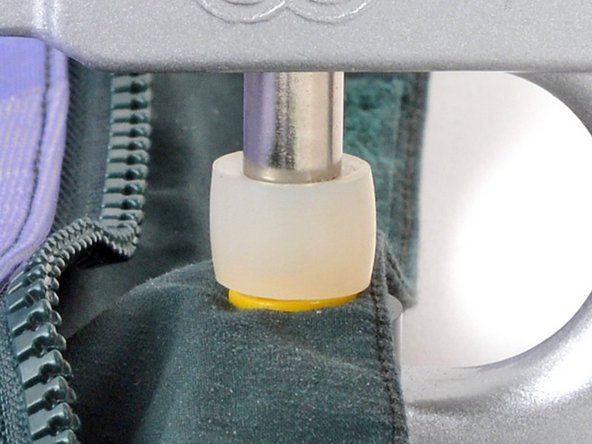
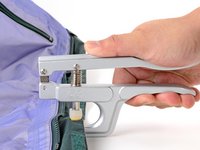
    • Firmly squeeze the fastener tool handles. The white rubber head should bulge slightly from the force.

    • Release the handles and remove the tool from the snap.

  7. How to Install a Plastic Snap With a Handheld Tool, Check the new snap: passo 7, immagine 1 di 2 How to Install a Plastic Snap With a Handheld Tool, Check the new snap: passo 7, immagine 2 di 2
    • Visually inspect the snap. The center pin should be evenly flattened.

    • Pull on the snap. The snap shouldn't feel loose.

    • If the pin isn't evenly flattened or the snap feels loose, use the fastener tool to compress the snap again. If that doesn't fix it, remove the snap and start again.

  8. How to Install a Plastic Snap With a Handheld Tool, Install the other half of the set: passo 8, immagine 1 di 3 How to Install a Plastic Snap With a Handheld Tool, Install the other half of the set: passo 8, immagine 2 di 3 How to Install a Plastic Snap With a Handheld Tool, Install the other half of the set: passo 8, immagine 3 di 3
    • Repeat the procedure to install the other half of the snap set.

Conclusione

For more clothing repair guides, click here.

Un'altra persona ha completato questa guida.

Arthur Shi

Membro da: 01/03/18

283.790 Reputazione

587 Guide realizzate

Team

iFixit Membro di iFixit

Staff

121 Membri

19.671 Guide realizzate

0Commenti sulla guida

Aggiungi Commento

Visualizza Statistiche:

Ultime 24 Ore: 1

Ultimi 7 Giorni: 5

Ultimi 30 Giorni: 199

Tutti i Tempi: 224