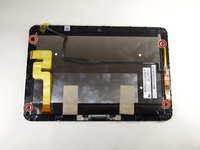
Salta al contenuto principale

HP ElitePad 900 LCD Replacement

Cosa ti serve

  1. HP ElitePad 900 LCD Replacement, Front Panel Assembly: passo 1, immagine 1 di 1
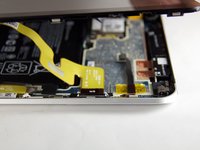
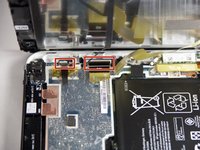
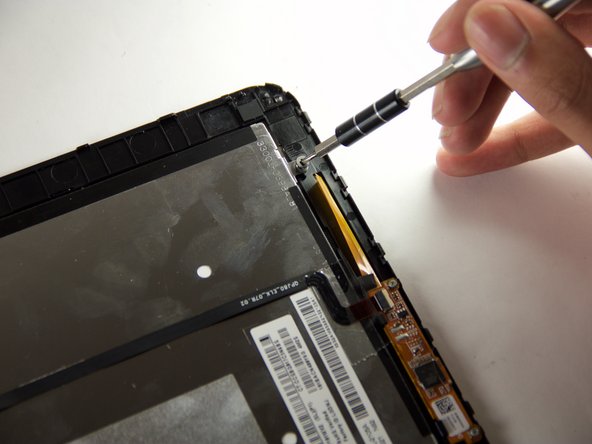
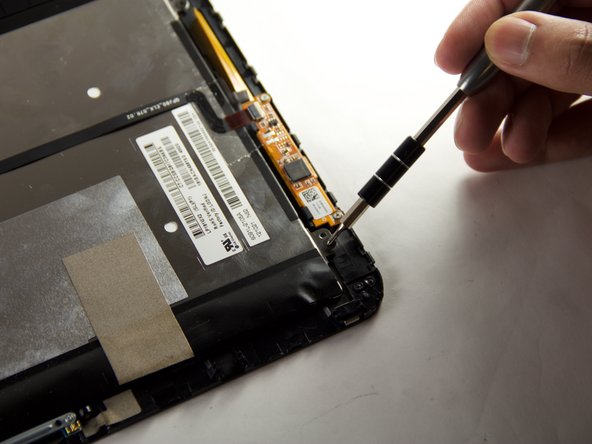
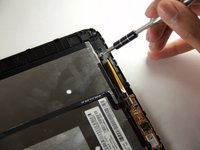
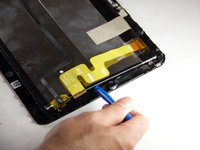
    • Unscrew the two 2.8mm Phillips #000 screws near the power connector.
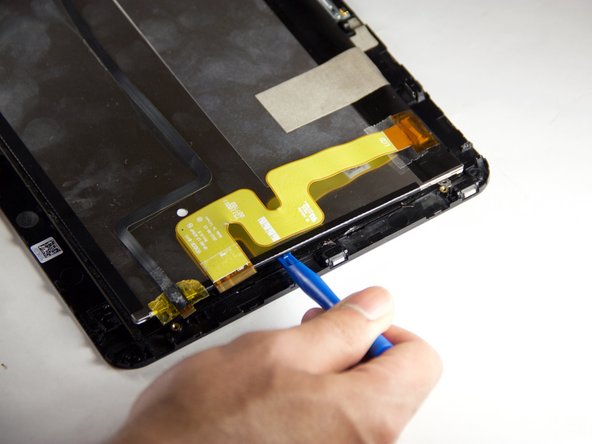
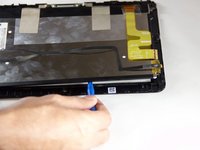
  2. HP ElitePad 900 LCD Replacement: passo 2, immagine 1 di 2 HP ElitePad 900 LCD Replacement: passo 2, immagine 2 di 2
    • Use a suction cup to pull the display assembly up.

  3. HP ElitePad 900 LCD Replacement: passo 3, immagine 1 di 2 HP ElitePad 900 LCD Replacement: passo 3, immagine 2 di 2
    • Use the tip of a spudger to disconnect the two display ZIF connectors.

  4. HP ElitePad 900 LCD Replacement, LCD: passo 4, immagine 1 di 3 HP ElitePad 900 LCD Replacement, LCD: passo 4, immagine 2 di 3 HP ElitePad 900 LCD Replacement, LCD: passo 4, immagine 3 di 3
    • Remove the four 1.6mm Phillips #000 screws securing the LCD to the digitizer.

  5. HP ElitePad 900 LCD Replacement: passo 5, immagine 1 di 1
    • Use the tip of a spudger to disconnect the ribbon cable ZIF connector.

  6. HP ElitePad 900 LCD Replacement: passo 6, immagine 1 di 3 HP ElitePad 900 LCD Replacement: passo 6, immagine 2 di 3 HP ElitePad 900 LCD Replacement: passo 6, immagine 3 di 3
    • Use a plastic opening tool to separate the LCD from the digitizer.

Conclusione

To reassemble your device, follow these instructions in reverse order.

Altre 2 persone hanno completato questa guida.

Team

USF Tampa, Team 12-4, Blackwell Fall 2015 Membro di USF Tampa, Team 12-4, Blackwell Fall 2015

USFT-BLACKWELL-F15S12G4

4 Membri

6 Guide realizzate

0 Commenti

Aggiungi Commento

Visualizza Statistiche:

Ultime 24 Ore: 0

Ultimi 7 Giorni: 1

Ultimi 30 Giorni: 3

Tutti i Tempi: 1,319