Introduzione
Use this guide to replace the keyboard on a HP EliteBook 840 G7
Cosa ti serve
-
-
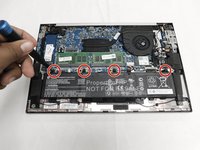
Use the Phillips # 1 screwdriver to remove the five 1.2 mm screws from the back cover of the laptop.
Den Phillips #1 Schraubenzieher benutzen um die fünf schrauben auf der Rückseite des Laptops zu entfernen
-
-
-
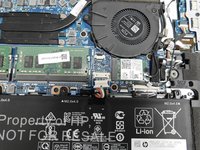
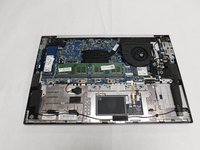
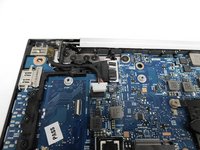
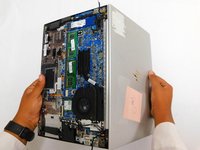
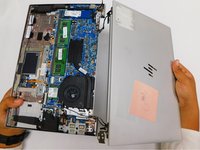
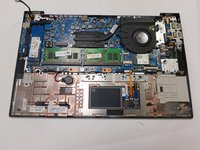
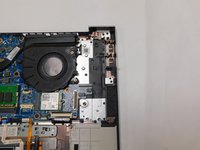
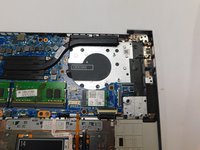
Remove the back cover to expose the hardware.
-
-
-
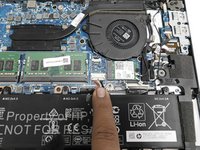
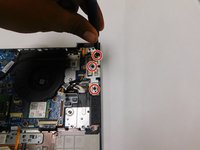
Use your Phillips #1 screwdriver and remove the four 1.2 mm screws that secures the battery into place.
-
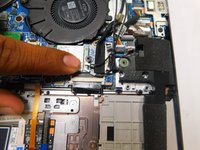
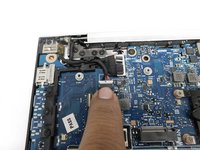
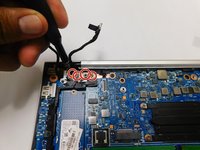
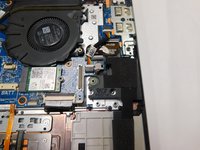
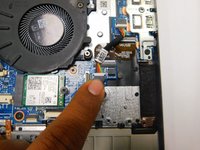
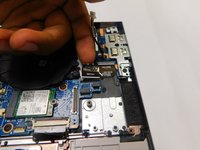
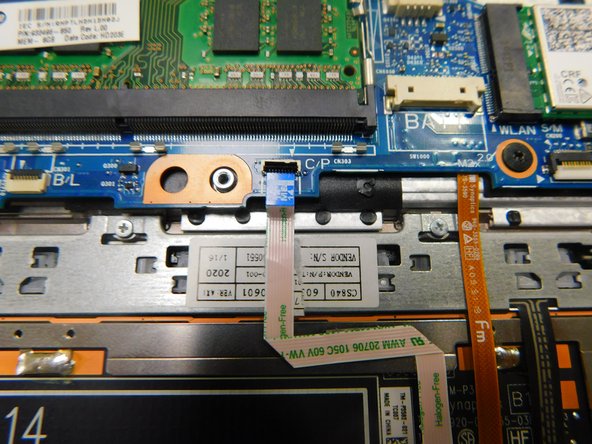
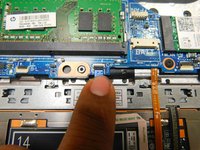
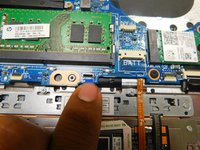
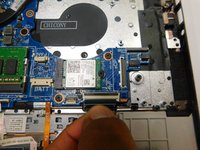
Remove the connector that connects the battery to the motherboard.
-
-
-
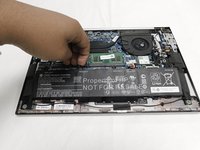
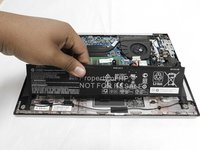
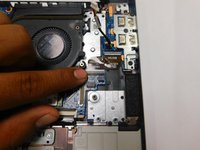
Lift up the battery with you hands or tools.
-
-
-
-
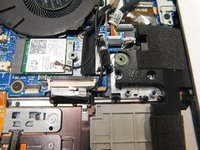
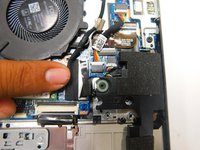
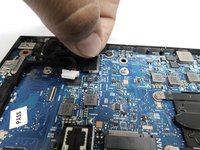
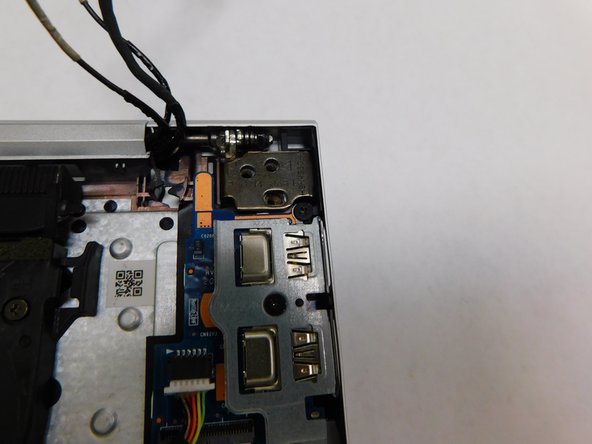
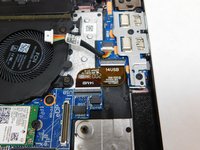
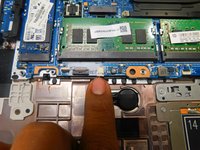
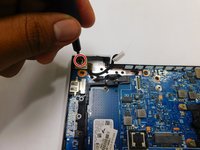
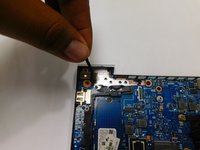
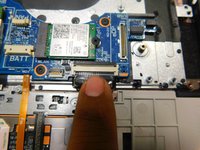
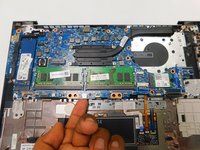
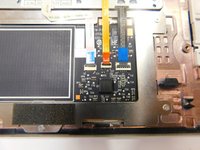
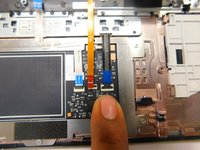
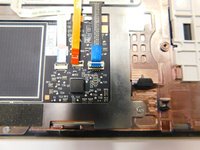
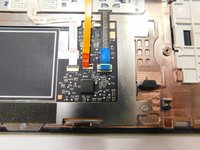
Pull on the bundled connector to remove.
-
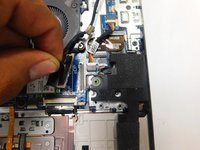
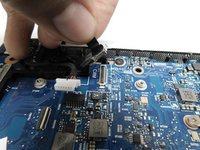
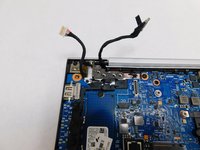
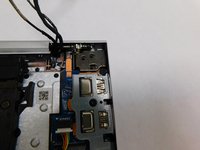
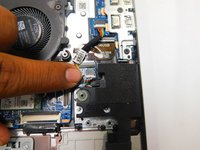
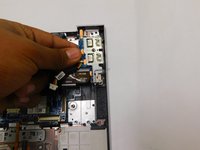
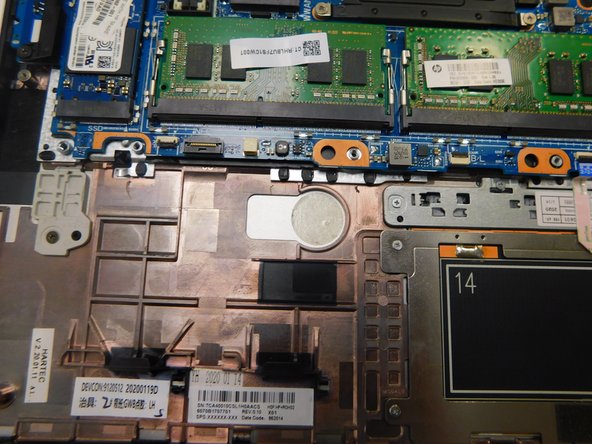
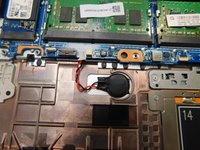
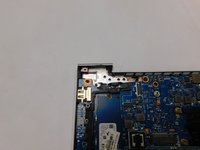
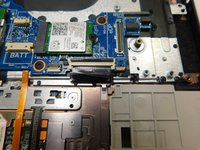
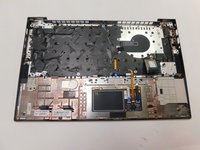
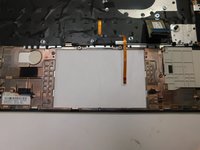
Remove the speaker system from the board.
-
-
-
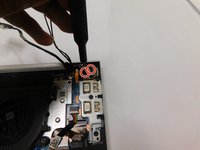
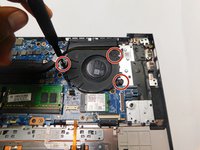
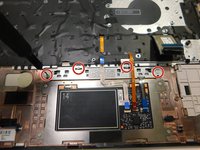
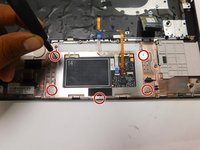
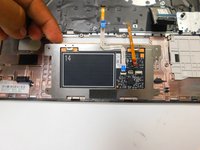
Use your Phillips #000 screwdriver to remove the five 1 mm screws.
-
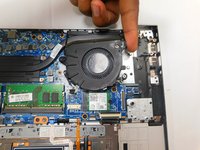
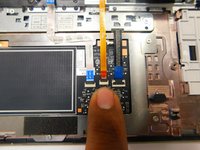
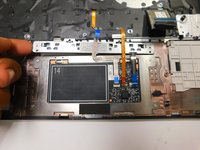
Lift the touchpad to remove.
-


To reassemble your device, follow these instructions in reverse order.
To reassemble your device, follow these instructions in reverse order.
Annulla: non ho completato questa guida.
Altre 7 persone hanno completato questa guida.
Team

Gateway, Team 1-1, Pee Spring 2022 Membro di Gateway, Team 1-1, Pee Spring 2022
GCC-PEE-S22S1G1
4 Membri
12 Guide realizzate
4Commenti sulla guida
the keyboard is part of the top shell and is rivetted in, you need to replace the whole part
Recommended parts are wrong
Auf den Rücken drehen
Luis-Oliver Bota - Replica