Questa guida ha delle modifiche più recenti. Passa all'ultima versione non verificata.
Introduzione
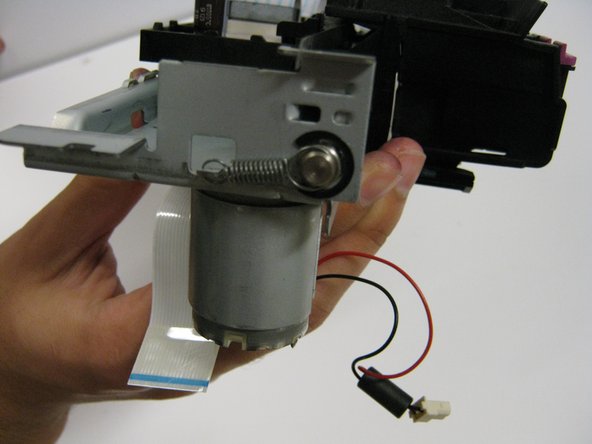
This guide will replace the springs located on the sides of the metal frame that holds the ink carriage. These springs provide stability to the metal rod that supports the ink cartridge carriage.
Cosa ti serve
-
-
-
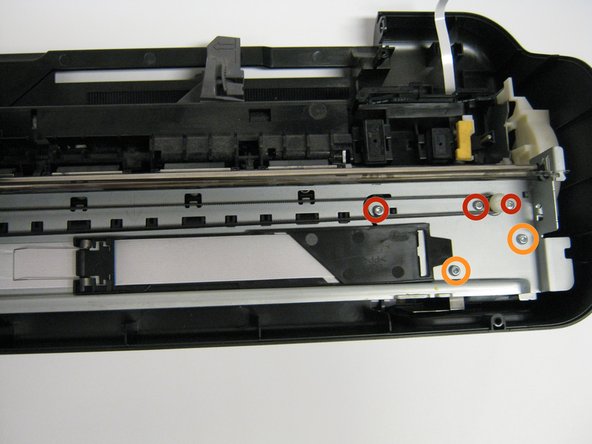
Remove the five 13.0 mm Torx #10 screws found on top of the frame.
-
Remove the four 9.0 mm Torx #10 smaller screws.
-
-
-
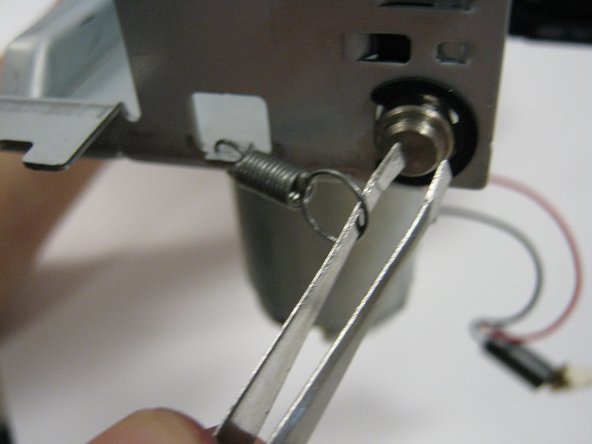
Locate the springs. They will be on the side of the metal frame.
-
Using the tweezers, grab the loop of the spring that is connected to the bar.
-
Remove the spring by lifting the loop.
-


To reassemble your device, follow these instructions in reverse order.
To reassemble your device, follow these instructions in reverse order.
Annulla: non ho completato questa guida.
Un'altra persona ha completato questa guida.
Team

Cal Poly, Team 1-41, Maness Winter 2014 Membro di Cal Poly, Team 1-41, Maness Winter 2014
CPSU-MANESS-W14S1G41
4 Membri
14 Guide realizzate