Introduzione
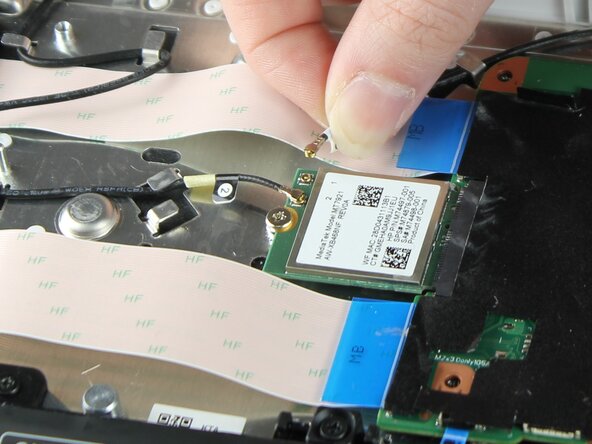
An SSD or solid state drive functions as the primary storage for the Chrome OS operating system of the HP Chromebook 14a-nf009nr. When the Chromebook storage is full, when it will no longer store information in memory and files, or if the screen is unresponsive, the SSD card will need a replacement. This guide provides step-by-step instructions and images on accessing, removing, and replacing the SSD card.
This Troubleshooting Page will provide additional information to the Chromebook's potential screen issues.
Cosa ti serve
-
-
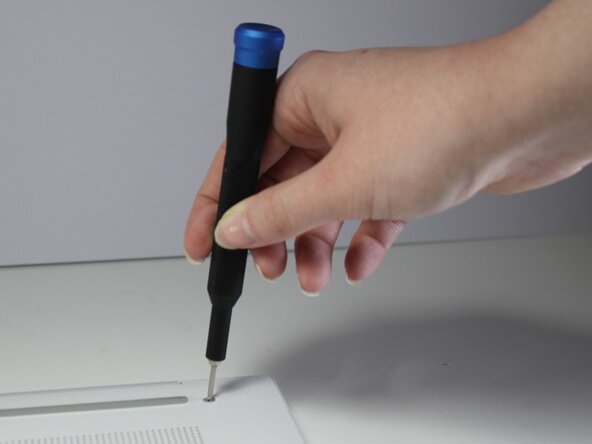
Remove the two 13 mm screws with a Phillips #00 screwdriver.
-
Remove the two 6.6 mm screws with the Phillips #00 screwdriver.
-
-


To reassemble your device, follow these instructions in reverse order.
Team

Carson-Newman University, Team 1-1, Sobiech Spring 2025 Membro di Carson-Newman University, Team 1-1, Sobiech Spring 2025
CNU-SOBIECH-S25S1G1
3 Membri
6 Guide realizzate