Salta al contenuto principale

HP Chromebook 14-q029wm Motherboard Replacement

Cosa ti serve

  1. HP Chromebook 14-q029wm Motherboard Replacement, Keyboard: passo 1, immagine 1 di 1
    • Remove nine 5mm Phillips #0 screws from the back case.

    • Remove the rubber caps using a spudger.

    • Remove the four remaining 5mm Phillips #0 screws.

  2. HP Chromebook 14-q029wm Motherboard Replacement: passo 2, immagine 1 di 1
    • Use an opening tool to unclip the bottom plastic covering of the laptop.

    • Go around the sides of the laptop until the bottom unclips completely and comes off of the laptop.

    • Be careful not to break the plastic clips.

  3. HP Chromebook 14-q029wm Motherboard Replacement: passo 3, immagine 1 di 1
    Attrezzo utilizzato in questo passaggio:
    Tweezers
    $4.99
    Compra
    • Once the bottom is completely unclipped, remove the covering slowly so you do not pull and rip the wires.

    • There is a little black lever that you have to pull in order to remove the wires. They are found on top of where the wires are connected.

    • Remove the larger wire first.

    • Then remove the smaller wire.

    • It is better to use a pair of tweezers for accuracy

    • From there the keyboard should completely come off.

  4. HP Chromebook 14-q029wm Motherboard Replacement, Battery: passo 4, immagine 1 di 1
    • Use your fingers to pull the white tab out of the black slot above the battery.

  5. HP Chromebook 14-q029wm Motherboard Replacement: passo 5, immagine 1 di 1
    • Remove the 3mm Phillips #0 screws.

  6. HP Chromebook 14-q029wm Motherboard Replacement: passo 6, immagine 1 di 1
    • Pick up and gently remove the battery.

  7. HP Chromebook 14-q029wm Motherboard Replacement, Fan: passo 7, immagine 1 di 2 HP Chromebook 14-q029wm Motherboard Replacement, Fan: passo 7, immagine 2 di 2
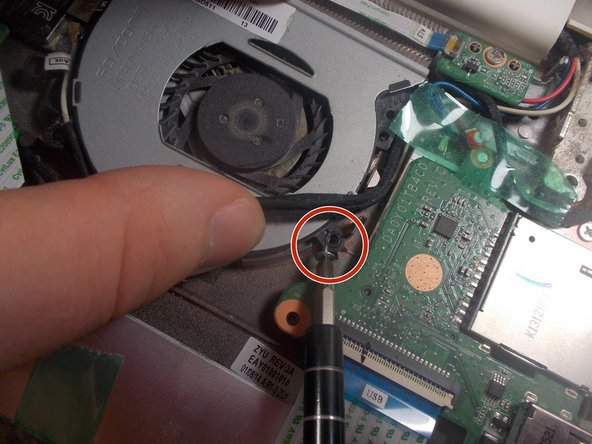
    • Remove the three 3mm Phillips #0 screws.

    • The bottom right screw may be covered by the fan's wires.

  8. HP Chromebook 14-q029wm Motherboard Replacement: passo 8, immagine 1 di 1
    • Using your fingers or an opening tool, remove the cable connecting the fan to the motherboard.

    • Gently remove the fan.

  9. HP Chromebook 14-q029wm Motherboard Replacement, Motherboard: passo 9, immagine 1 di 1
    • Remove the five 2mm Phillips #0 screws from the motherboard.

  10. HP Chromebook 14-q029wm Motherboard Replacement: passo 10, immagine 1 di 1
    • Unclip the black lever holding the connector in place to the motherboard and remove the connector.

  11. HP Chromebook 14-q029wm Motherboard Replacement: passo 11, immagine 1 di 2 HP Chromebook 14-q029wm Motherboard Replacement: passo 11, immagine 2 di 2
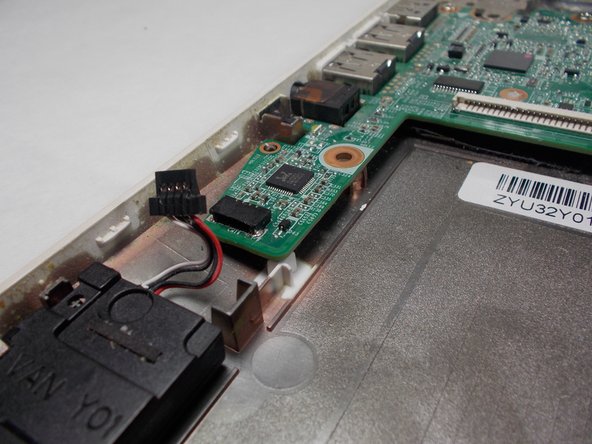
    • Unplug the wire connecting the speaker to the motherboard.

  12. HP Chromebook 14-q029wm Motherboard Replacement: passo 12, immagine 1 di 2 HP Chromebook 14-q029wm Motherboard Replacement: passo 12, immagine 2 di 2
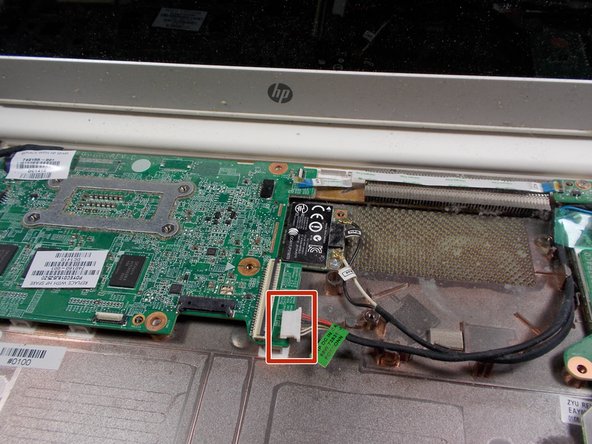
    • Remove this connector found under the right side of the motherboard.

  13. HP Chromebook 14-q029wm Motherboard Replacement: passo 13, immagine 1 di 2 HP Chromebook 14-q029wm Motherboard Replacement: passo 13, immagine 2 di 2
    • Lift the right side of the motherboard slightly and slide the USB and other ports out from the left side.

    • The motherboard should be able to turn on its side after that.

  14. HP Chromebook 14-q029wm Motherboard Replacement: passo 14, immagine 1 di 2 HP Chromebook 14-q029wm Motherboard Replacement: passo 14, immagine 2 di 2
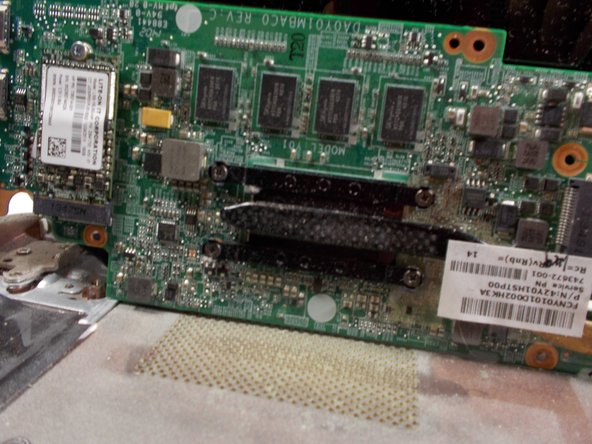
    • Remove the four 2mm Phillips #0 screws from the heat sink.

    • Remove the heat sink from the motherboard.

  15. HP Chromebook 14-q029wm Motherboard Replacement: passo 15, immagine 1 di 2 HP Chromebook 14-q029wm Motherboard Replacement: passo 15, immagine 2 di 2
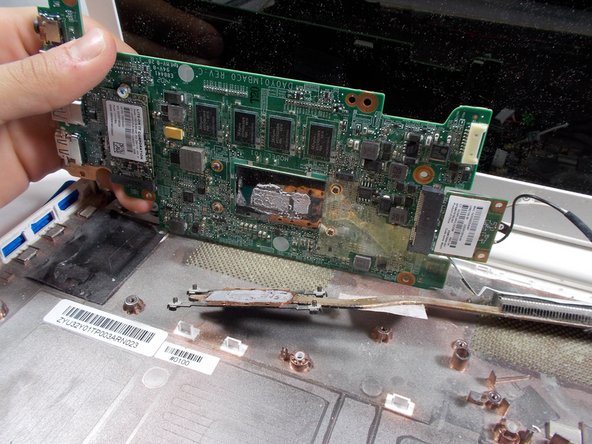
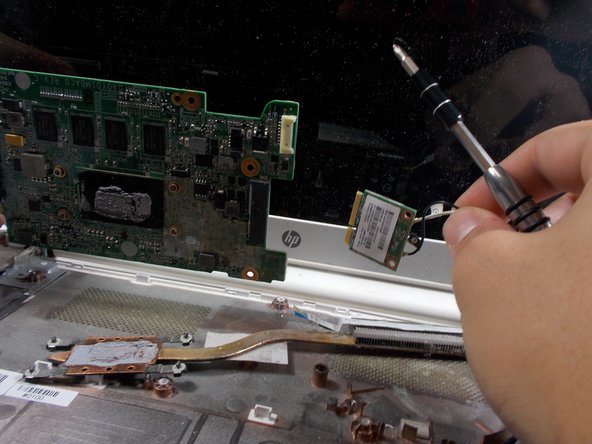
    • Looking at the right side of the motherboard, remove the Wi-Fi card that is connected to the motherboard.

  16. HP Chromebook 14-q029wm Motherboard Replacement: passo 16, immagine 1 di 1
    • Remove the black wire from the screen.

    • Remove the motherboard from the laptop.

Conclusione

To reassemble your device, follow these instructions in reverse order.

Un'altra persona ha completato questa guida.

Andrew Pratt

Membro da: 11/05/19

669 Reputazione

5 Guide realizzate

Team

0 Commenti

Aggiungi Commento

Visualizza Statistiche:

Ultime 24 Ore: 0

Ultimi 7 Giorni: 2

Ultimi 30 Giorni: 5

Tutti i Tempi: 320