Salta al contenuto principale
Unisciti alla Community delle riparazioni - Crea un account
GameStop Universal System Selector Button Replacement

GameStop Universal System Selector Button Replacement

Jared

Jared e 9 altri collaboratori

Ultimo aggiornamento il 31 mar 2025

10 minuti
Facile
Introduzione Migliore
Studente al lavoro

Introduzione

Vai al passo 1

The GamStop Universal System is a device that allows you to connect multiple systems to your television, while easily switching between the systems. The selector button allows the user to chose which system to switch between when different gaming platforms are simultaneously running. If your selector button is malfunctioning and not allowing you to properly chose which platform to view this guide will demonstrate how to replace the selector button. Before starting this procedure be sure to power off your device to avoid further damage. This simple guid requires minimal time and some patients in order to takeout and replace the selector button.

Cosa ti serve

Strumenti

  1. GameStop Universal System Selector Button Replacement, Button: passo 1, immagine 1 di 1
    • Disconnect the DC 6V IN power cable from the device.

    • Remove the three front panel screws on the bottom of the device using the Phillips #00 Screwdriver.

  2. GameStop Universal System Selector Button Replacement: passo 2, immagine 1 di 1
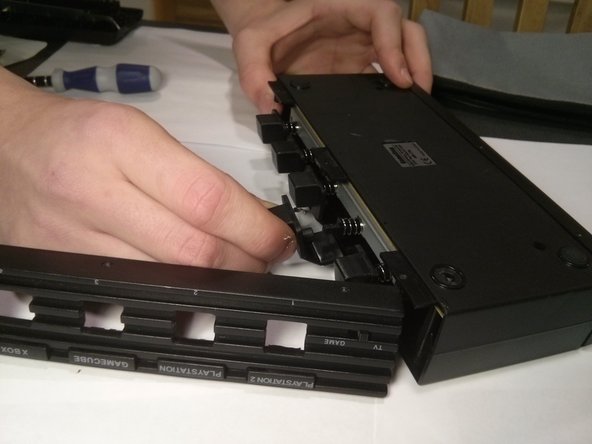
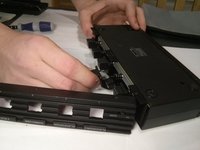
    • Carefully pry off the front panel of the device to reveal the button in need of replacement.

    • The outer piece of the device is plastic and may break it not carefully handled.

  3. GameStop Universal System Selector Button Replacement: passo 3, immagine 1 di 2 GameStop Universal System Selector Button Replacement: passo 3, immagine 2 di 2
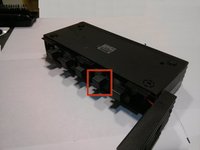
    • Pull firmly on the button in need of replacement to free it from its housing.

  4. GameStop Universal System Selector Button Replacement: passo 4, immagine 1 di 1
    • Gently push the replacement button into its new housing.

  5. GameStop Universal System Selector Button Replacement: passo 5, immagine 1 di 1
    • Snap the front panel back into place and re-insert the 3 front panel screws, completing the replacement.

Conclusione

The system selector button should now be working properly.

Un'altra persona ha completato questa guida.

Preparati per le riparazioni future

Acquista tutti

Jared

Membro da: 10/28/13

201 Reputazione

2 Guide realizzate

Team

0Commenti sulla guida

Aggiungi Commento

Visualizza Statistiche:

Ultime 24 Ore: 0

Ultimi 7 Giorni: 0

Ultimi 30 Giorni: 7

Tutti i Tempi: 504