Introduzione
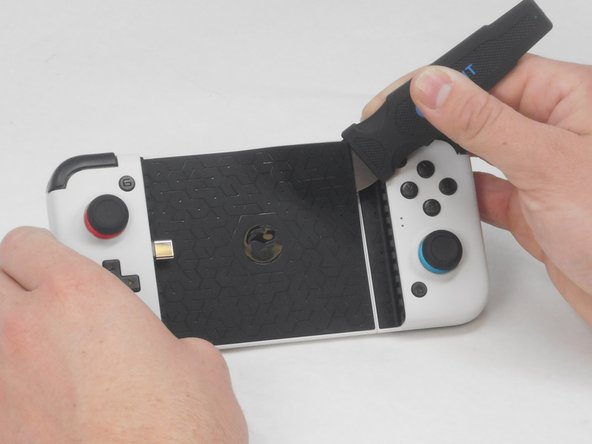
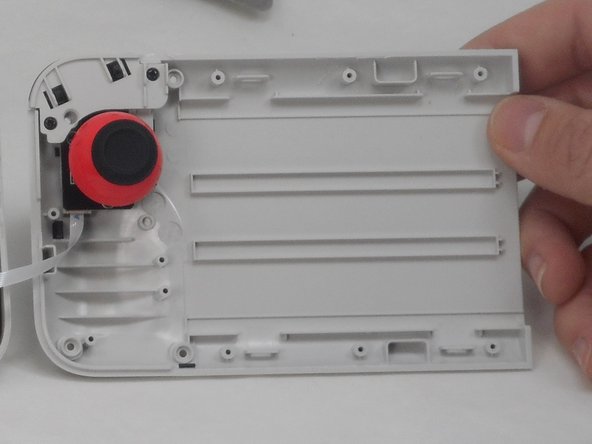
The joystick is on the front of the GameSir X2 Type-C. It allows the user to create various outputs depending on the game the user is playing.
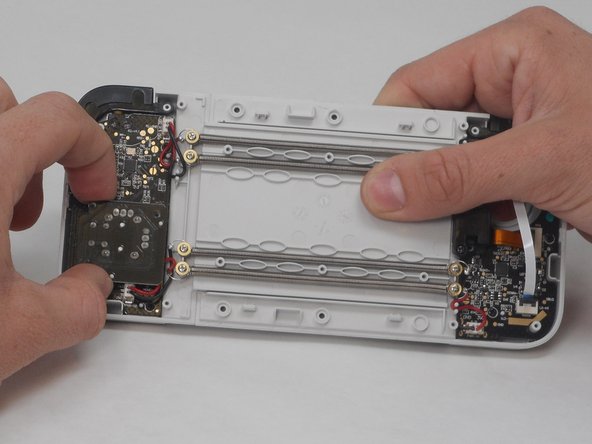
If you need to replace the right joystick on your GameSir X2 Type-C, you can do so by following this guide. You might need to replace your right joystick if it doesn't respond to input or has a lagging response. Check out the Troubleshooting Page to see if your right joystick needs to be replaced. Note that this guide doesn't apply to the left joystick. If you need to replace your left joystick refer to our Left Joystick Replacement Guide.
Cosa ti serve


To reassemble your device, follow these instructions in reverse order.
To reassemble your device, follow these instructions in reverse order.
Annulla: non ho completato questa guida.
Un'altra persona ha completato questa guida.
Team

University of Memphis, Team 1-2, Sneed Spring 2024 Membro di University of Memphis, Team 1-2, Sneed Spring 2024
UM-SNEED-S24S1G2
3 Membri
5 Guide realizzate