Introduzione
In order to fix any issues with sound your tablet may be experiencing, this guide will show you how to remove and replace the speaker entirely. You will need certain tools such as a Phillips Head screwdriver, #00 3mm screws, spudger, plastic opening tool, a pair of tweezers, and a soldering iron, as well as careful movements so you don't break any other components.
Cosa ti serve
-
-
Use a Phillips 00 bit to remove two 3mm screws from the bottom of the tablet.
-
-
-
-
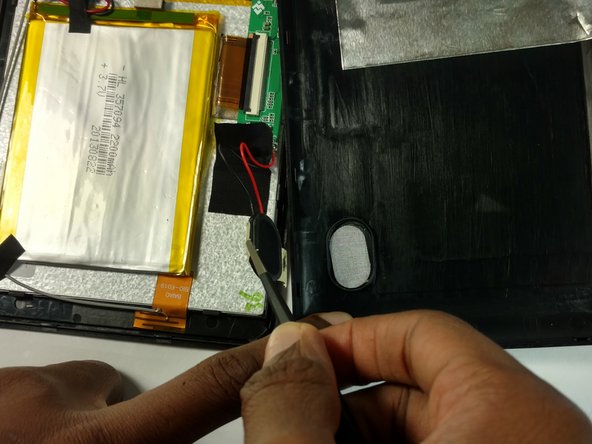
Using tweezers, carefully remove the tape covering the speaker.
-
-
-
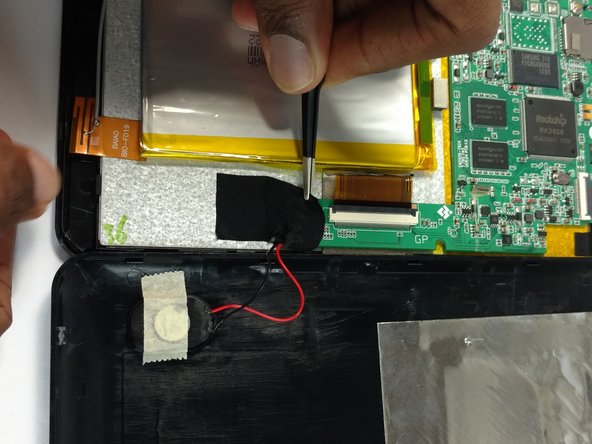
Desolder the negative (black) wire from the negative (-) lead, followed by desoldering the positive (red) wire from the positive (+) lead.
-
Refer to the soldering technique guide.
-


To reassemble your device, follow these instructions in reverse order.
To reassemble your device, follow these instructions in reverse order.
Annulla: non ho completato questa guida.
Un'altra persona ha completato questa guida.
Team

USF Tampa, Team 2-5, Blackwell Fall 2016 Membro di USF Tampa, Team 2-5, Blackwell Fall 2016
USFT-BLACKWELL-F16S2G5
4 Membri
12 Guide realizzate