Salta al contenuto principale
Unisciti alla Community delle riparazioni - Crea un account
EVGA x17 Programmable Buttons Replacement

EVGA x17 Programmable Buttons Replacement

McAuleyC

McAuleyC e 2 altri collaboratori

Ultimo aggiornamento il 27 dic 2023

25 - 40 minuti
Moderato

Introduzione

Vai al passo 1

This guide is meant to help with the replacement of the programmable buttons found on the top of the mouse just below the scroll wheel, the large "sniper" button on the side, and the three smaller buttons side of the mouse just below the "sniper" button.

Before you begin to disassemble the mouse, check the troubleshooting guide related to the programmable buttons. One common issue users experience with the EVGA x17 Gaming Mouse involves updating their drivers and downloading EVGA's RGB Mouse software.

  1. EVGA x17 Programmable Buttons Replacement, Programmable Buttons: passo 1, immagine 1 di 1
    • Remove the mouse skates to reveal 5 screws.

  2. EVGA x17 Programmable Buttons Replacement: passo 2, immagine 1 di 1
    • Use a Phillips head screwdriver to remove the 5 screws that secure the bottom panel.

  3. EVGA x17 Programmable Buttons Replacement: passo 3, immagine 1 di 1
    • Remove the weight chamber cover.

  4. EVGA x17 Programmable Buttons Replacement: passo 4, immagine 1 di 1
    • Slowly slide a spudger into and around the bottom of the panel, prying until a "popping" sound is heard.

  5. EVGA x17 Programmable Buttons Replacement: passo 5, immagine 1 di 2 EVGA x17 Programmable Buttons Replacement: passo 5, immagine 2 di 2
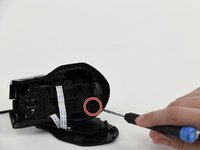
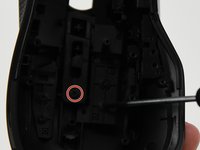
    • Remove the 13 screws on the interior.

    • There are 2 Phillips truss-head tapping screws, large circular heads, and the 11 Phillips screws from the interior.

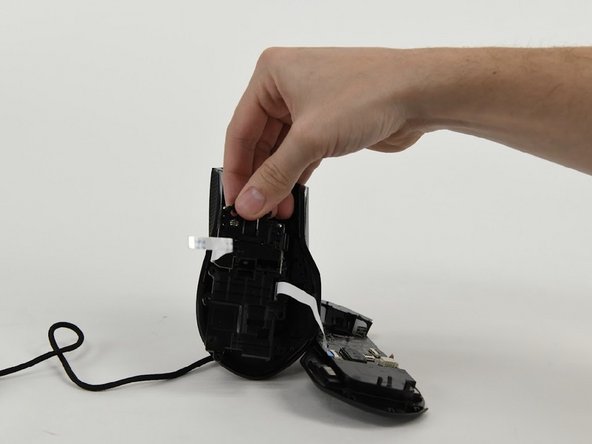
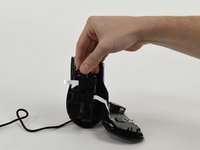
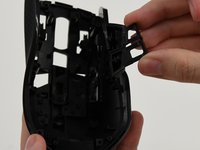
  6. EVGA x17 Programmable Buttons Replacement: passo 6, immagine 1 di 1
    • Carefully slide the middle section out.

  7. EVGA x17 Programmable Buttons Replacement: passo 7, immagine 1 di 2 EVGA x17 Programmable Buttons Replacement: passo 7, immagine 2 di 2
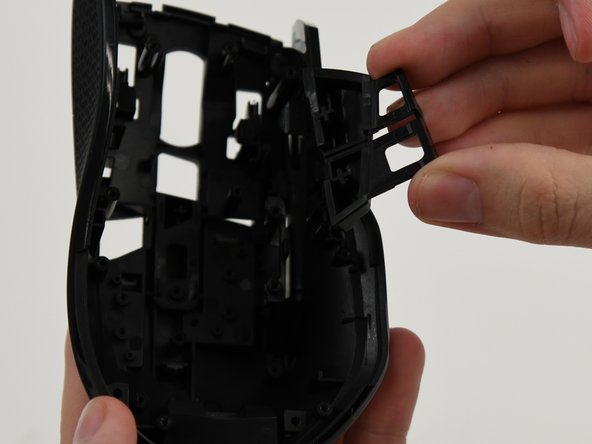
    • Remove screws from each button.

    • Press inwards and pop each button out of their socket.

Conclusione

To reassemble your device, follow these instructions in reverse order.

0Commenti sulla guida

Aggiungi Commento

Visualizza Statistiche:

Ultime 24 Ore: 0

Ultimi 7 Giorni: 3

Ultimi 30 Giorni: 6

Tutti i Tempi: 129