Introduzione
This guide can be used to replace a defective battery LED indicator in your Durofix RV332. To complete this repair, you will need a new battery LED, a #0 Phillips head screwdriver, a plastic opening tool, and a soldering iron.
Cosa ti serve
-
-
Remove the six 13 mm screws from the side of the power screwdriver using a #0 Phillips screwdriver.
-
-


To reassemble your device, follow these instructions in reverse order.
Replace the printed circuit board, the new battery, the LED, and the motor assembly. Put the case back together and replace the six 13 mm screws in the case using the #0 Phillips head screw driver.
Annulla: non ho completato questa guida.
Un'altra persona ha completato questa guida.
Team

Michigan Tech, Team 5-5, Lauer Spring 2014 Membro di Michigan Tech, Team 5-5, Lauer Spring 2014
MTU-LAUER-S14S5G5
3 Membri
5 Guide realizzate
1Commento della guida
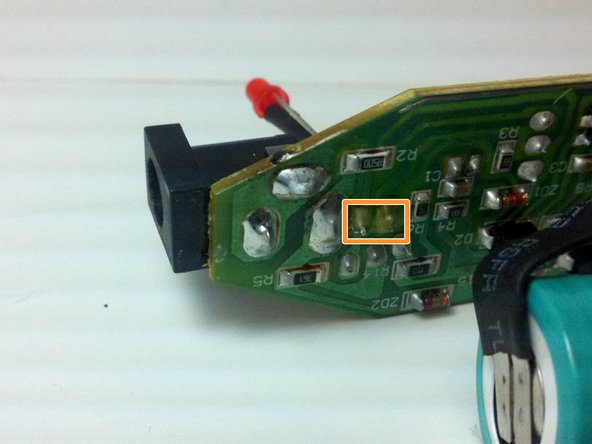
Hello, I would ask the author about the type and model number of the electronic element marked as Q1 on the PCB (transistor or thyristor) on the third picture in Step 3 of this article, because mine is burnt out, and on this picture can't be read anything.
Greetings,
Plam