Introduzione
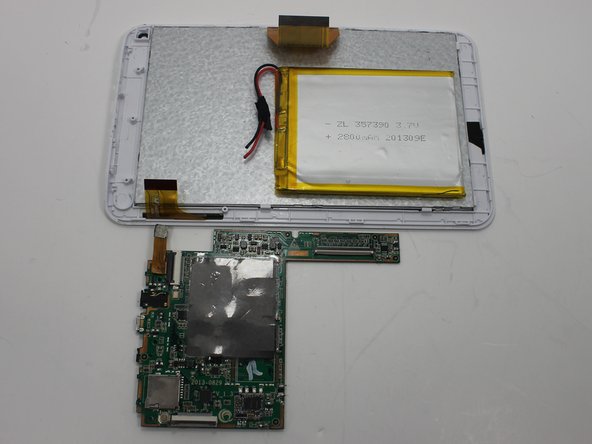
Replace the tablets Motherboard.
Cosa ti serve
-
-
-
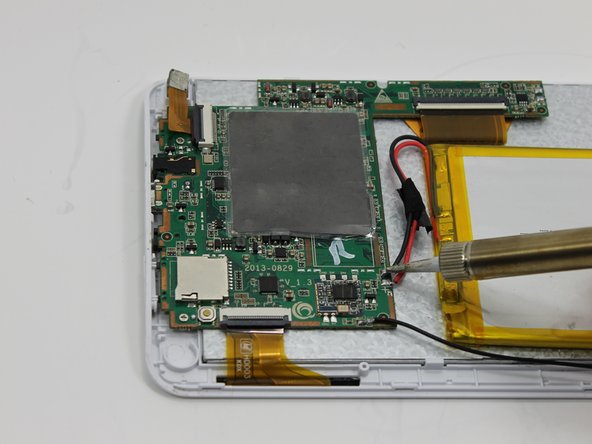
Install the new motherboard by soldering the speaker wires and the battery wires in their intended location. For additional soldering instructions please view this page: Come saldare e dissaldare componenti elettrici
-


To reassemble your device, follow these instructions in reverse order.
To reassemble your device, follow these instructions in reverse order.
Annulla: non ho completato questa guida.
Un'altra persona ha completato questa guida.
Team

Michigan Tech, Team 1-4, Lauer Spring 2015 Membro di Michigan Tech, Team 1-4, Lauer Spring 2015
MTU-LAUER-S15S1G4
2 Membri
10 Guide realizzate