Introduzione
We will show how to replace the tablet's battery.
Cosa ti serve
-
-
-
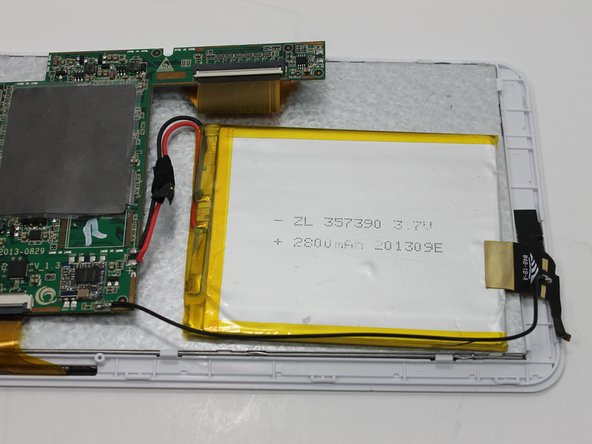
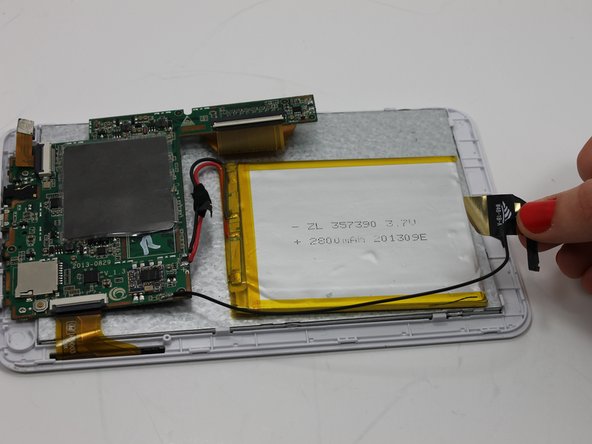
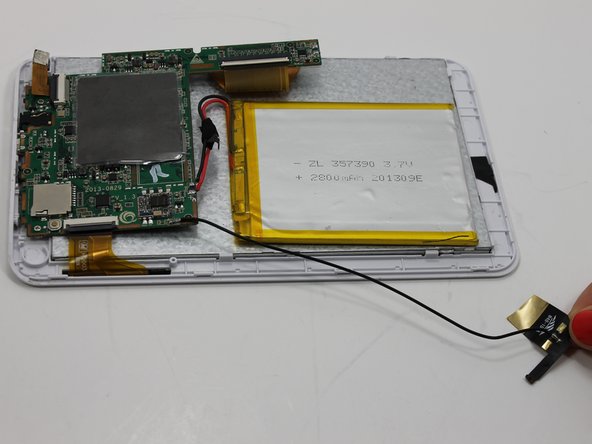
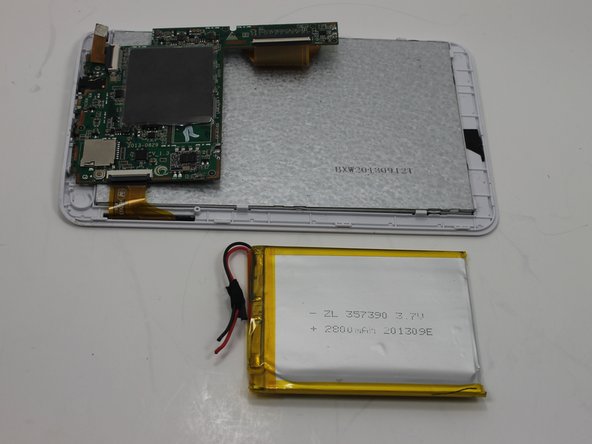
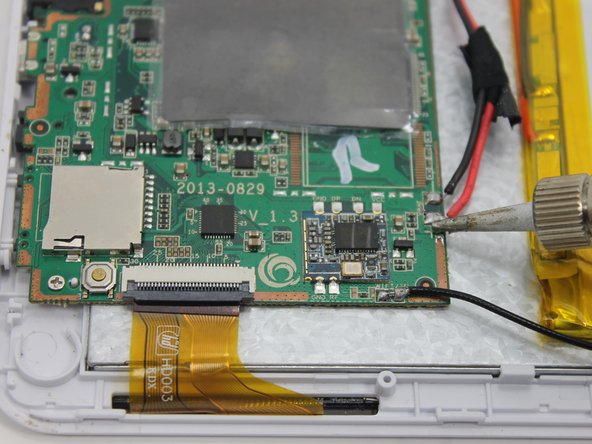
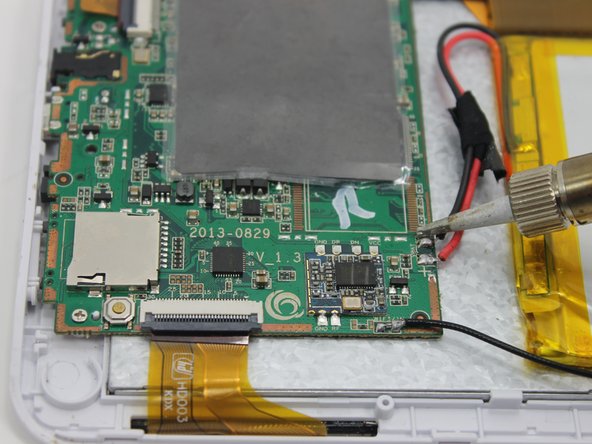
Install the new battery by soldering the three wires to the motherboard. For additional soldering instructions please view this page: Come saldare e dissaldare componenti elettrici
-


Quasi finito!
To reassemble your device, follow these instructions in reverse order.
Conclusione
To reassemble your device, follow these instructions in reverse order.
Team

Michigan Tech, Team 1-4, Lauer Spring 2015 Membro di Michigan Tech, Team 1-4, Lauer Spring 2015
MTU-LAUER-S15S1G4
2 Membri
10 Guide realizzate