Questa guida ha delle modifiche più recenti. Passa all'ultima versione non verificata.
Introduzione
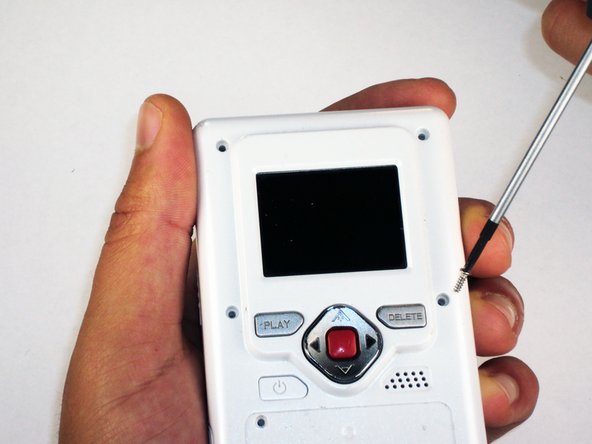
This guide will show you how to open the outer shell of your Flip Video.
Cosa ti serve


To reassemble your device, follow these instructions in reverse order.
To reassemble your device, follow these instructions in reverse order.
Annulla: non ho completato questa guida.
Un'altra persona ha completato questa guida.
Team

Cal Poly, Team 26-21, Regan Spring 2010 Membro di Cal Poly, Team 26-21, Regan Spring 2010
CPSU-REGAN-S10S26G21
4 Membri
12 Guide realizzate