Introduzione
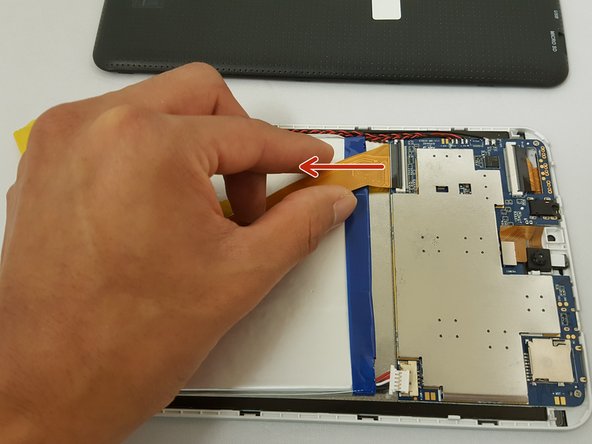
This guide will be showing you how to replace the charging port for the Digital2 D2-861G model. Be sure to carefully remove parts to avoid damaging the device.
Cosa ti serve
-
-
-
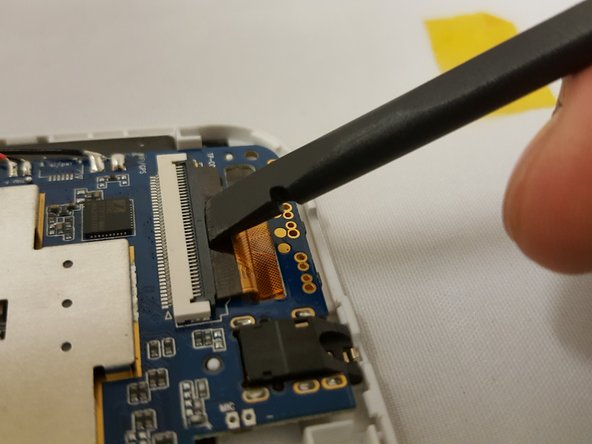
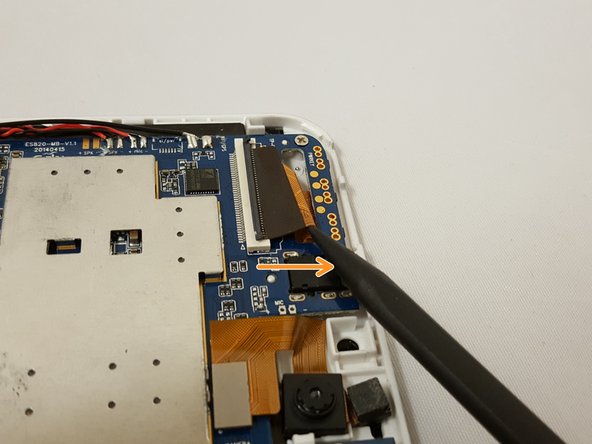
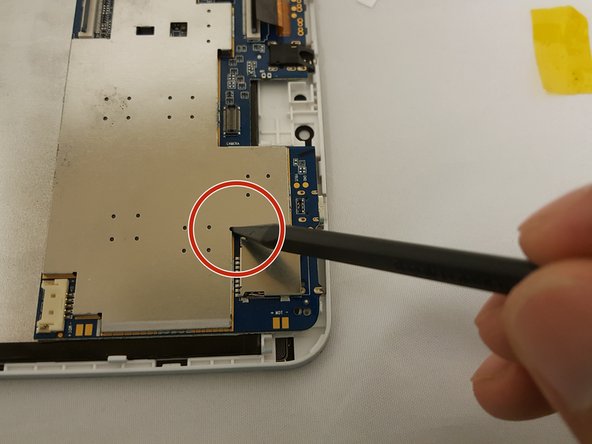
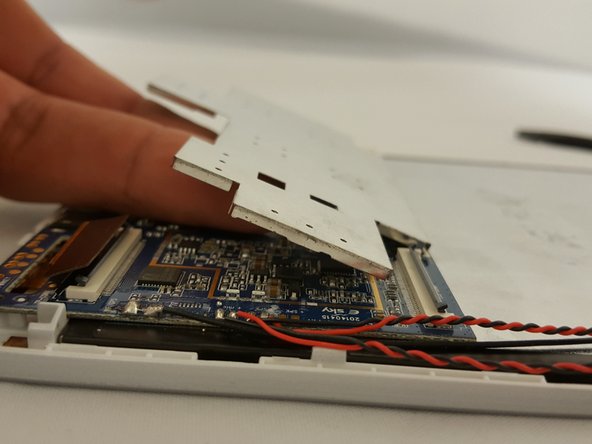
To replace the charging port, you can either replace the motherboard or desolder the port.
-


Quasi finito!
To reassemble your device, follow these instructions in reverse order.
Conclusione
To reassemble your device, follow these instructions in reverse order.

Team

Eastern Washington University, Team 1-3, Crane Fall 2016 Membro di Eastern Washington University, Team 1-3, Crane Fall 2016
EWU-CRANE-F16S1G3
3 Membri
6 Guide realizzate