Introduzione
Does your Digital2 tablet battery deplete faster than it used to? Is the battery overheating or causing issues with performance? If so, it may be time to replace it. This guide will take you through the necessary steps to replace the battery. Soldering is required to complete this guide. For information on soldering, take a look at this guide.
Cosa ti serve
-
-
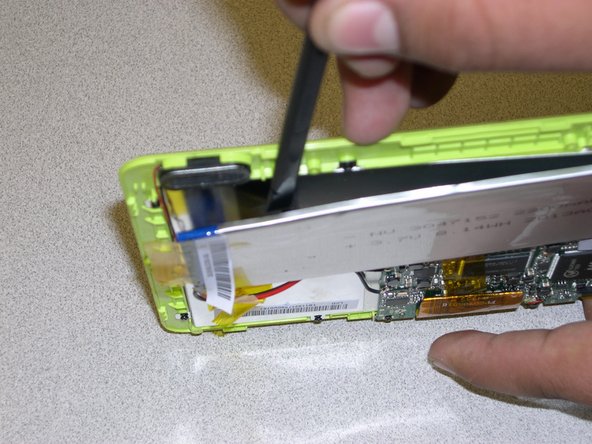
Insert the prying tool into the crack between the case and the display border found to the right of the charging port.
-
Continue to pry around the case.
-
After prying all around the device, separate the back cover from the display.
-
-
-
-
Use the soldering iron to remove the cables from the circuit board.
-
Solder the new battery cables onto the circuit board.
-


To reassemble your device, follow these instructions in reverse order.
To reassemble your device, follow these instructions in reverse order.
Annulla: non ho completato questa guida.
Un'altra persona ha completato questa guida.
Team

Gateway, Team 1-6, Johnson Fall 2014 Membro di Gateway, Team 1-6, Johnson Fall 2014
GCC-JOHNSON-F14S1G6
2 Membri
4 Guide realizzate