Introduzione
This guide will be used to open the DJI Phantom 3 Standard Remote Controller to access and replace the joysticks. The joysticks are a significant part of the controller because they help steer the drone. If you are having trouble moving the joysticks, refer to this troubleshooting guide before starting any replacements. This repair is tricky because of the number of small components keeping the joysticks in place.
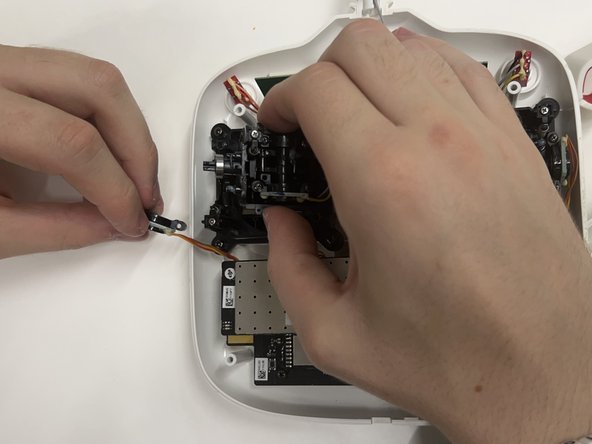
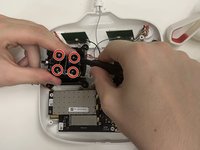
Caution: Once the braces located inside the controller are unscrewed and the housing is lifted, the springs will lose tension and may pop out of place.
Cosa ti serve
-
-
Position the controller so the back is facing up and the joysticks are resting on the table.
-
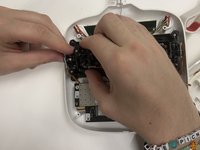
Remove the four 11 mm screws that secure the back plate using a JIS #0 screwdriver.
-
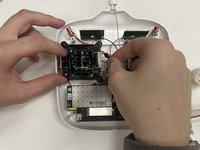
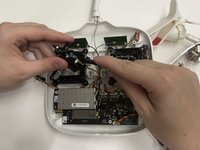
Remove the back plate, being mindful of the wires still connected to the device.
-
-


To reassemble your device, follow these instructions in reverse order.
Team

Western Carolina University, Team 1-5, Virtue Fall 2024 Membro di Western Carolina University, Team 1-5, Virtue Fall 2024
WCU-VIRTUE-F24S1G5
4 Membri
5 Guide realizzate