Salta al contenuto principale

Connecting the Keypad

Cosa ti serve

  1. Connecting the Keypad, Keypad: passo 1, immagine 1 di 2 Connecting the Keypad, Keypad: passo 1, immagine 2 di 2
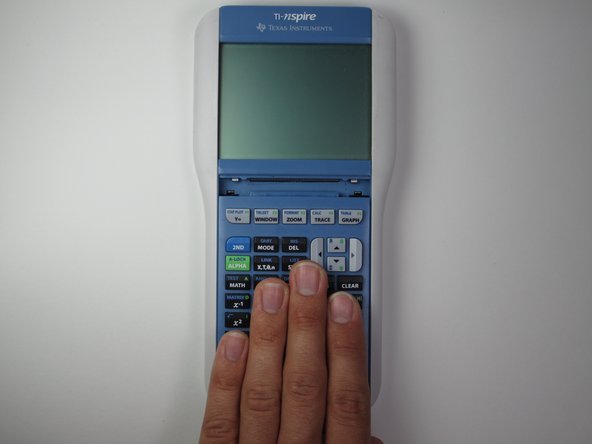
    • Turn the calculator over so the blue Texas Instruments logo is facing you.

    • Slide the blue cover downwards until it is completely removed from the calculator.

  2. Connecting the Keypad: passo 2, immagine 1 di 1
    • If the keypad is not already connected, skip the next 2 steps.

    • Turn the calculator over so the keypad is facing down.

    • Locate the sliding latch towards the bottom of the calculator.

  3. Connecting the Keypad: passo 3, immagine 1 di 2 Connecting the Keypad: passo 3, immagine 2 di 2
    • Slide the latch to the right to release the keypad.

    • At the same time, pull the keypad downwards.

  4. Connecting the Keypad: passo 4, immagine 1 di 2 Connecting the Keypad: passo 4, immagine 2 di 2
    • Take note of where the keypad and the calculator connect.

  5. Connecting the Keypad: passo 5, immagine 1 di 3 Connecting the Keypad: passo 5, immagine 2 di 3 Connecting the Keypad: passo 5, immagine 3 di 3
    • Slide the keypad directly into where it connects to the calculator until you hear a click. Readjust as necessary.

  6. Connecting the Keypad: passo 6, immagine 1 di 1
    • Press the "ON" button to make sure that the calculator turns on. If the calculator turns on correctly, you have properly inserted the keypad.

Conclusione

If the keypad was inserted properly, the calculator should turn on without any errors.

Un'altra persona ha completato questa guida.

Team

Cal Poly, Team 7-52, Forte Fall 2012 Membro di Cal Poly, Team 7-52, Forte Fall 2012

CPSU-FORTE-F12S7G52

5 Membri

12 Guide realizzate

0 Commenti

Aggiungi Commento

Visualizza Statistiche:

Ultime 24 Ore: 1

Ultimi 7 Giorni: 2

Ultimi 30 Giorni: 7

Tutti i Tempi: 15,014