Introduzione
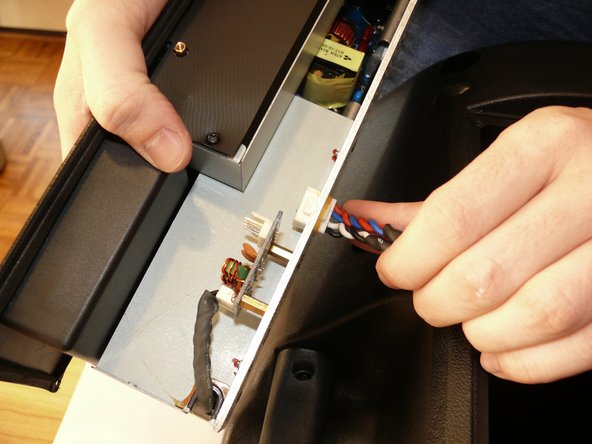
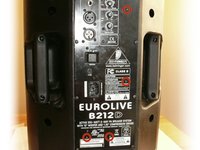
The control PCB is attached to the inside of the back panel, and provides access to adjustment knobs and inputs and outputs for the B212D speaker.
Cosa ti serve
-
-
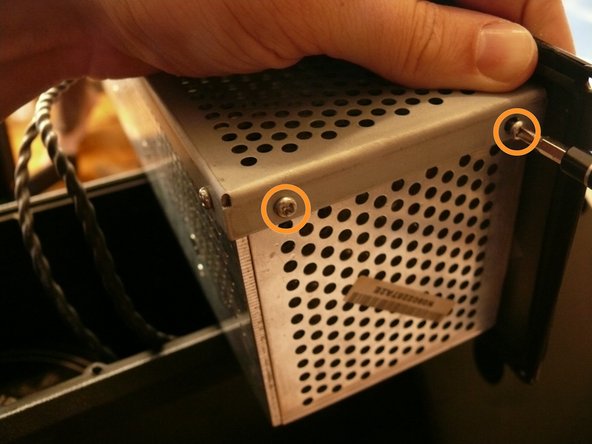
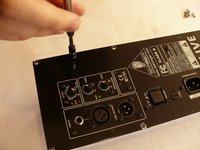
There are two silver, 6 mm-long machine screws with two 1/8" inner-diameter washers on the exterior of the metal electronics box; remove these first using a #2 philips screwdriver.
-
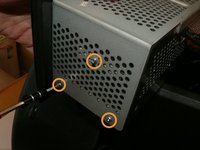
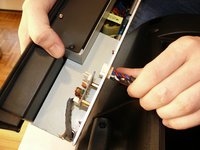
There are five of the same type of machine screw (silver, 6 mm-long) remaining around the metal electronics box's exterior; remove these as well.
-
-
-
-
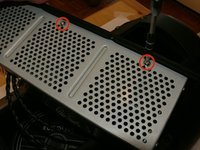
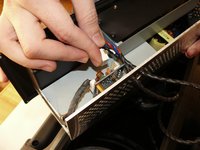
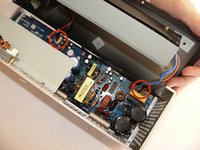
Remove the 4, 7/32" long machine screws with a #2 phillips head screwdriver.
-
-
-
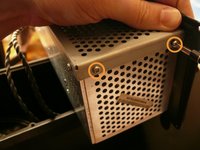
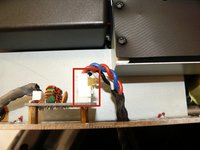
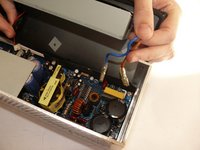
Remove the 4 indicated 9/32" long screws with the #1 phillips head screwdriver
-


To reassemble your device, follow these instructions in reverse order.
Annulla: non ho completato questa guida.
Altre 4 persone hanno completato questa guida.
8Commenti sulla guida
In Step 3 there are 2 more screws, along the side of the 'electronics box’.
The washer and nut securing the 1/4” socket also need to be removed.
You must have an answer to my question. My B212A is stuck on Clipp mode with no input and all knobs turned down.
Will control PCB replacement fix this?
Hi,i like to conect the board to another amp pcb but i dont now wich cable is for what ,do you now where is the power and the inputs?i already look for schematics but i didnt find anything about..thanx
Where do I find a replacement control PCB for my B212A??