Questa versione può contenere modifiche errate. Passa all'ultima istantanea verificata.
Cosa ti serve
-
Questo passaggio è privo di traduzione. Aiuta a tradurlo
-
Remove the 8 Phillips screws from the back of the speaker.
-
-
Questo passaggio è privo di traduzione. Aiuta a tradurlo
-
Carefully remove the back panel, lifting out the metal electronics-box with it.
-
-
Questo passaggio è privo di traduzione. Aiuta a tradurlo
-
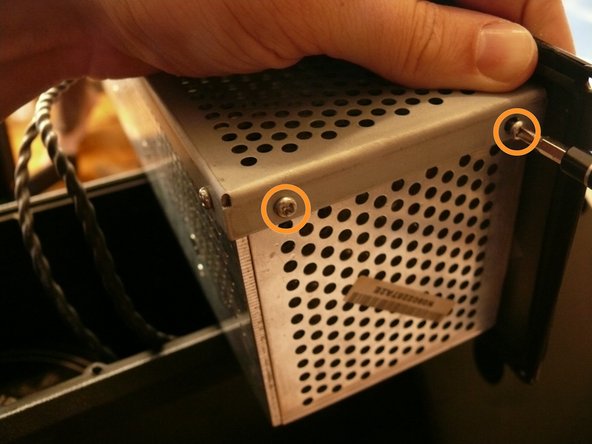
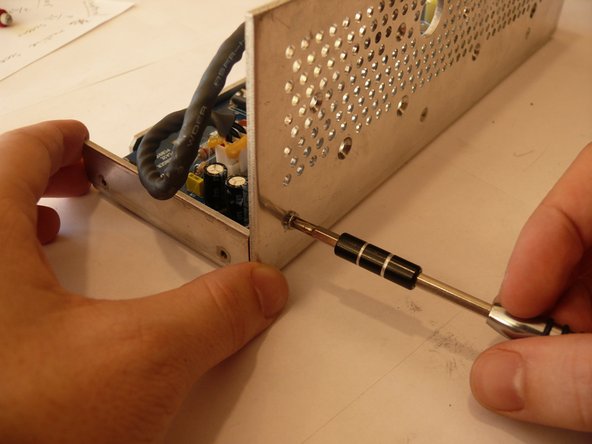
There are two silver, 6 mm-long machine screws with two 1/8" inner-diameter washers on the exterior of the metal electronics box; remove these first using a #2 philips screwdriver.
-
There are five of the same type of machine screw (silver, 6 mm-long) remaining around the metal electronics box's exterior; remove these as well.
-
-
Questo passaggio è privo di traduzione. Aiuta a tradurlo
-
Remove the portion of the metal housing that you freed with the 7 screws in the previous step.
-
-
Questo passaggio è privo di traduzione. Aiuta a tradurlo
-
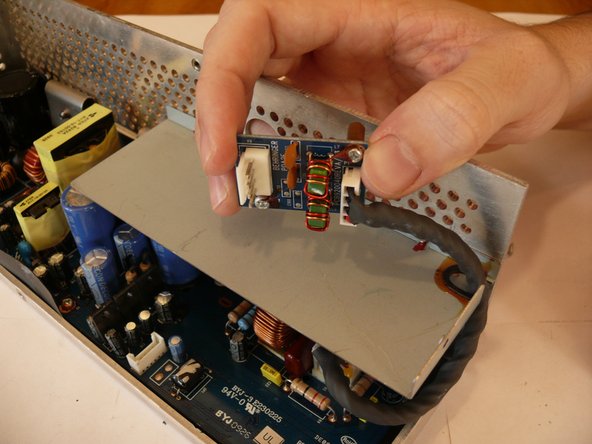
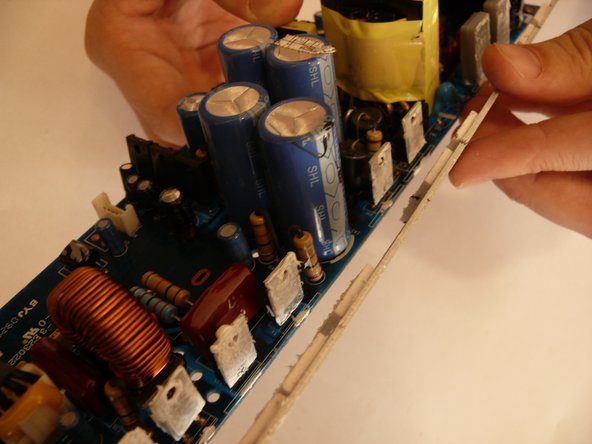
Inside the metal electronics box housing is a white clip attached to a small PCB; remove this.
-
Snake the clip head through the hole in the metal electronics box casing.
-
-
-
Questo passaggio è privo di traduzione. Aiuta a tradurlo
-
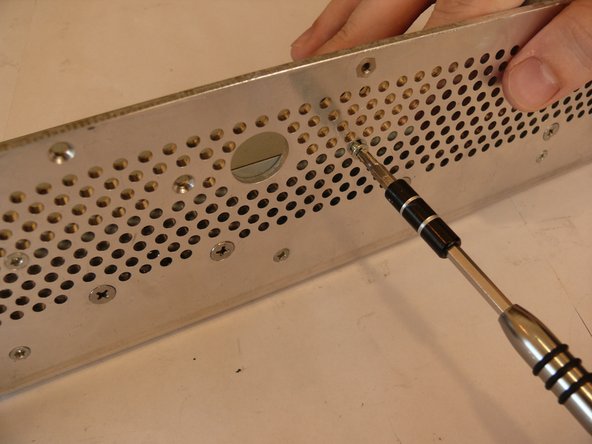
Remove the 4, 7/32" long machine screws with a #2 phillips head screwdriver.
-
-
Questo passaggio è privo di traduzione. Aiuta a tradurlo
-
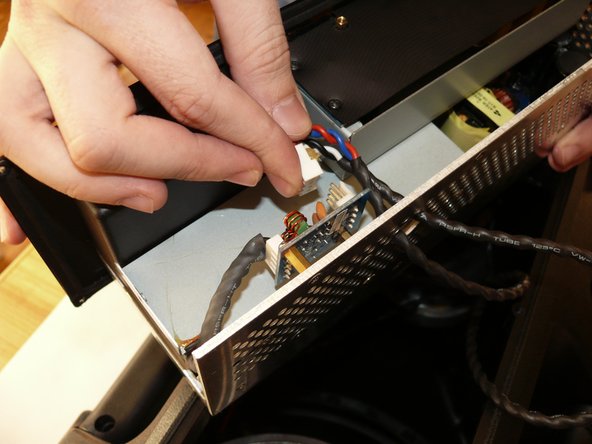
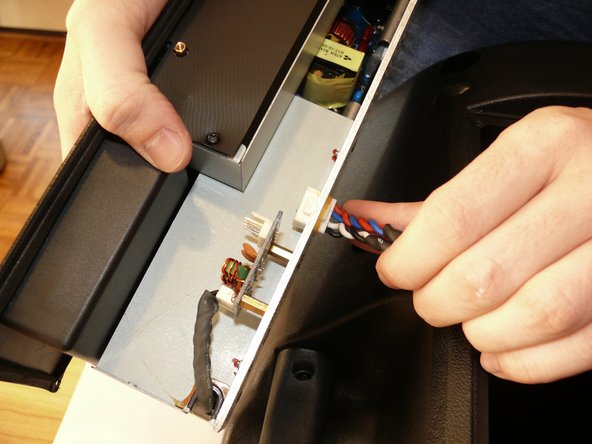
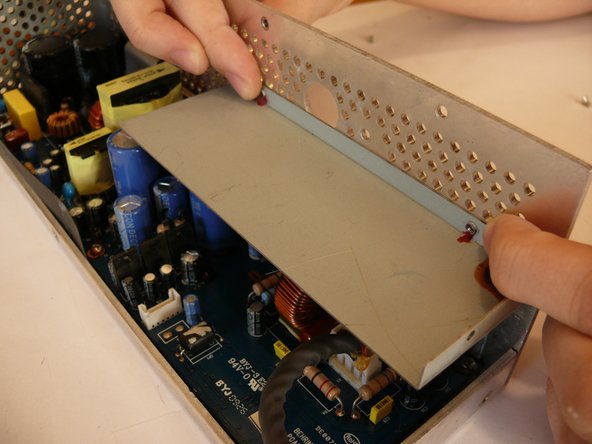
Rotate the back panel so you can view the interior; note the three wires attached.
-
Remove the wires to you can fully remove the back panel.
-
-
Questo passaggio è privo di traduzione. Aiuta a tradurlo
-
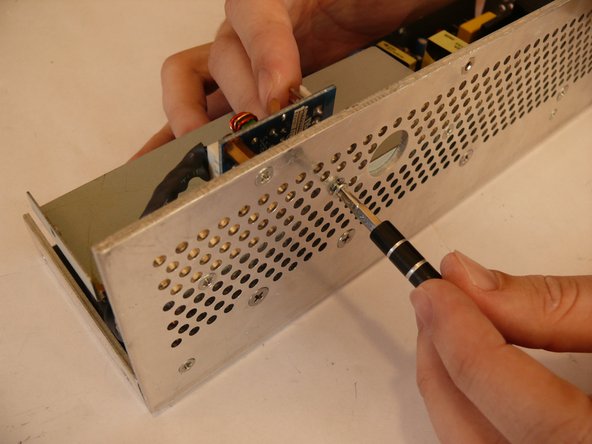
Remove the 2 indicated flat head machine screws indicated using a #2 phillips head screwdriver.
-
-
Questo passaggio è privo di traduzione. Aiuta a tradurlo
-
Remove the 2 indicated flat head machine screws using a #2 phillips head screwdriver.
-
Remove and set aside the metal panel that was separating the small PCB from the audio amplification PCB.
-
-
Questo passaggio è privo di traduzione. Aiuta a tradurlo
-
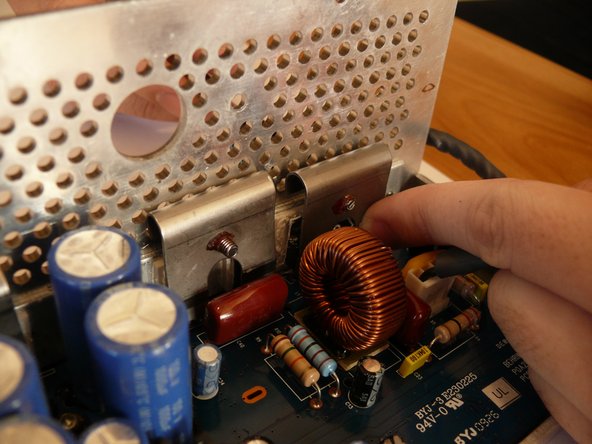
Note the 4 large flat head machine screws which hold the clamps on the opposite side; remove them with a #2 phillips head screwdriver.
-
-
Questo passaggio è privo di traduzione. Aiuta a tradurlo
-
Note the 3 flat head machine screws holding the heat sink to the metal electronics box; remove them using a #2 phillips head screwdriver.
-
-
Questo passaggio è privo di traduzione. Aiuta a tradurlo
-
Note the location of the 4 indicated machine screws which hold the audio amplification PCB to the metal electronics box; remove them using a #2 phillips head screwdriver.
-
-
Questo passaggio è privo di traduzione. Aiuta a tradurlo
-
Remove the audio amplification PCB from the metal electronics box.
-
If you haven't already, remove the heat sink from the IC's, being careful not to get any of the ceramic thermal paste on your skin, as it is difficult to remove, even with soap.
-


Annulla: non ho completato questa guida.
Altre 5 persone hanno completato questa guida.
6 Commenti
lol pareil je cherche la pcb
I need the panel where I buy it
Calde.dc@GMAIL.COM