Introduzione
This guide shows how to remove and replace the two internal ball bearings housed inside the outboard bearing assembly on the Barreto Tiller E1320 2016.
If the entire outboard bearing assembly needs to be replaced, use this guide.
Cosa ti serve
-
-
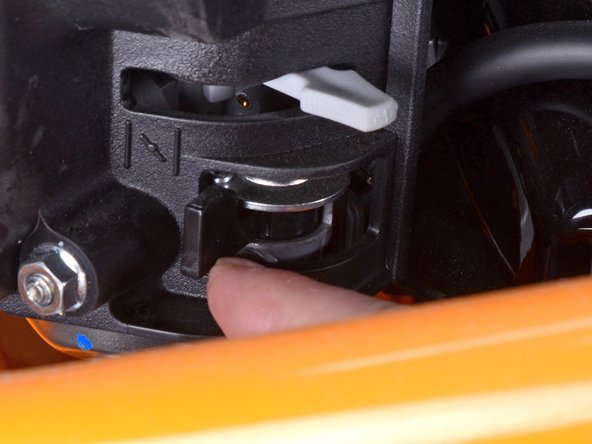
Grab the plastic housing at the end of the spark plug wire and pull firmly to disconnect it.
-
-
-
Flip the red engine ON/OFF switch to the OFF position.
-
-
-
Flip the ignition switch to the OFF position.
-
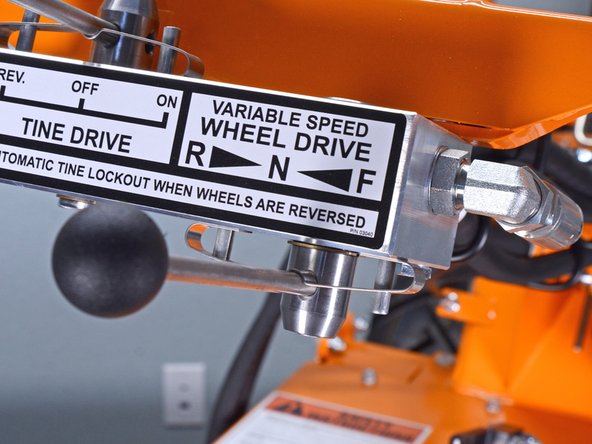
Ensure the wheel drive control lever is set to the neutral position.
-
-
-
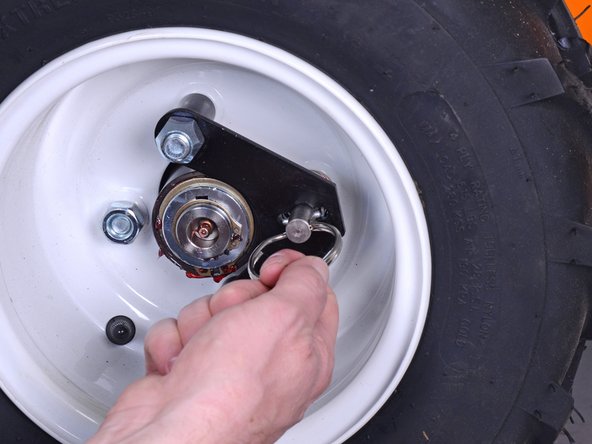
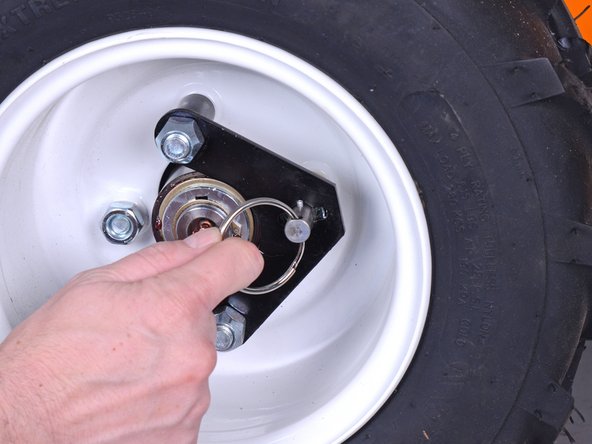
Pull the locking pin out and rotate it 90˚ to unlock the right wheel from the hub.
-
Repeat for the left wheel.
-
-
-
Insert wheel chocks underneath each wheel to keep the device stationary during disassembly.
-
-
-
Use an 8 mm socket to remove the outboard bearing grease fitting.
-
-
-
-
Use a 9/16 inch socket to remove the four bolts securing the tine shaft to the side plate.
-
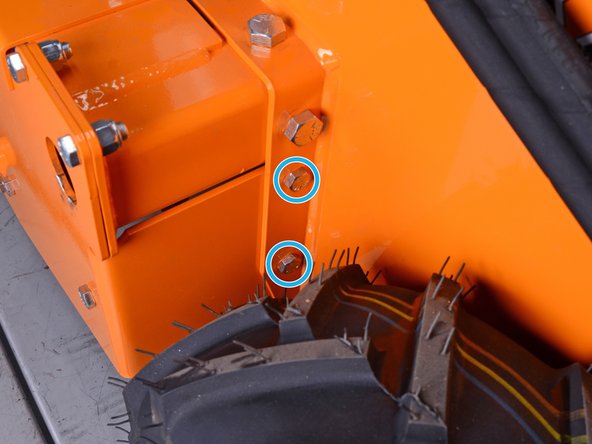
Use a 9/16 socket and wrench to remove the five bolts and accompanying nuts securing the side plate to the frame, three on the outside and two in the wheel well.
-
-
-
Tilt the tiller up so the motor side is resting on the work surface with the tines raised.
-
-
-
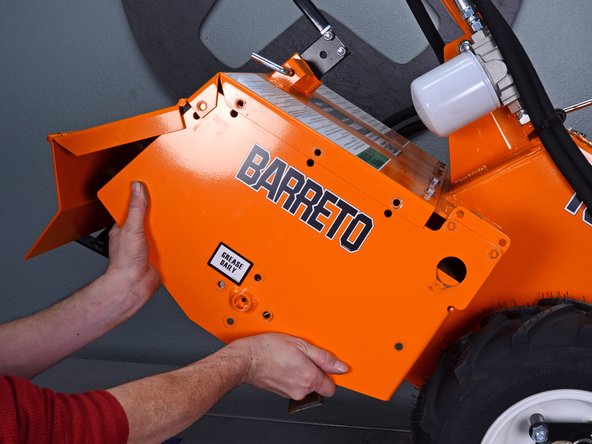
Use a 1/2 inch socket and wrench to remove the four bolts and accompanying nuts securing the side plate to the tine cover.
-
-
-
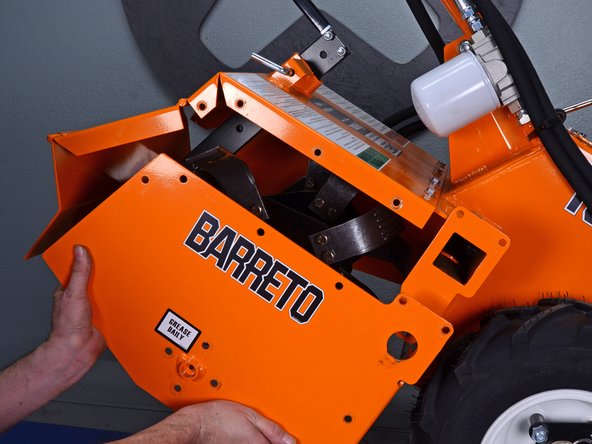
Slide the side plate down and away from the device to remove it.
-
-
-
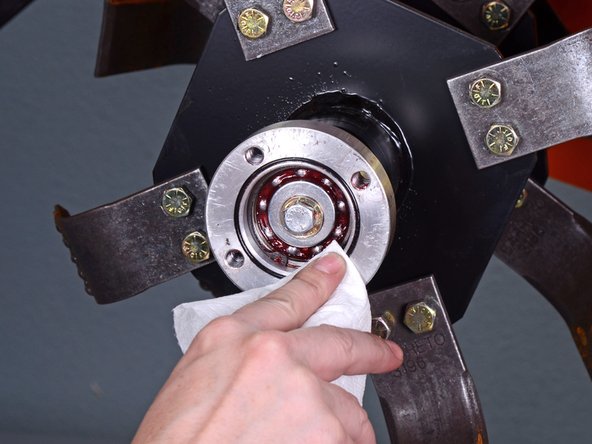
Use a clean paper towel or shop rag to remove the grease from the outboard bearing assembly.
-
-
-
Use a 9/16 inch socket to remove the bolt securing the outboard bearing assembly to the tine shaft.
-
-
-
Remove the three washers, held in place by the bolt, from the outboard bearing assembly.
-
-
-
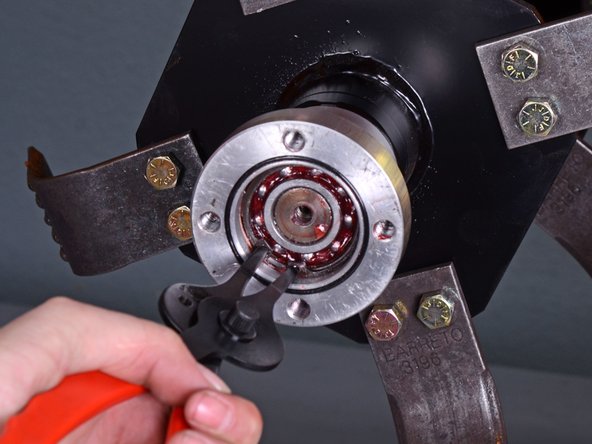
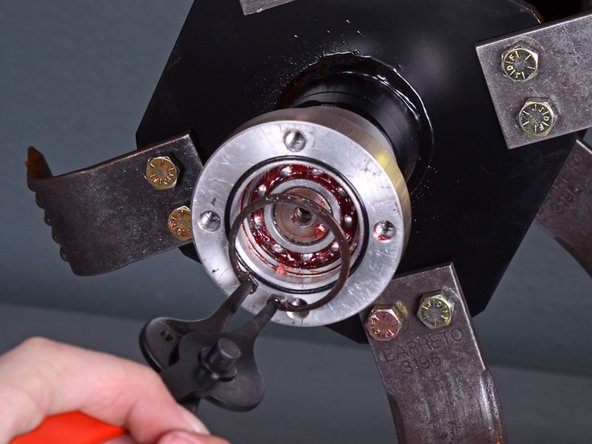
Use a pair of snap ring pliers to remove the snap ring from the outboard bearing assembly.
-
-
-
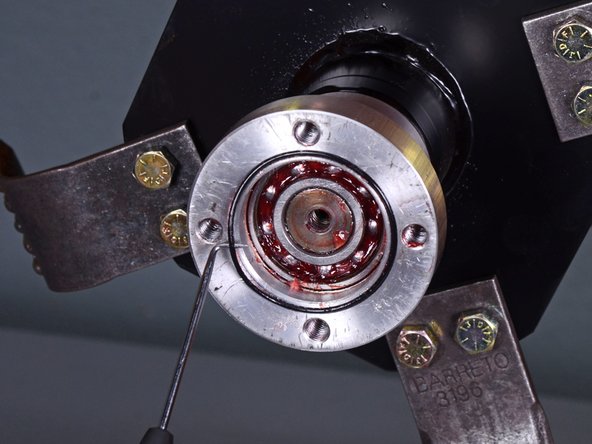
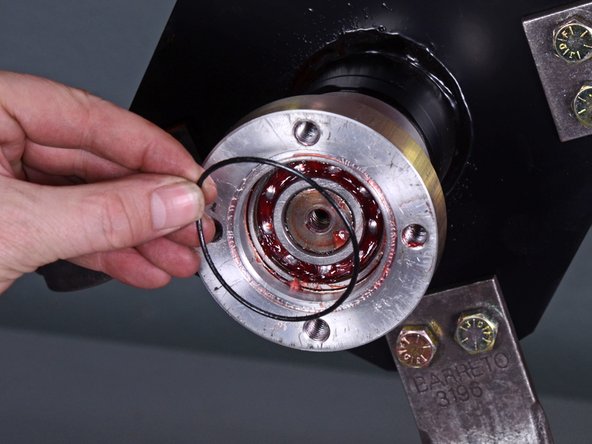
Use a pick tool to remove the O-ring from its recess on the outer edge of the assembly.
-
-
-
Pull the assembly off of the tine shaft to remove it.
-
-
-
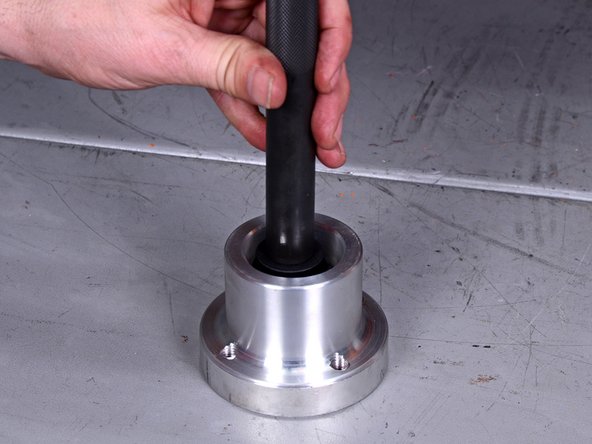
Set the assembly flange-down onto the work surface.
-
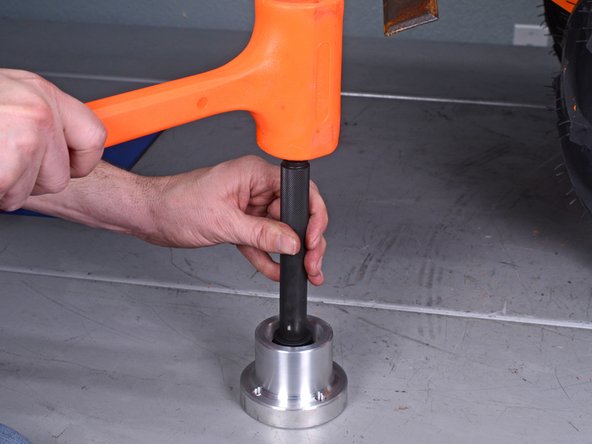
Use a bearing removal tool or bearing press to remove the ball bearings from the housing.
-
-
-
With the bearings removed from the housing, remove the dust shield.
-


To reassemble your device, follow these instructions in reverse order.
To reassemble your device, follow these instructions in reverse order.
Annulla: non ho completato questa guida.
Un'altra persona ha completato questa guida.

