Questa versione può contenere modifiche errate. Passa all'ultima istantanea verificata.
Cosa ti serve
-
Questo passaggio è privo di traduzione. Aiuta a tradurlo
-
Locate the small opening on the bottom corner of the back case.
-
-
Questo passaggio è privo di traduzione. Aiuta a tradurlo
-
Use your finger to open the back case by slowly pulling it on the open slot.
-
Once the case is lifted on the corner, slide your finger along the edge of the phone to remove the rest of the case.
-
-
Questo passaggio è privo di traduzione. Aiuta a tradurlo
-
Locate the opening slot at the bottom of the battery.
-
Use your finger to lift the battery and remove it from the case.
-
-
-
Questo passaggio è privo di traduzione. Aiuta a tradurlo
-
Locate the four 3mm screws on each side of the back panel.
-
Use a Phillips #00 screwdriver to remove the eight screws.
-
-
Questo passaggio è privo di traduzione. Aiuta a tradurlo
-
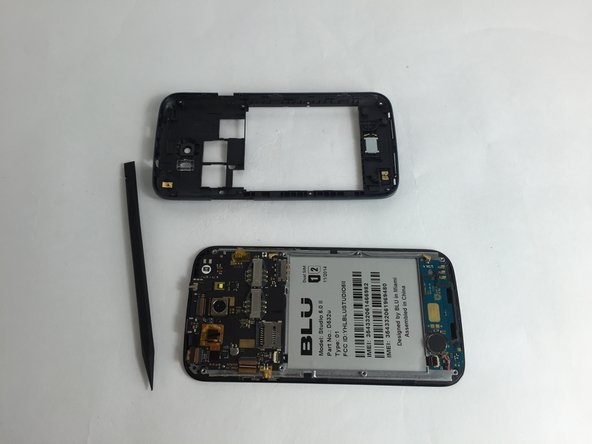
Carefully use a spudger to start opening the back case by inserting it between the black and blue lines on the side of the phone.
-
With the help of your fingers, continue to remove the back case by sliding it through the opening.
-
-
Questo passaggio è privo di traduzione. Aiuta a tradurlo
-
Locate the following adhesive buttons on the right and left side of the motherboard. These are the volume and power buttons.
-
Use a spudger to carefully separate them from the circuit board.
-
-
Questo passaggio è privo di traduzione. Aiuta a tradurlo
-
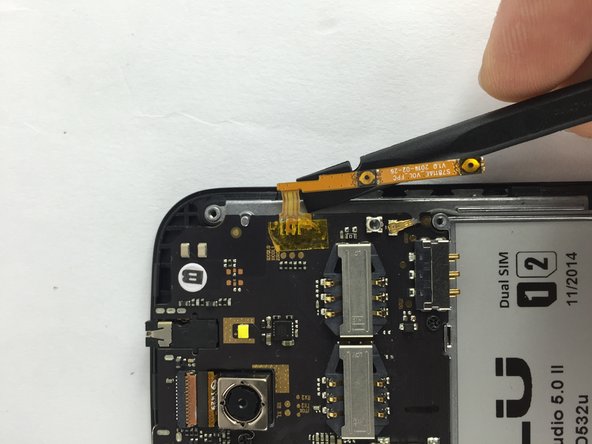
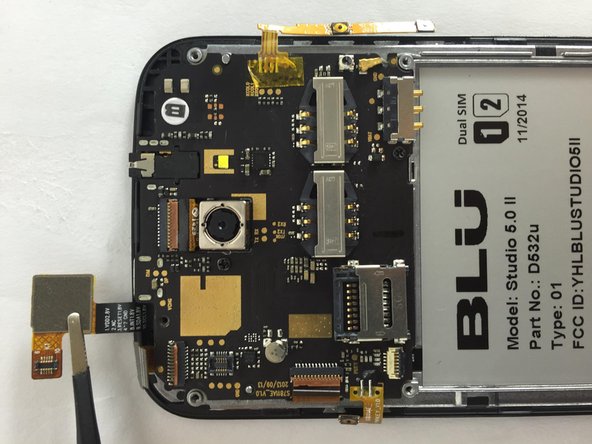
Locate these two ZIF connectors on the top and left side of the motherboard.
-
Use a spudger to flip up and unlock the black tab on the connector.
-
Use tweezers to pull the ribbon cables out of their connectors.
-
-
Questo passaggio è privo di traduzione. Aiuta a tradurlo
-
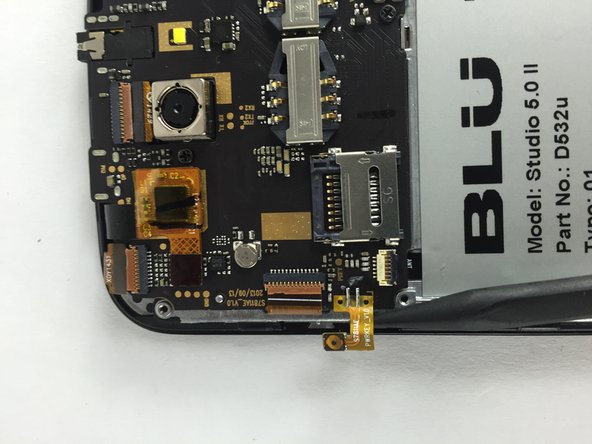
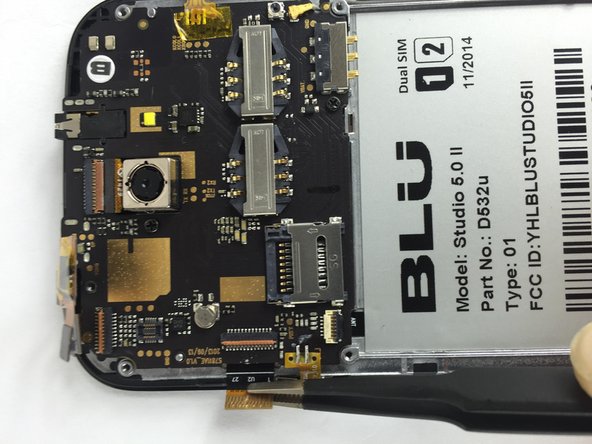
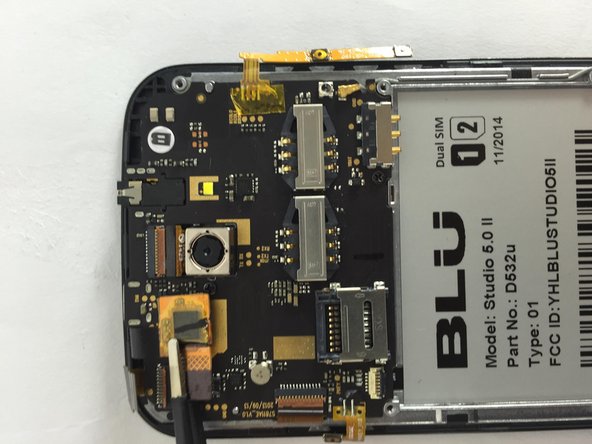
Locate the indicated connector on the top side of the motherboard.
-
Use a pair of tweezers to gently lift the connector from the circuit board.
-
-
Questo passaggio è privo di traduzione. Aiuta a tradurlo
-
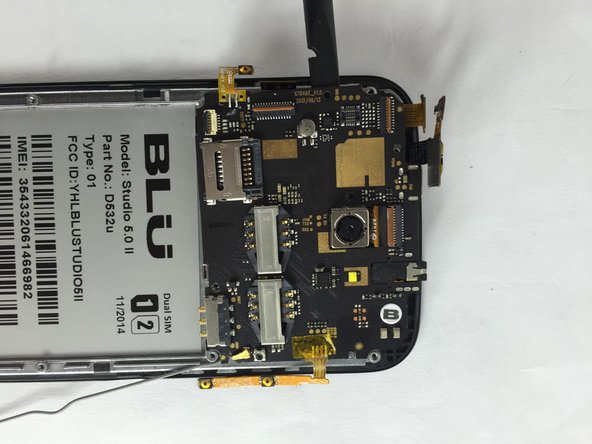
Remove the three 3mm screws on the motherboard using a Phillips #00 screwdriver.
-
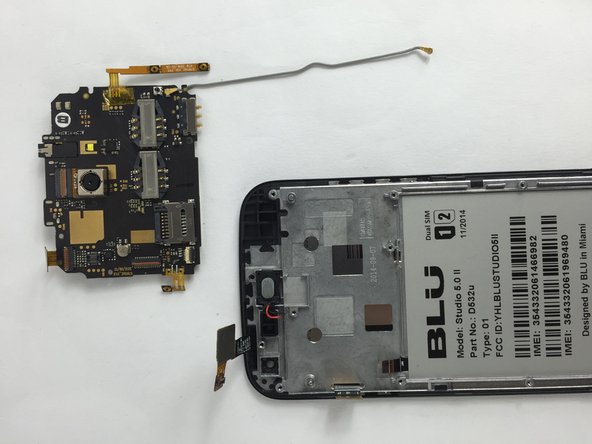
Use a spudger or tweezers to carefully lift and remove the motherboard.
-


Annulla: non ho completato questa guida.
Altre 2 persone hanno completato questa guida.
Team

USF Tampa, Team 7-5, Cheng Spring 2016 Membro di USF Tampa, Team 7-5, Cheng Spring 2016
USFT-CHENG-S16S7G5
3 Membri
7 Guide realizzate