Introduzione
Use this guide to replace your motherboard for your Auking M8-F projector.
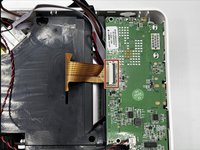
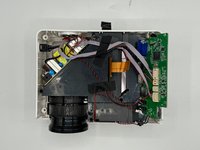
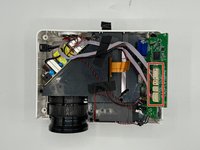
The motherboard is responsible for all the components of your projector to communicate with each other. A faulty motherboard can affect the projector's overall performance, causing the whole projector to not work to the best of its capability. In some cases, an old or damaged motherboard can cause the projector to not function properly.
If you are experiencing issues with the function of the projector, please take a look at the troubleshooting page to see if the problem can come from other causes. If none of these solutions seems to be enough, then the motherboard may be the issue.
Before continuing this guide, be sure to turn off your projector completely.
Cosa ti serve
-
-
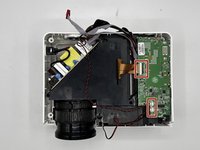
Flip the projector on its opposite side.
-
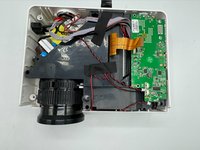
Remove all six of the 11 mm screws on the base of the projector using a Phillips #1 screwdriver.
-
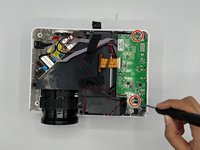
Remove the two 14 mm screws using a Phillips #1 screwdriver.
-
-


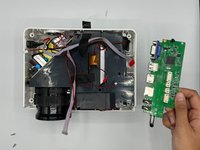
To reassemble your device, follow these instructions in reverse order.
To reassemble your device, follow these instructions in reverse order.

Team

University of North Texas, Team 1-4, Kilpatrick Fall 2023 Membro di University of North Texas, Team 1-4, Kilpatrick Fall 2023
UNT-KILPATRICK-F23S1G4
3 Membri
2 Guide realizzate