Introduzione
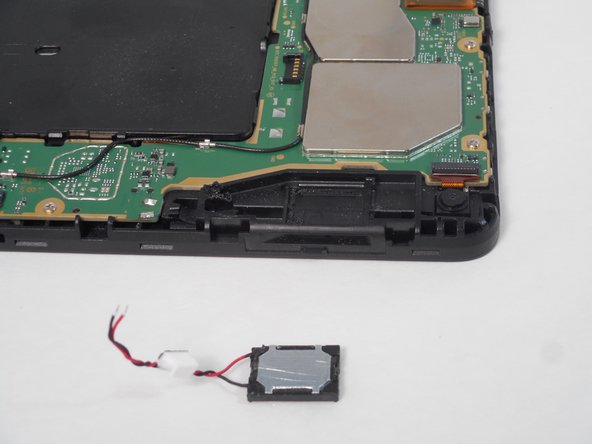
If your Amazon Fire HD 8 12th Generation is having problem with emitting quality sound, or isn't emitting any sound at all, this could possibly be due to many things such as water damage, or even repeated physical mishandling. If so, then use this guide to replace the components that make up the sound port of the device.
Before beginning to replace the speakers, make sure you have the compatible speakers to replace the old ones with. To know you have the right speakers, just look at the model number of the device. For reference the model number is RS2P8T. In order to replace the speaker efficiently without breaking anything, it is best to have some experience in removing circuit boards, as this guide is quite difficult. It requires taking apart and reassembling the motherboard.
Follow the guide below to complete the speaker reinstallation.
Cosa ti serve
-
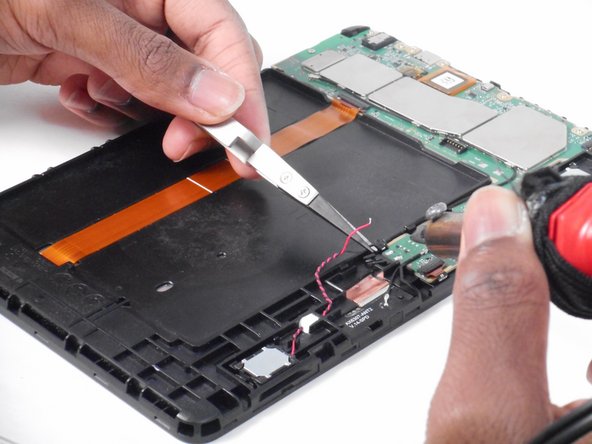
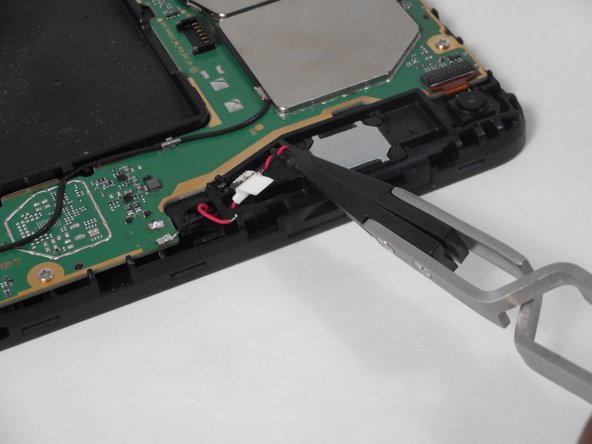
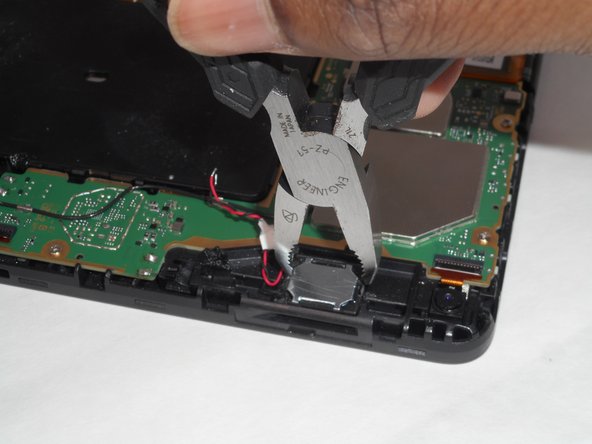
Passo 1 Buttons
Attenzione: i passaggi 1-2 provengono da una guida contrassegnata come in corso.
-
Put picks around the corner and move them along the edge to pry the case off.
-
Once there is separation between the case and the screen, place a pick in between the screen and on the corner of the back case.
-
-


To reassemble your device, follow these instructions in reverse order.
To reassemble your device, follow these instructions in reverse order.

Team

University of Memphis, Team 1-1, Sneed Fall 2023 Membro di University of Memphis, Team 1-1, Sneed Fall 2023
UM-SNEED-F23S1G1
4 Membri
7 Guide realizzate