Introduzione
If your Acer Chromebook CB5-132T-C8ZW will not turn on even if the device is charged, use this guide to replace the battery.
The battery powers the Chromebook. A non-functioning battery will not hold power, no matter how long the device has been charged.
Before beginning, make sure the Chromebook is disconnected from any external power source; then press and hold the power button for at least five seconds prior to dismantling in order to release any stored energy that could potentially be harmful.
In some extreme cases, the battery may swell if damaged. Do not touch swollen or punctured batteries. Place the battery or device in a non-flammable material like kitty litter or sand as soon as possible. You can also place the battery or device in a clear plastic bag and take it to a local municipal household hazardous waste recycling center.
Cosa ti serve
-
-
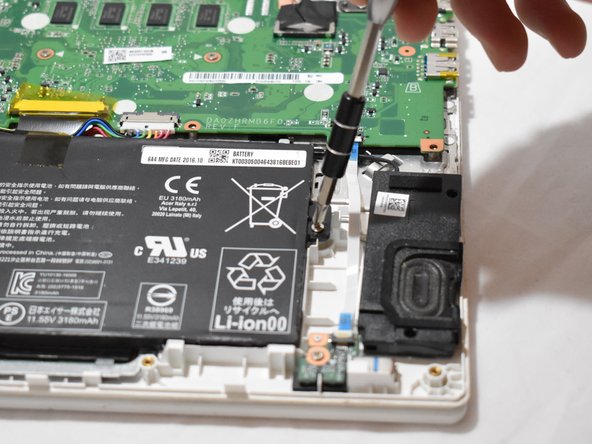
Remove eleven 7.2 mm screws from the bottom of the Chromebook using a JIS #1 screwdriver.
-
-


To reassemble your device, follow these instructions in reverse order.
To reassemble your device, follow these instructions in reverse order.
Annulla: non ho completato questa guida.
Un'altra persona ha completato questa guida.

Team

Eastern Washington University, Team S1-G2, Carnegie Winter 2020 Membro di Eastern Washington University, Team S1-G2, Carnegie Winter 2020
EWU-CARNEGIE-W20S1G2
3 Membri
4 Guide realizzate