Introduzione
This guide teaches users how to replace a faulty display on an Acer Chromebook CB3-431-C5EX. The display is essential to using the Chromebook because it allows the user to interact with the device visually.
The display may need to be replaced if it no longer shows a full image, it has been punctured or shattered, or otherwise no longer functions properly. This process requires no special skills.
Safety Tips
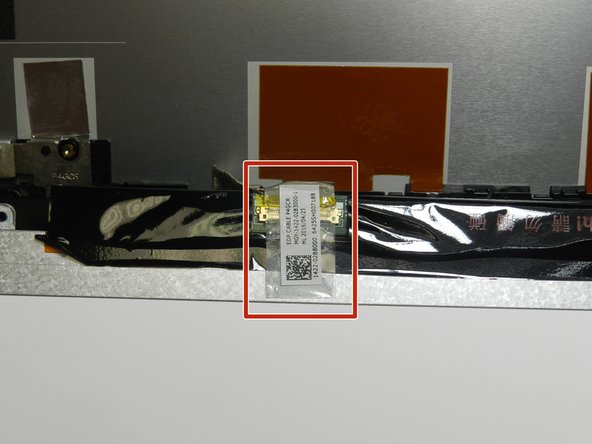
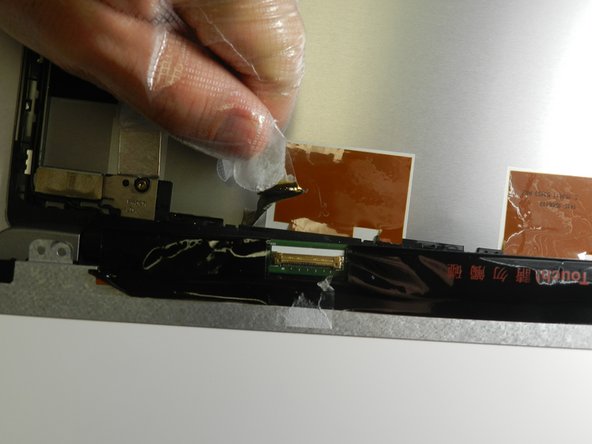
- To avoid unintentional contact with internal wiring, be cautious when replacing the display.
- If the broken display is shattered, follow this guide to prep it for safe removal before beginning the replacement steps: Applicazione nastro adesivo sullo schermo
- Be sure to unplug the device and remove the battery before starting the repairs: Disconnect power sources
Additional Tips
- Before replacement begins, troubleshoot the laptop to be sure the display issues are not a symptom of another problem with the device, such as a depleted battery: Pre-repair troubleshooting
- Before discarding the replaced parts in the trash, consider that some large US retailers have programs to recycle old devices: Dell Recycling Program & Best Buy Recycling Program
Cosa ti serve
-
-
Make sure the work area is clean and free from dirt and debris.
-
Open the lid of the laptop.
-
Place the laptop so the screen is facing upwards and the outside of the laptop is flat against a table.
-
-


To reassemble your device, follow these instructions using a replacement screen, in reverse order.
To reassemble your device, follow these instructions using a replacement screen, in reverse order.
Team

The Citadel Military College of South Carolina, Team 1-6, Eggleston Fall 2021 Membro di The Citadel Military College of South Carolina, Team 1-6, Eggleston Fall 2021
CMCSC-EGGLESTON-F21S1G6
3 Membri
3 Guide realizzate