Introduzione
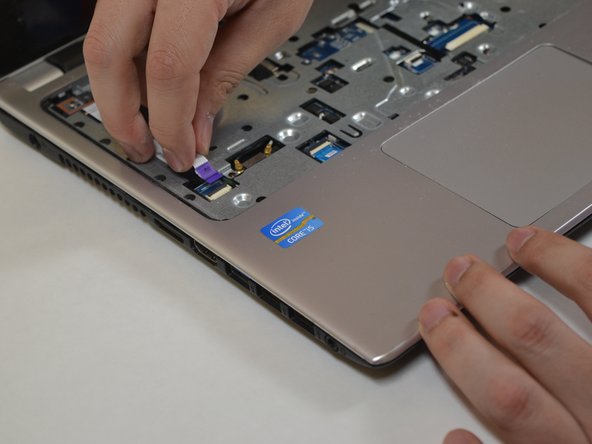
Follow this guide to replace the charging port on a Acer Aspire V5-571P-6815 laptop.
Cosa ti serve


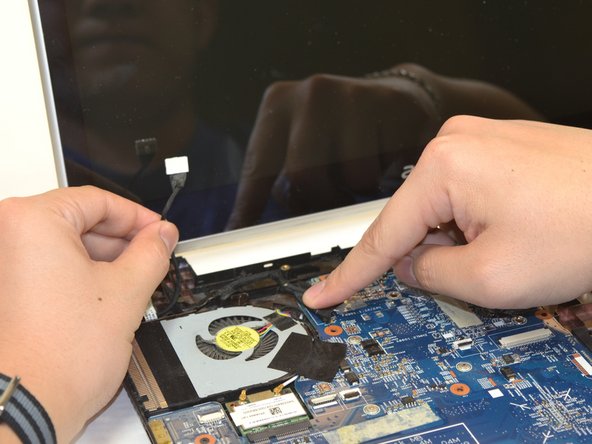


Quasi finito!
Follow the steps in reverse with a new cable.
Conclusione
Follow the steps in reverse with a new cable.
Annulla: non ho completato questa guida.
Un'altra persona ha completato questa guida.
Team

UW Tacoma, Team S1-G4, Liner Spring 2018 Membro di UW Tacoma, Team S1-G4, Liner Spring 2018
UWT-LINER-S18S1G4
5 Membri
8 Guide realizzate