My first repair - iPad Mini 1st Cracked Screen Replacment
Il Mio Problema
We have three children (9, 10, 11). Kids and glass don't always mix well. And, no matter how much money you give to OtterBox - things happen. Repair shops are popping up everywhere we live. We took a device to the shop, and $120 later the device is fixed. I'm not assuming that I'm better than anyone else. But, I'm looking at this guy, and I'm thinking, If he can fix this thing - so can I!! For $70 it's worth a shot, and it's 1st gen mini - who cares..
La Mia Riparazione
The process went well. I was terrified at first, but learned a lot as I went along. There are a few things that were different between the guide and my device, but overall it went swimmingly!
It took about 90 minutes to get the new digitizer in. I powered up the device before I sealed the glass. And I waited another 24 hours before I committed to exposing the adhesive.
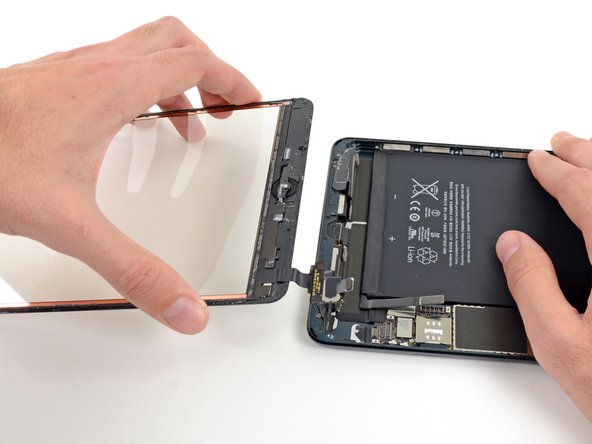
The digitizer cable folded itself in-between the glass and the chassis, so I had to do a little iOpener/guitar pick work before it was all said and done to get the cable nestled in it's proper place.
Il Mio Consiglio
First, TAPE THE GLASS. If there's even a sliver of a crack in the glass, it's going to splinter. Not matter how much you think it's going to splinter glass everywhere, you're underestimating, be prepared. There's a little hint that I missed the first time through. If the glass is cracked, go ahead and cut the digitizer cable so you can toss the broken glass.
The last thing, I can not stress enough. SHAPE the new cable. It's not obvious how this should be done, so I have included a photo.
The part for this device is a few years old. So, to completely finish the project, I warmed the adhesive, then slid the iPad snuggly between some books for a nice lasting seal.

0 Commenti